LEARN••• To Crochet!
Blissfully mindful and mindless.
Crochet is cool because you can do a lot with a few stitches and the patience to practice a bit. Below are some basics to get you going, organized with a table of contents that will skip you through to different stitches, tips, and info. There are step-by-step instructions in illustrated images; endlessly repeating gifs to show the repeated movements; and videos you can start, stop, and scrub through to find and work through any spots you’re stuck on.
Use this page as a primer. Feel free to poke around and try some things, then explore MAKE projects with your newfound enthusiasm for stitches.
Have fun!!
COLLECT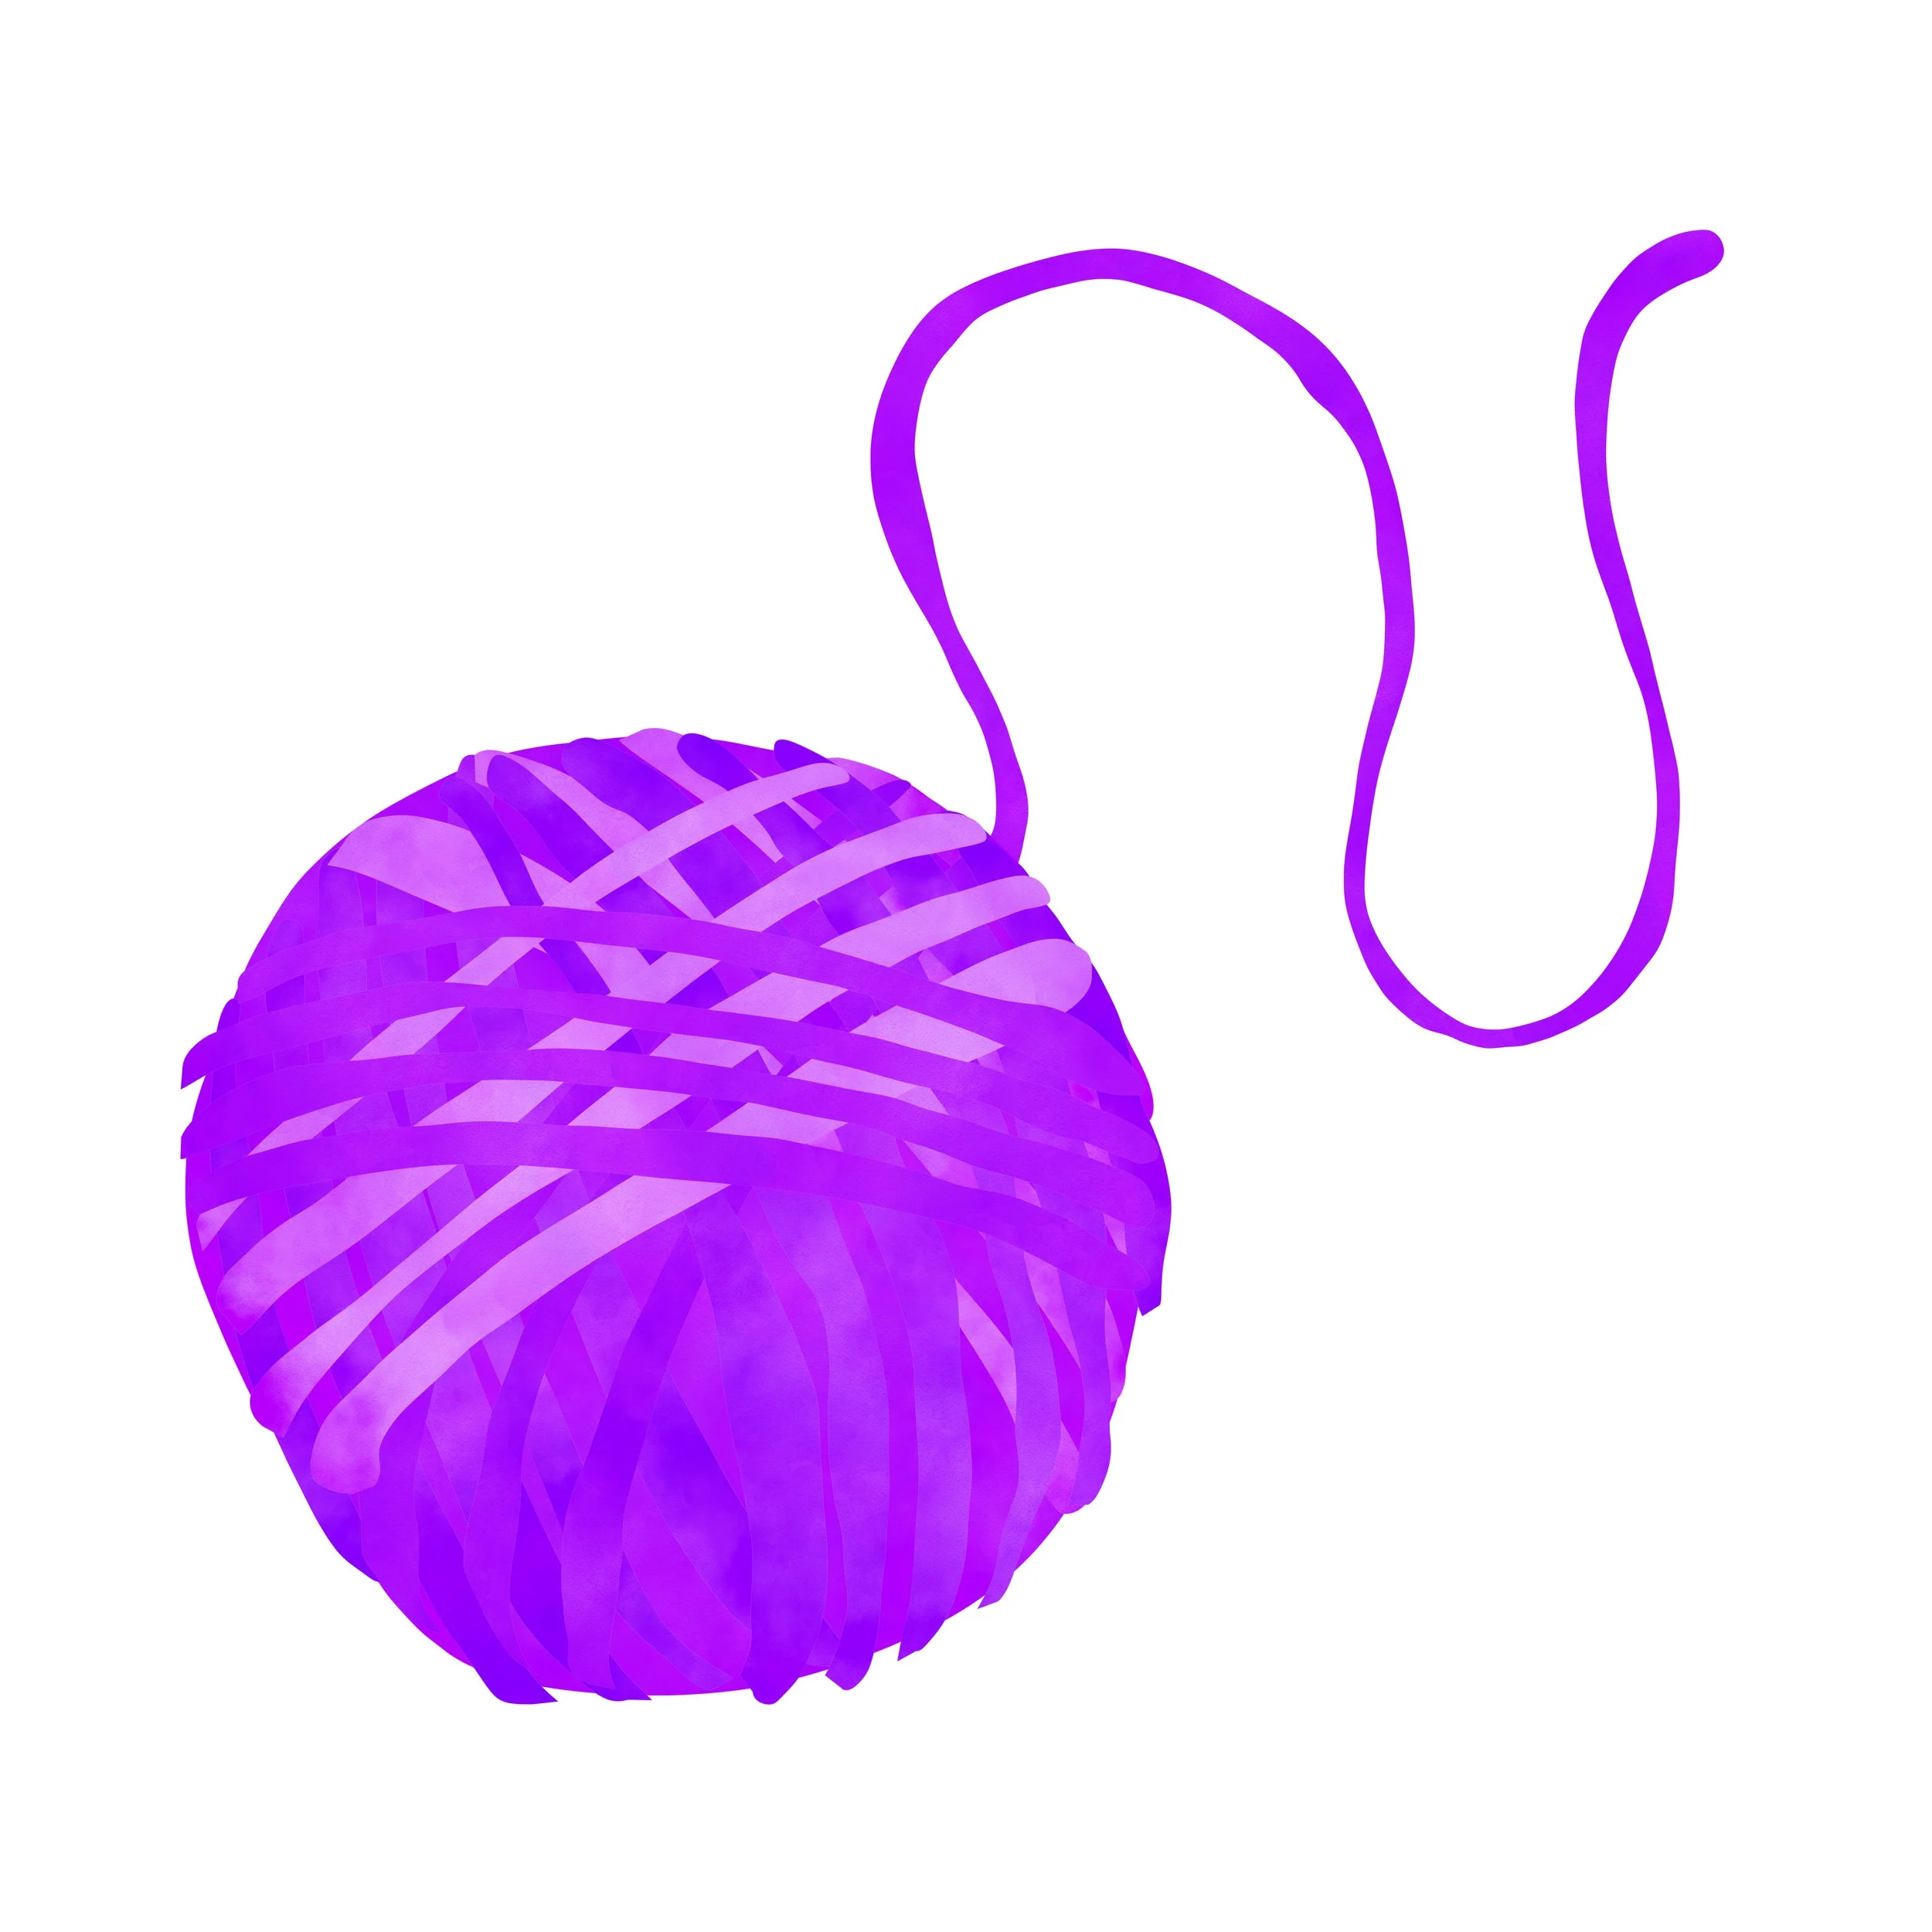
••• yarn
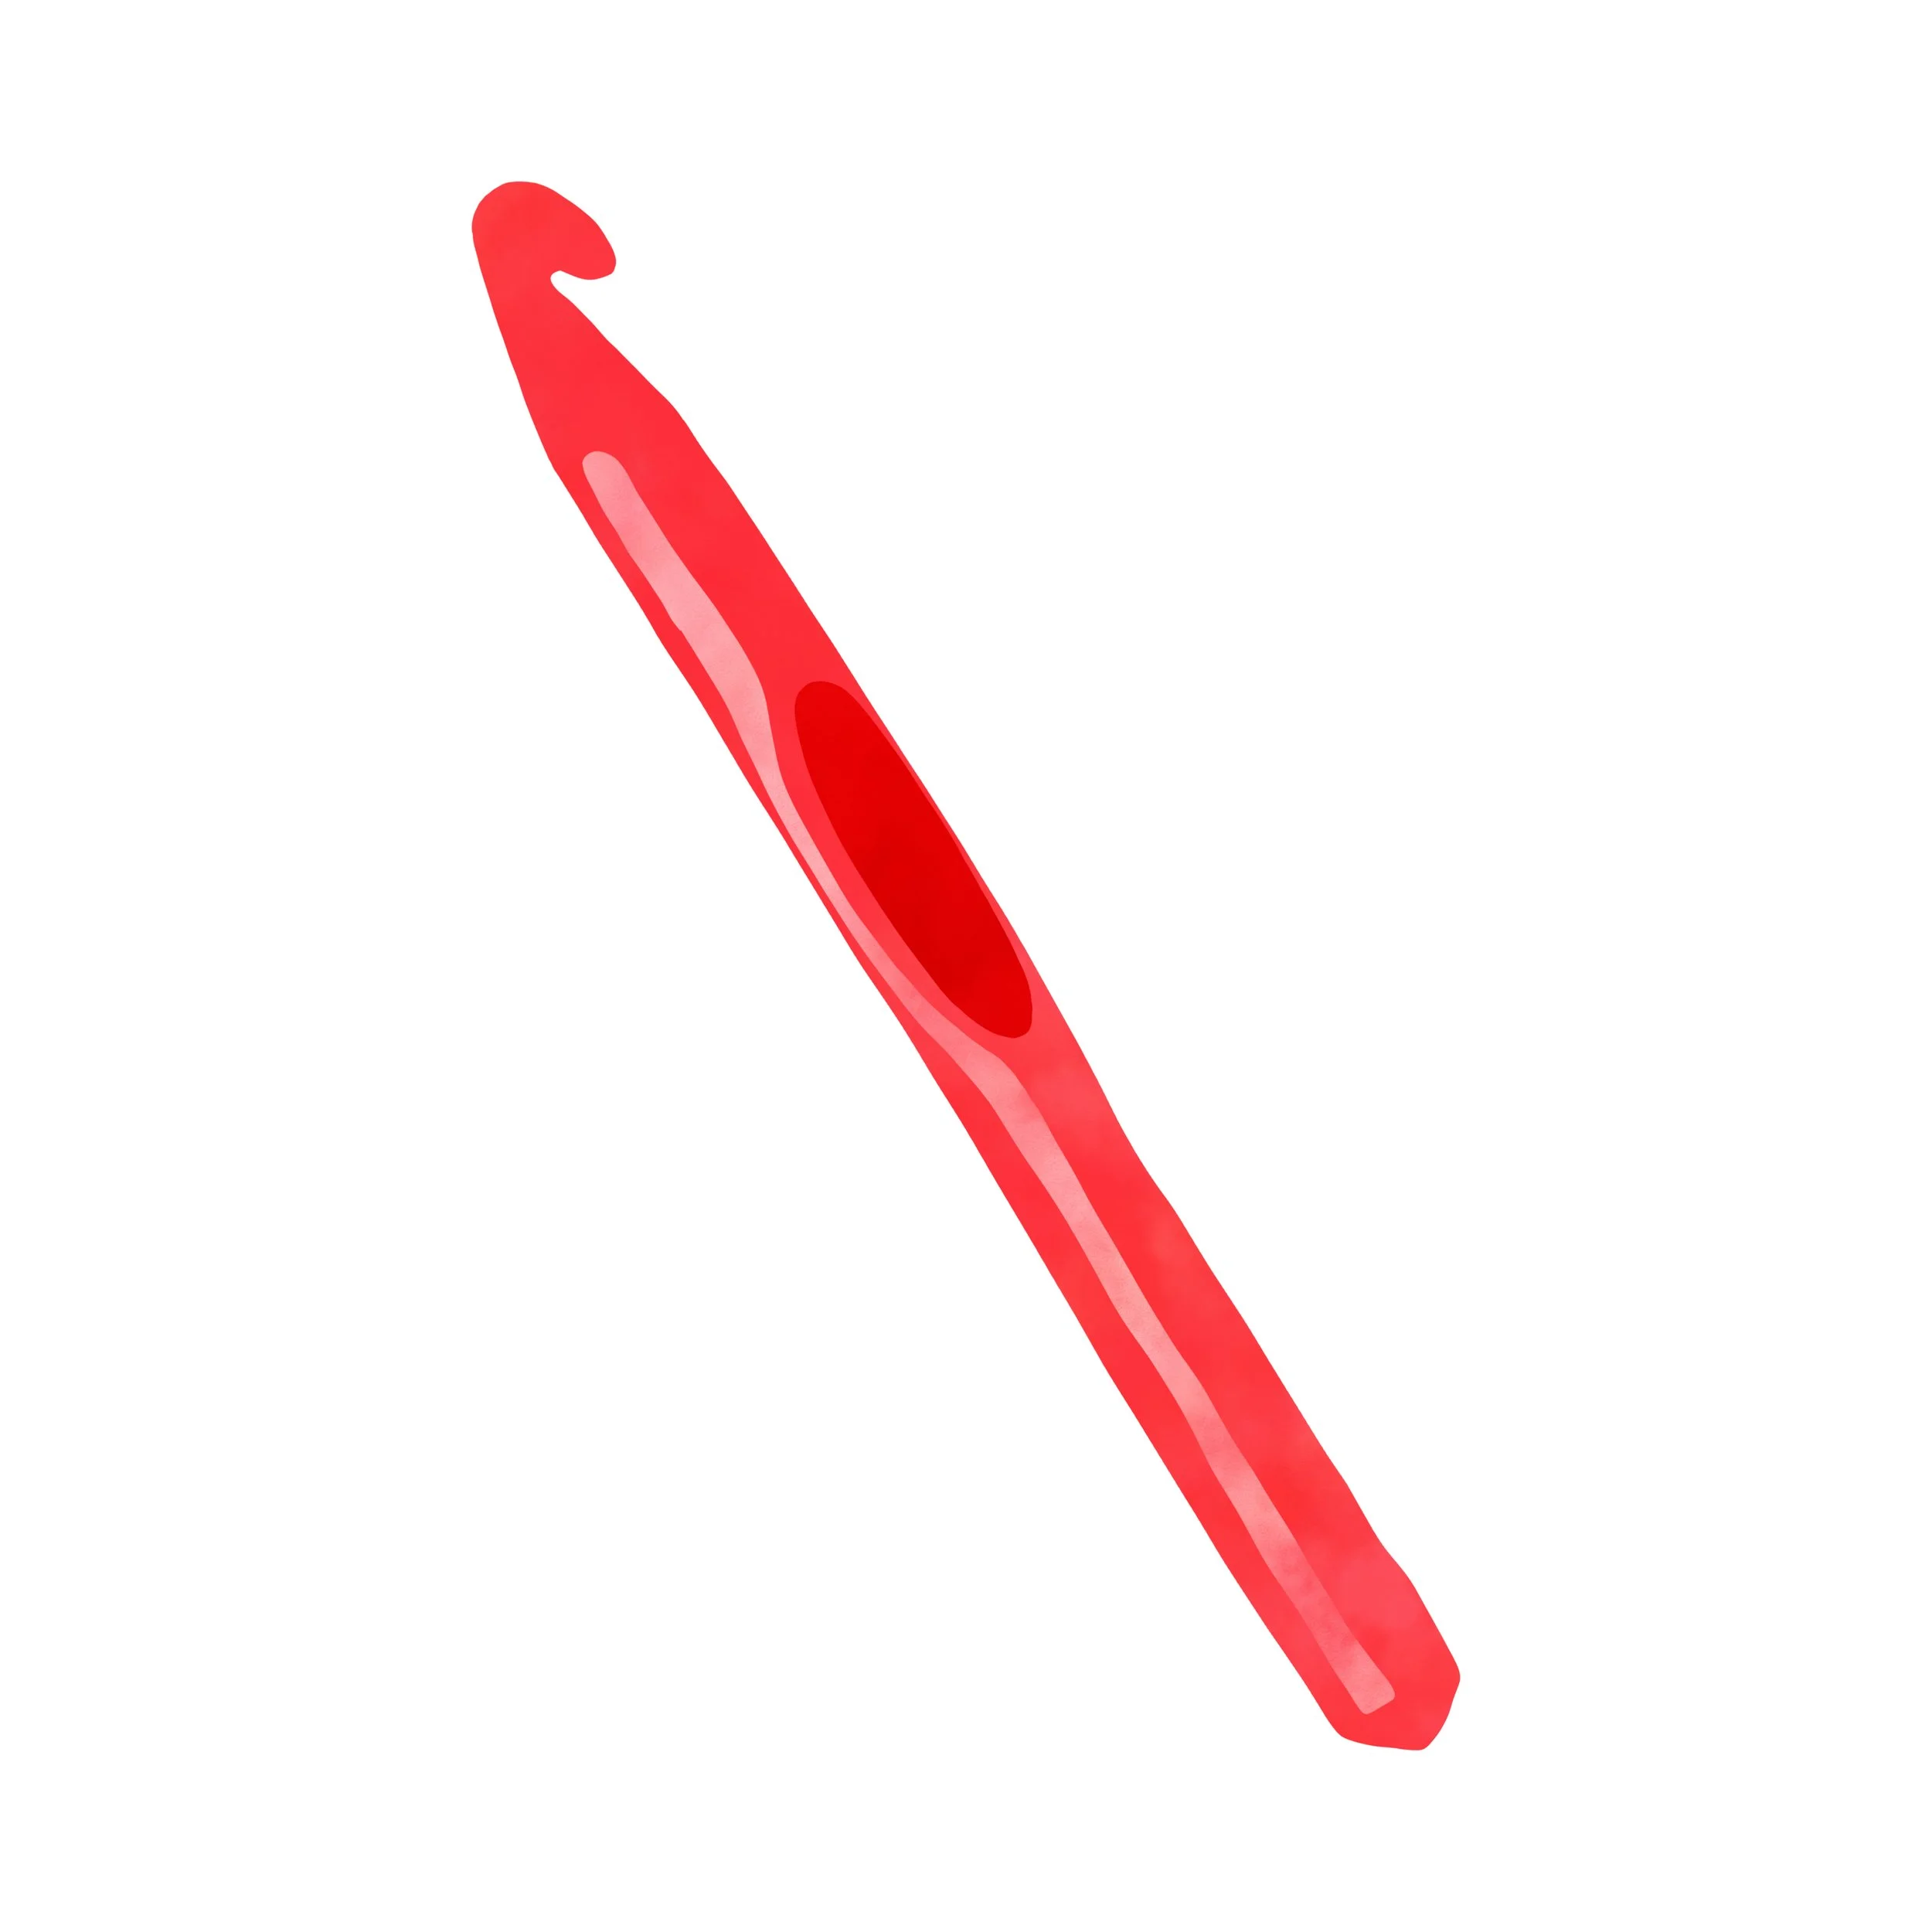
••• crochet hook
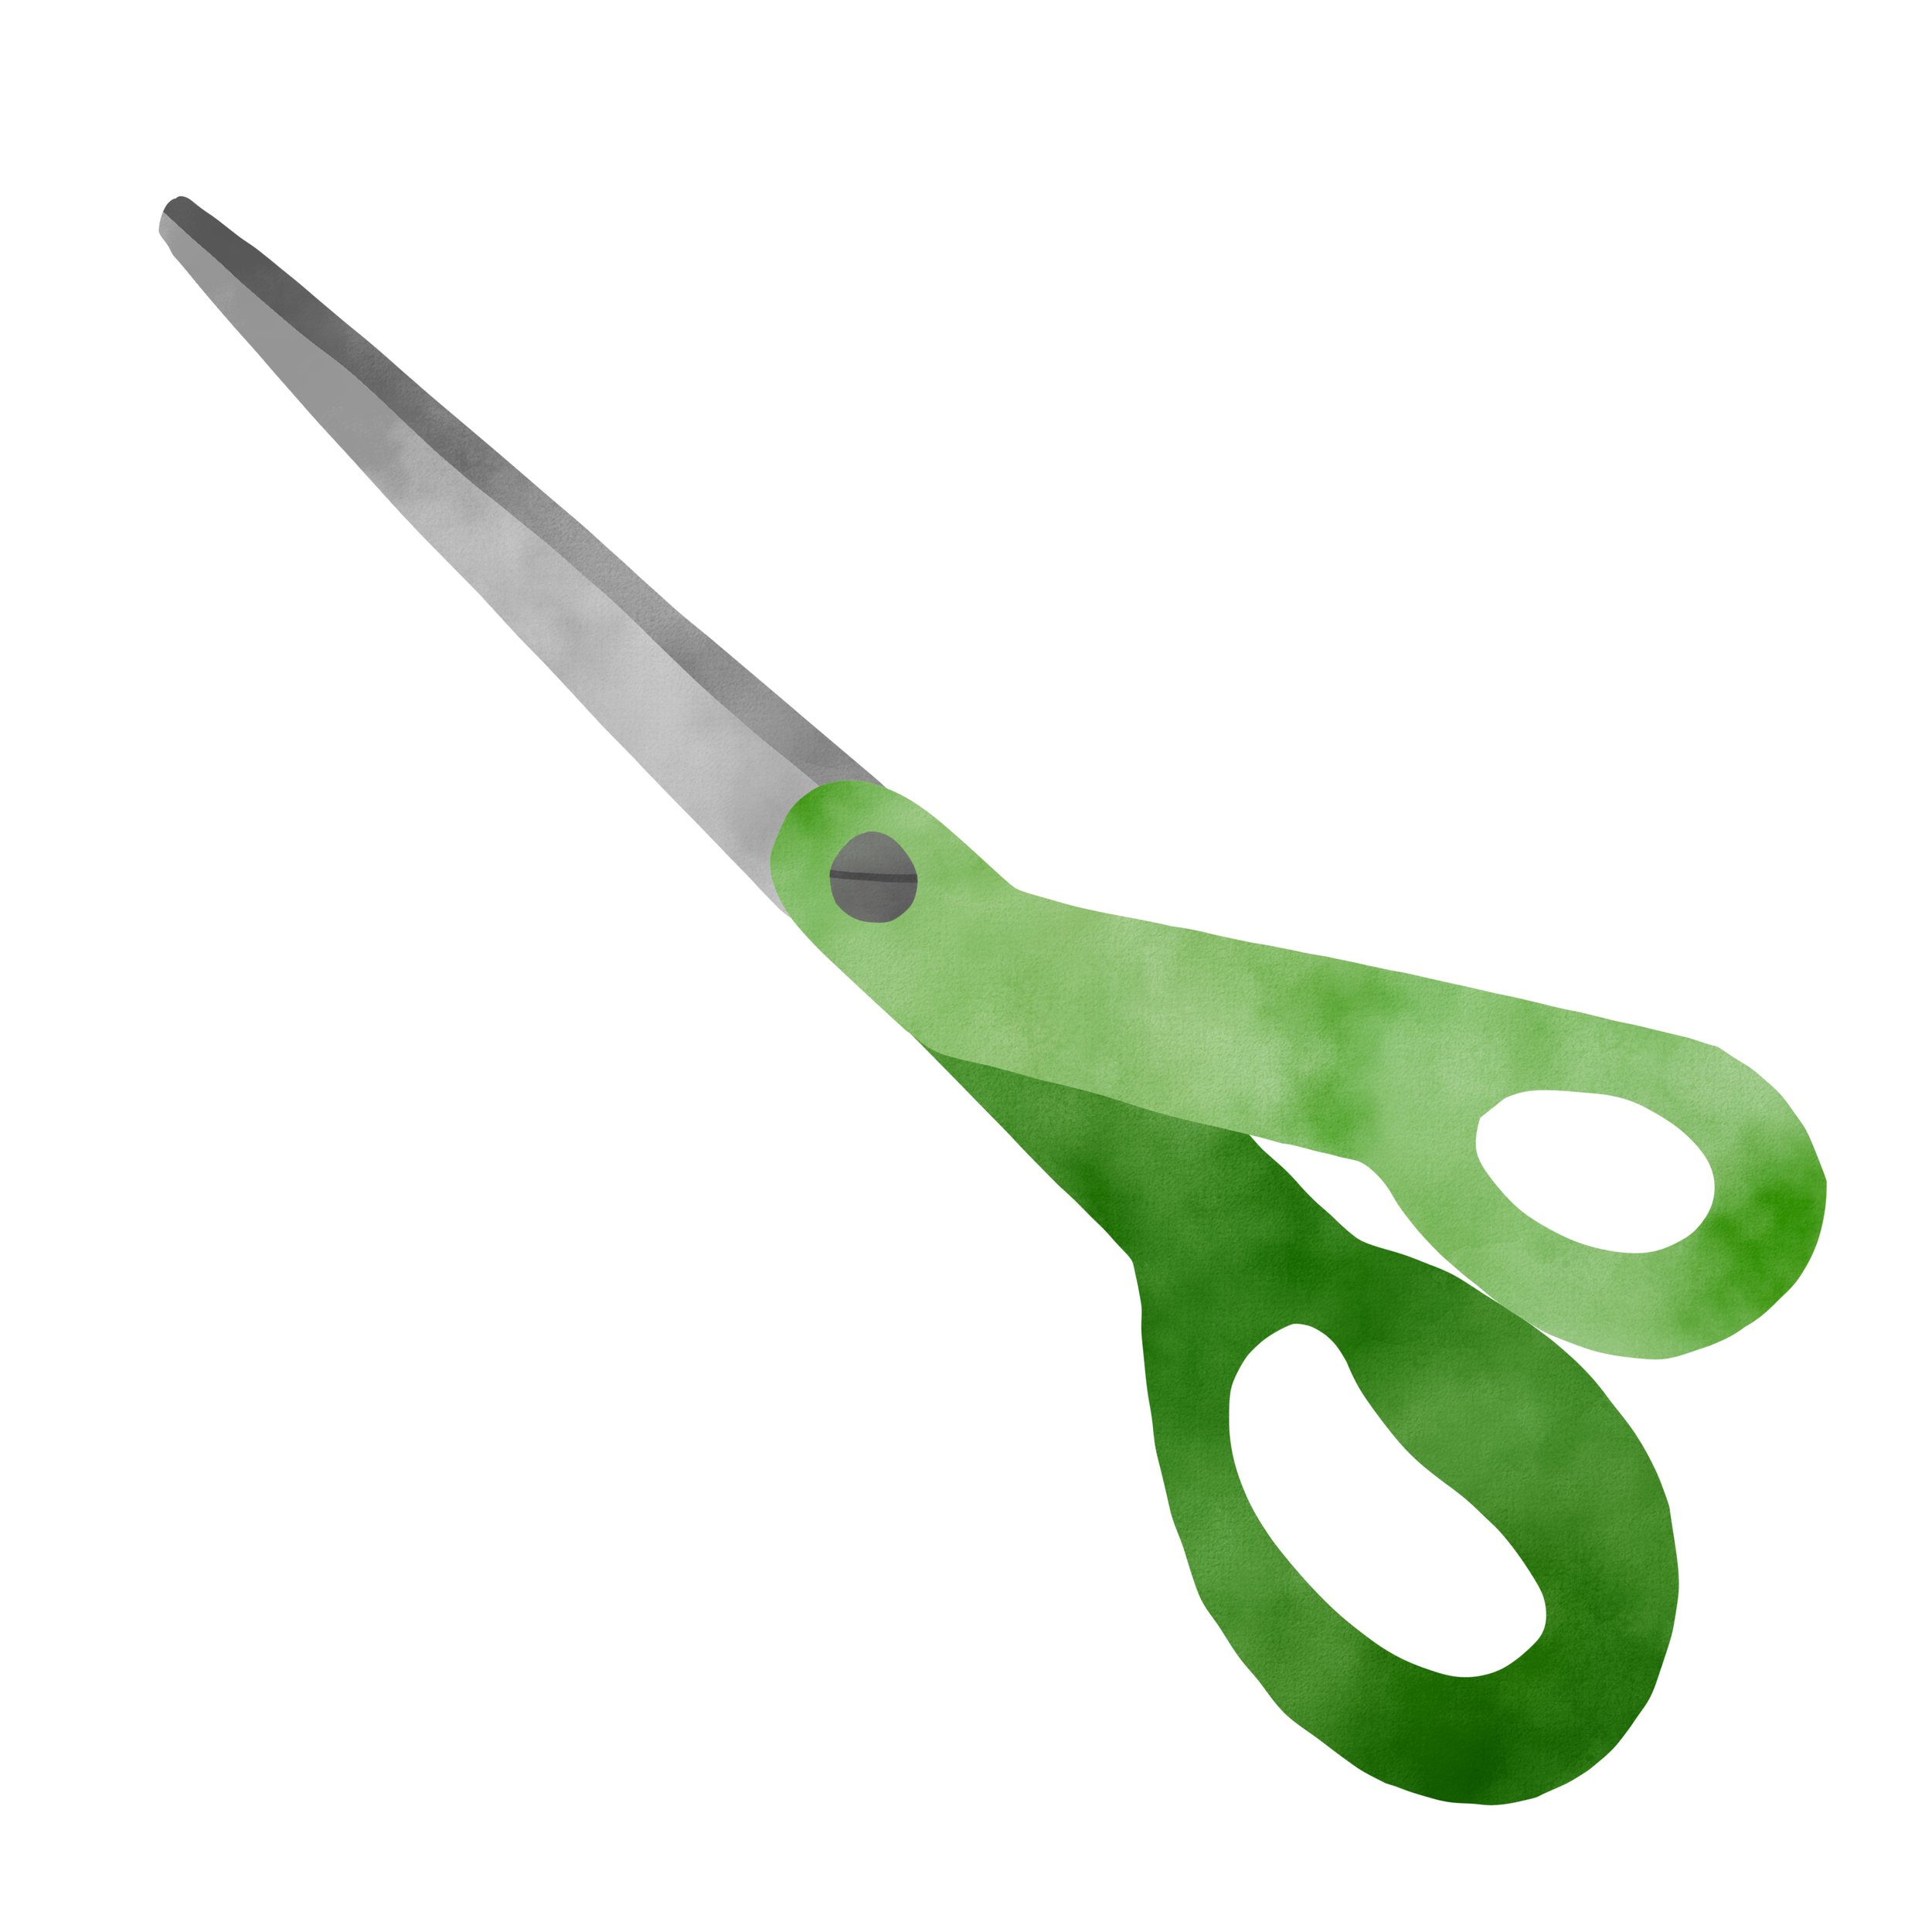
••• scissors
About your materials and supplies
If you have (or have access to) any yarn, or any crochet hook, start there! There’s no magic material(s) that you must use here — the most important part is getting hands on; getting started; getting comfortable; and not getting caught up in whether you’ve sourced the “right” things.
Generally:
Bigger crochet hook + thicker yarn = looser, chunkier stitches and a quicker project.
Smaller yarn + smaller crochet hook = tighter, more delicate scarf that will take more time.
If you’re a first timer, try a J (6mm), K (6.5mm), L (8mm), or M (9mm) crochet hook with bulky or super bulky yarn.
Crochet hook
US crochet hooks are sized alphabetically, ascending from smallest to largest. (B is smaller than C, which is smaller than D, etc.) Each letter corresponds to a number, in millimeters, of the hook’s diameter.
Yarn
Yarn is sized in weights, which is essentially the thickness of the strand. It goes from ultra-light (super fine, or lace) to absolutely freaking giganto (jumbo, or roving).
Wool, cotton, and acrylic (and / or some mix of the three) are common fibers, and, depending on what you get and where — they can be pretty spendy. Thrift shops and garage sales are good spots to source stuff you’d like to learn on, so you can feel less precious about using it up.
Before you begin
If this is your first time crocheting, and / or working with yarn, take a minute before you get into it to get to know your materials. Find the end of the yarn and pull — notice how the skein unwinds, and how the fiber feels in your fingers. Futz around with it for a bit!
Dropped, skipped, or extra stitches are okay! Keep going!
If something ever feels wonky* enough that you want to start again, slip your hook out of the loop and pull the working end of the yarn. Your stitches will disappear, and you can give a tug to undo the slip knot as well.
* It’s so so so so normal for something to feel wonky, especially as you’re learning. Wonkiness is actually one of the best parts of a handmade project — a sign that the work is one of a kind.
A single slip knot
Many crochet projects begin with a basic slip knot, which creates a little loop for your hook. Leave a few inches of a extra yarn at the end — that’s called the yarn tail.
1:
Make a sideways U with your yarn;
notice how the strands are parallel;
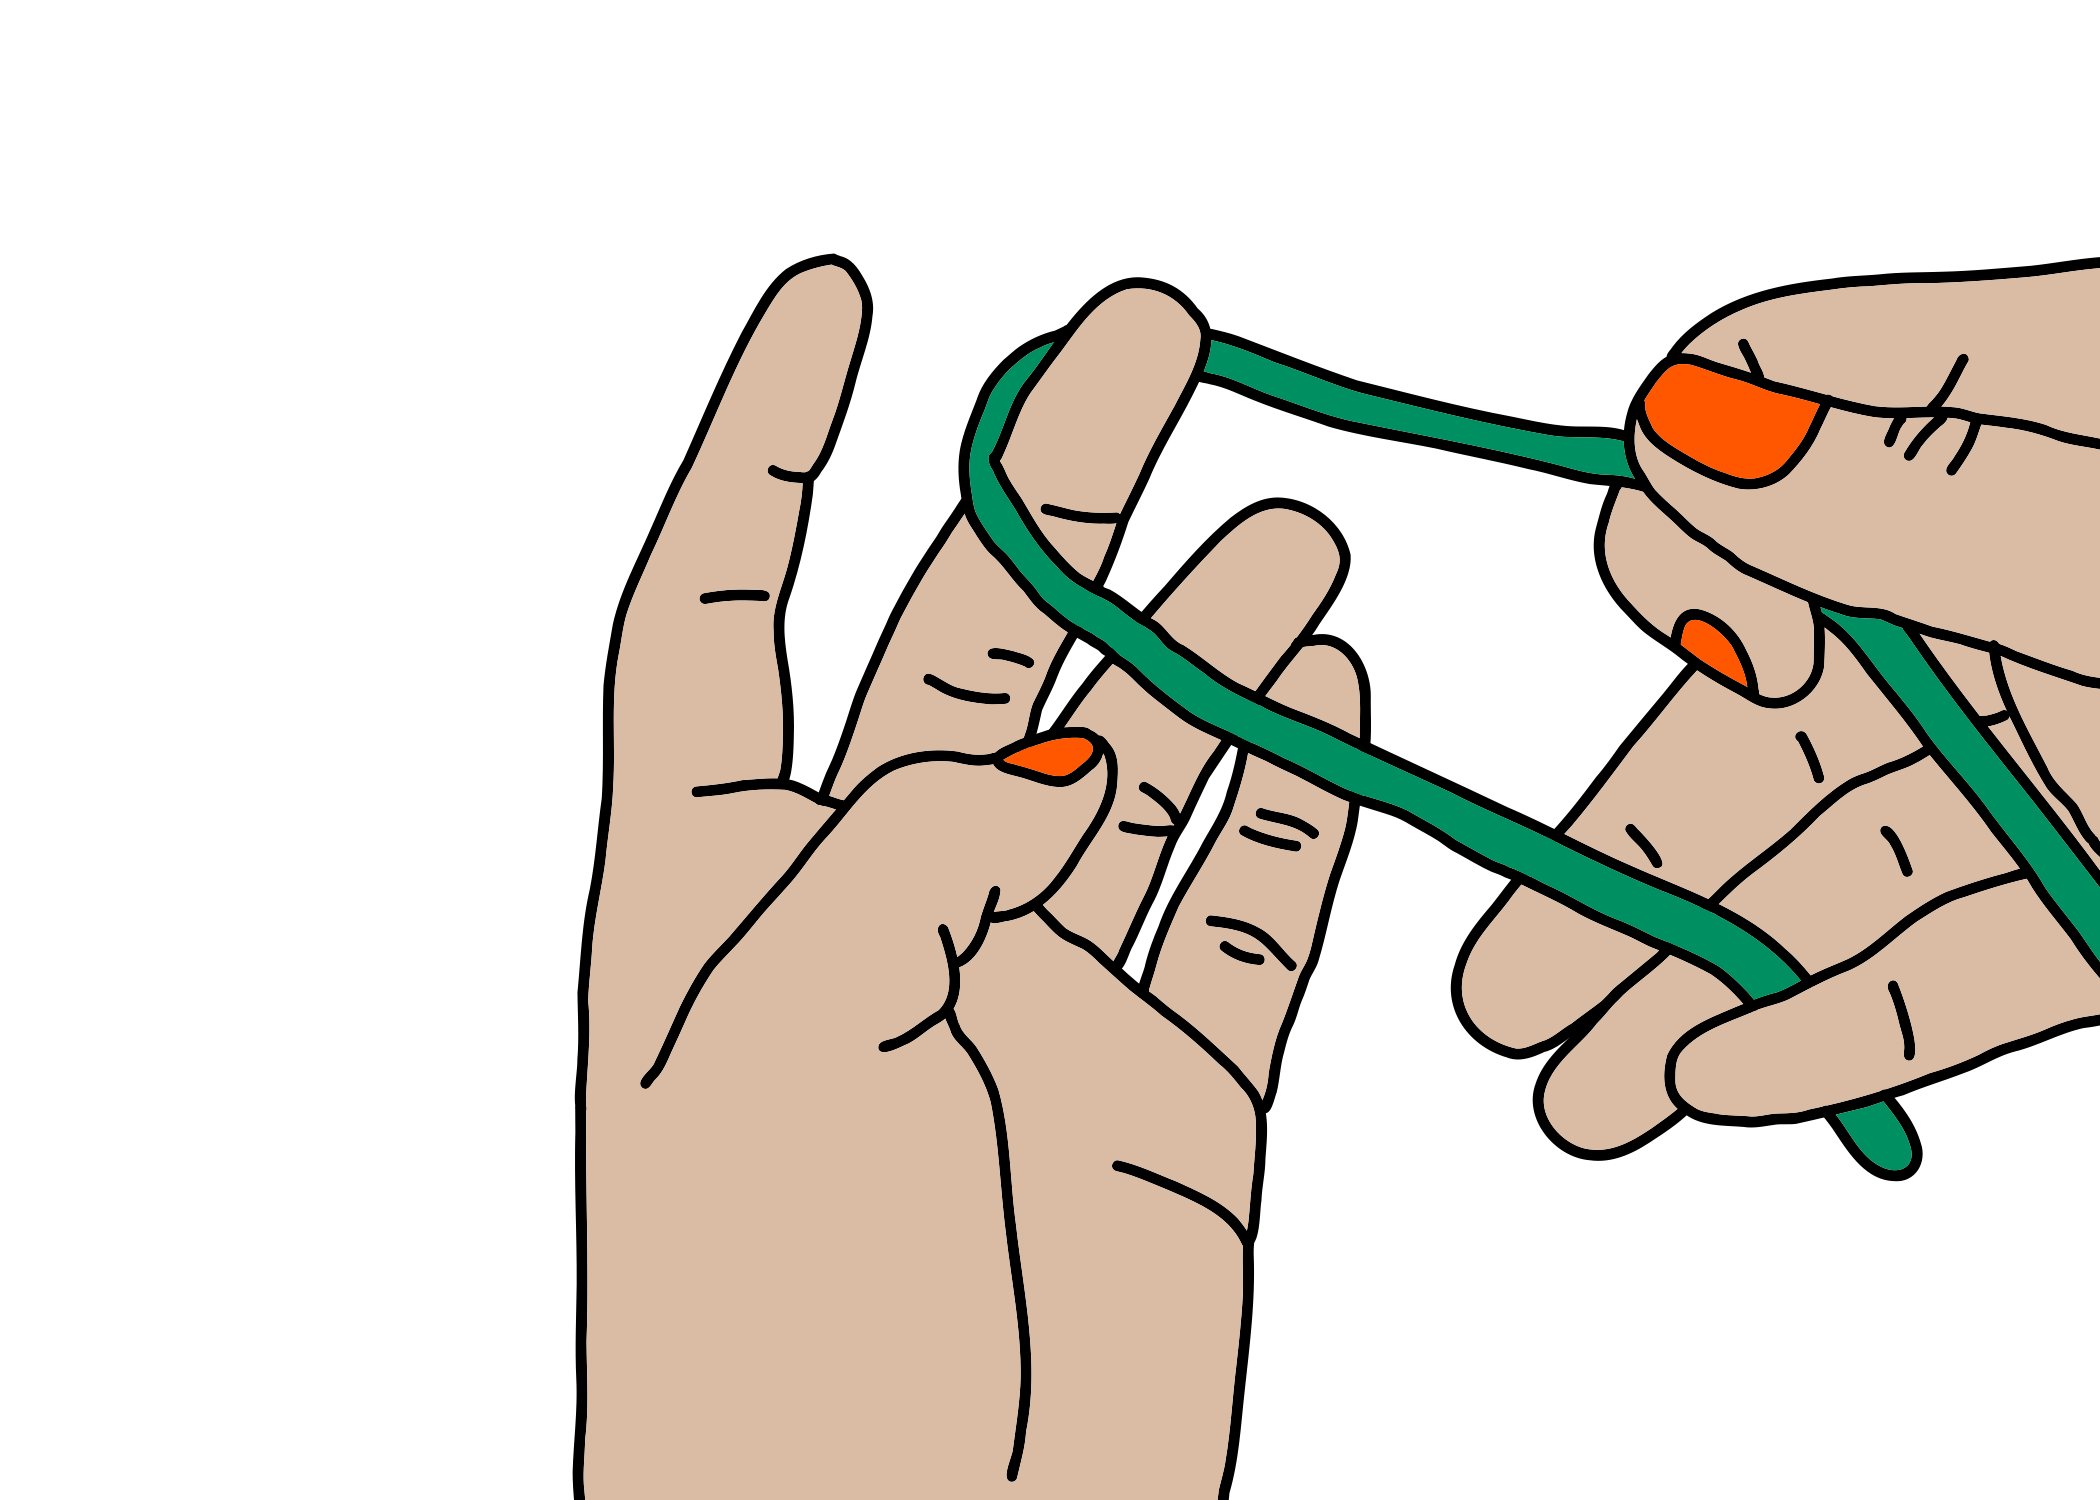
1
2:
flip the end of the U so it becomes an X;
see how one you’ve created a loop in your left hand, and one strand (the yarn tail) now sits on top of the other (the working yarn);

2
3:
reach your thumb, middle-, and forefinger through the loop to grab the working yarn;
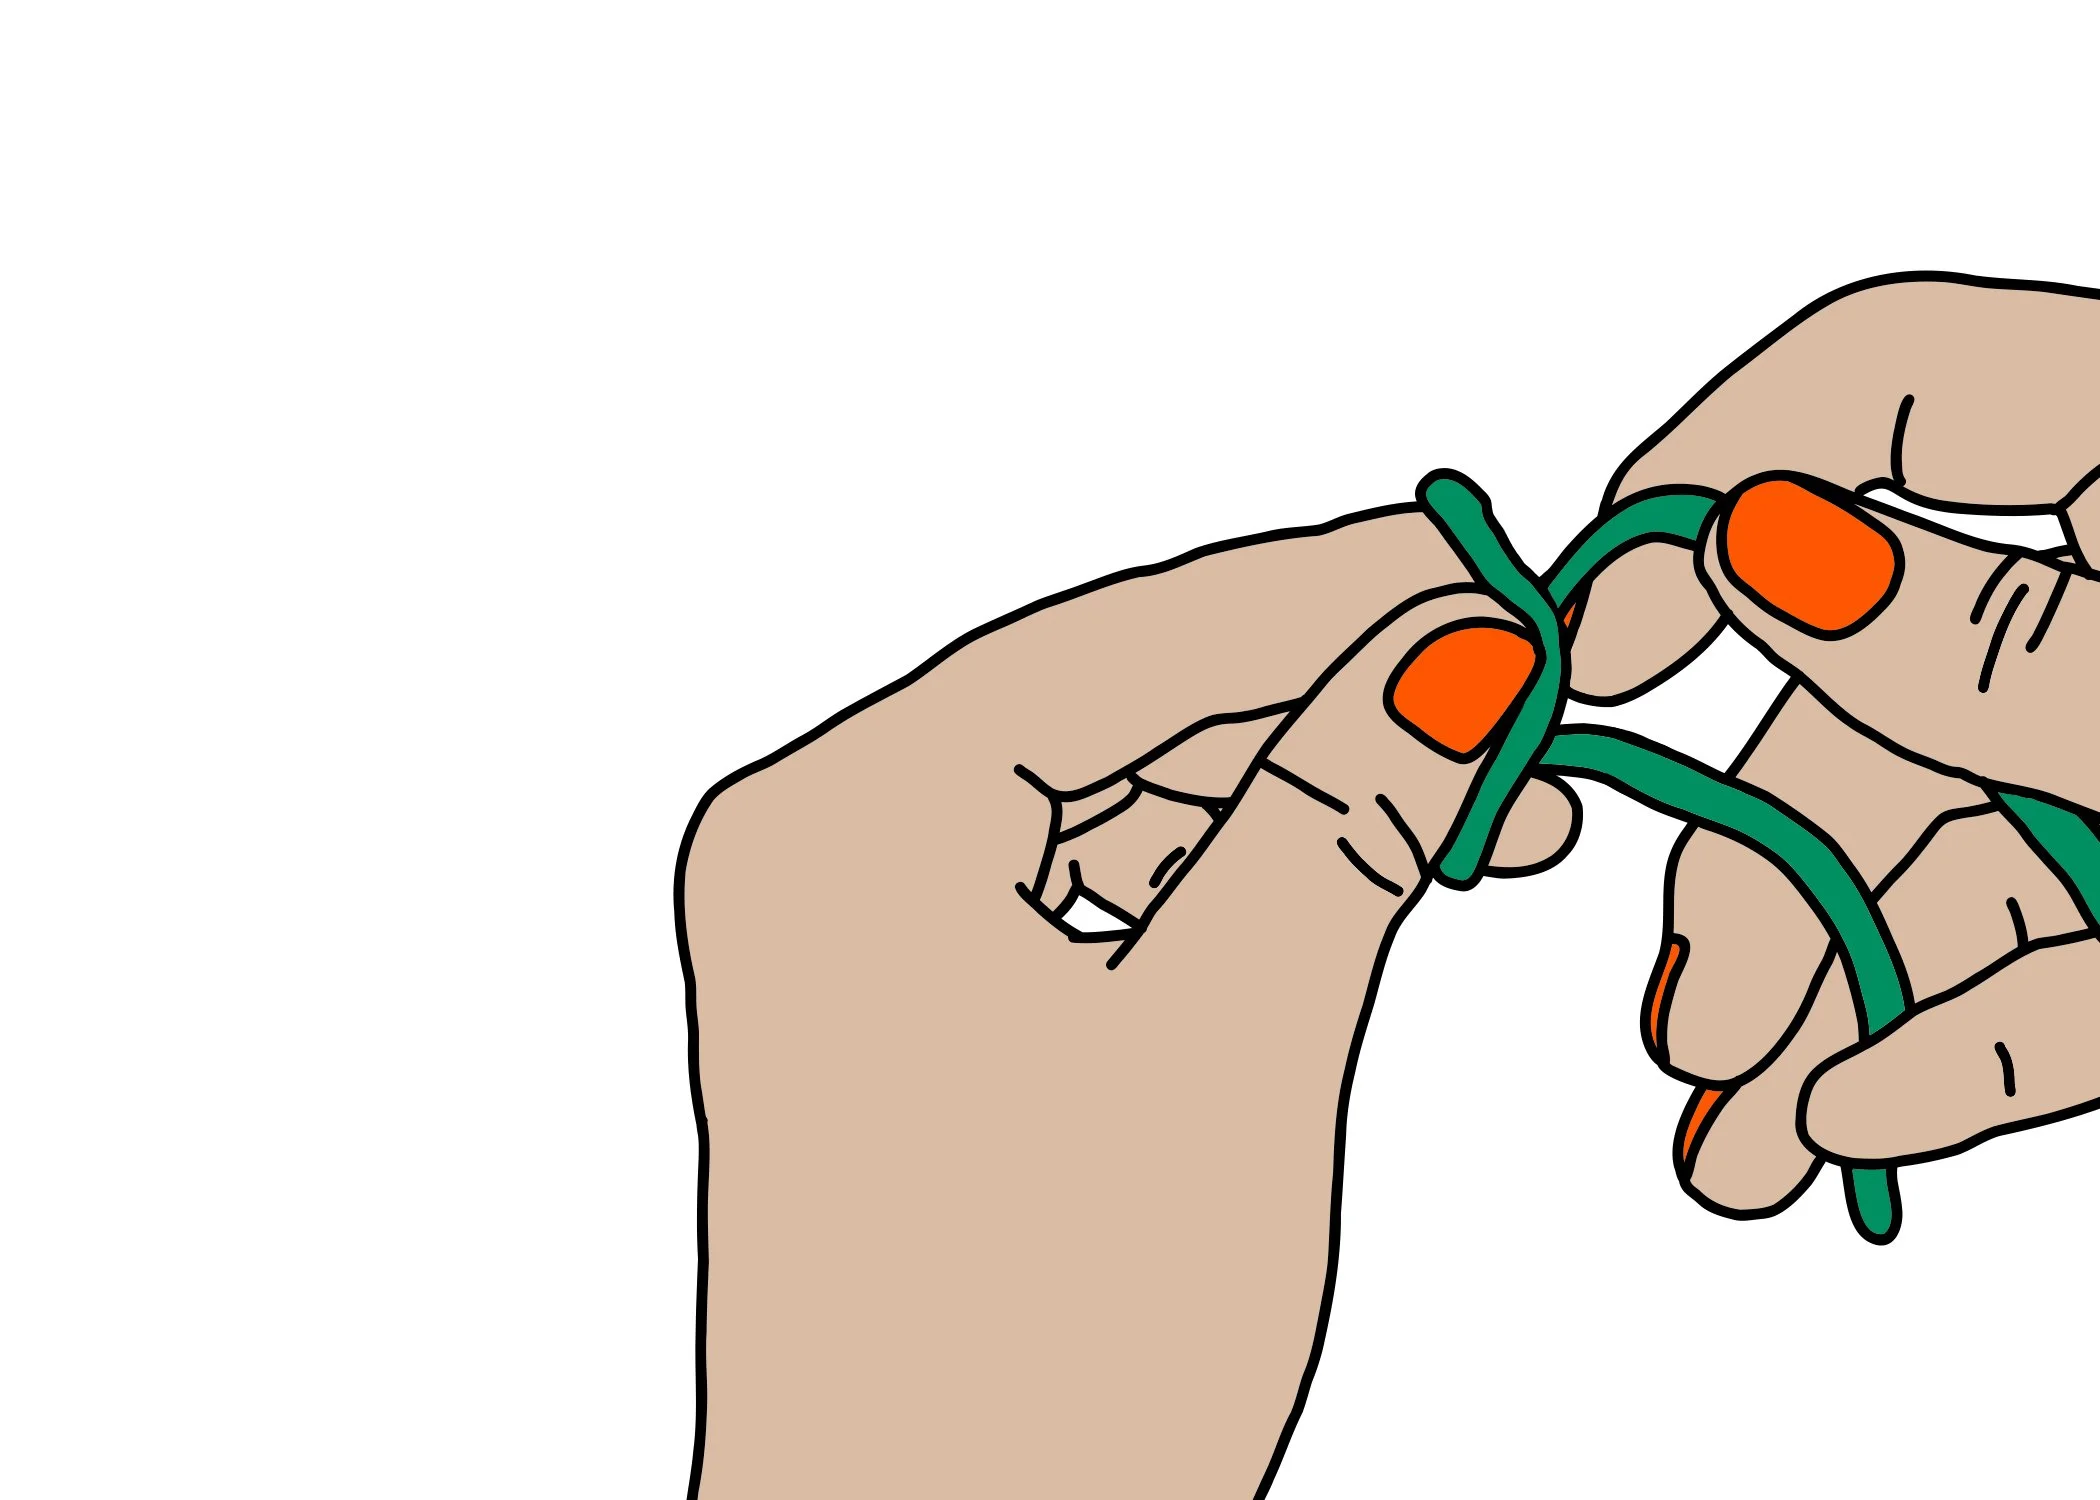
3
4:
pull the working yarn through the loop and tighten.

4
Here’s how it looks in action: gif, then vid.
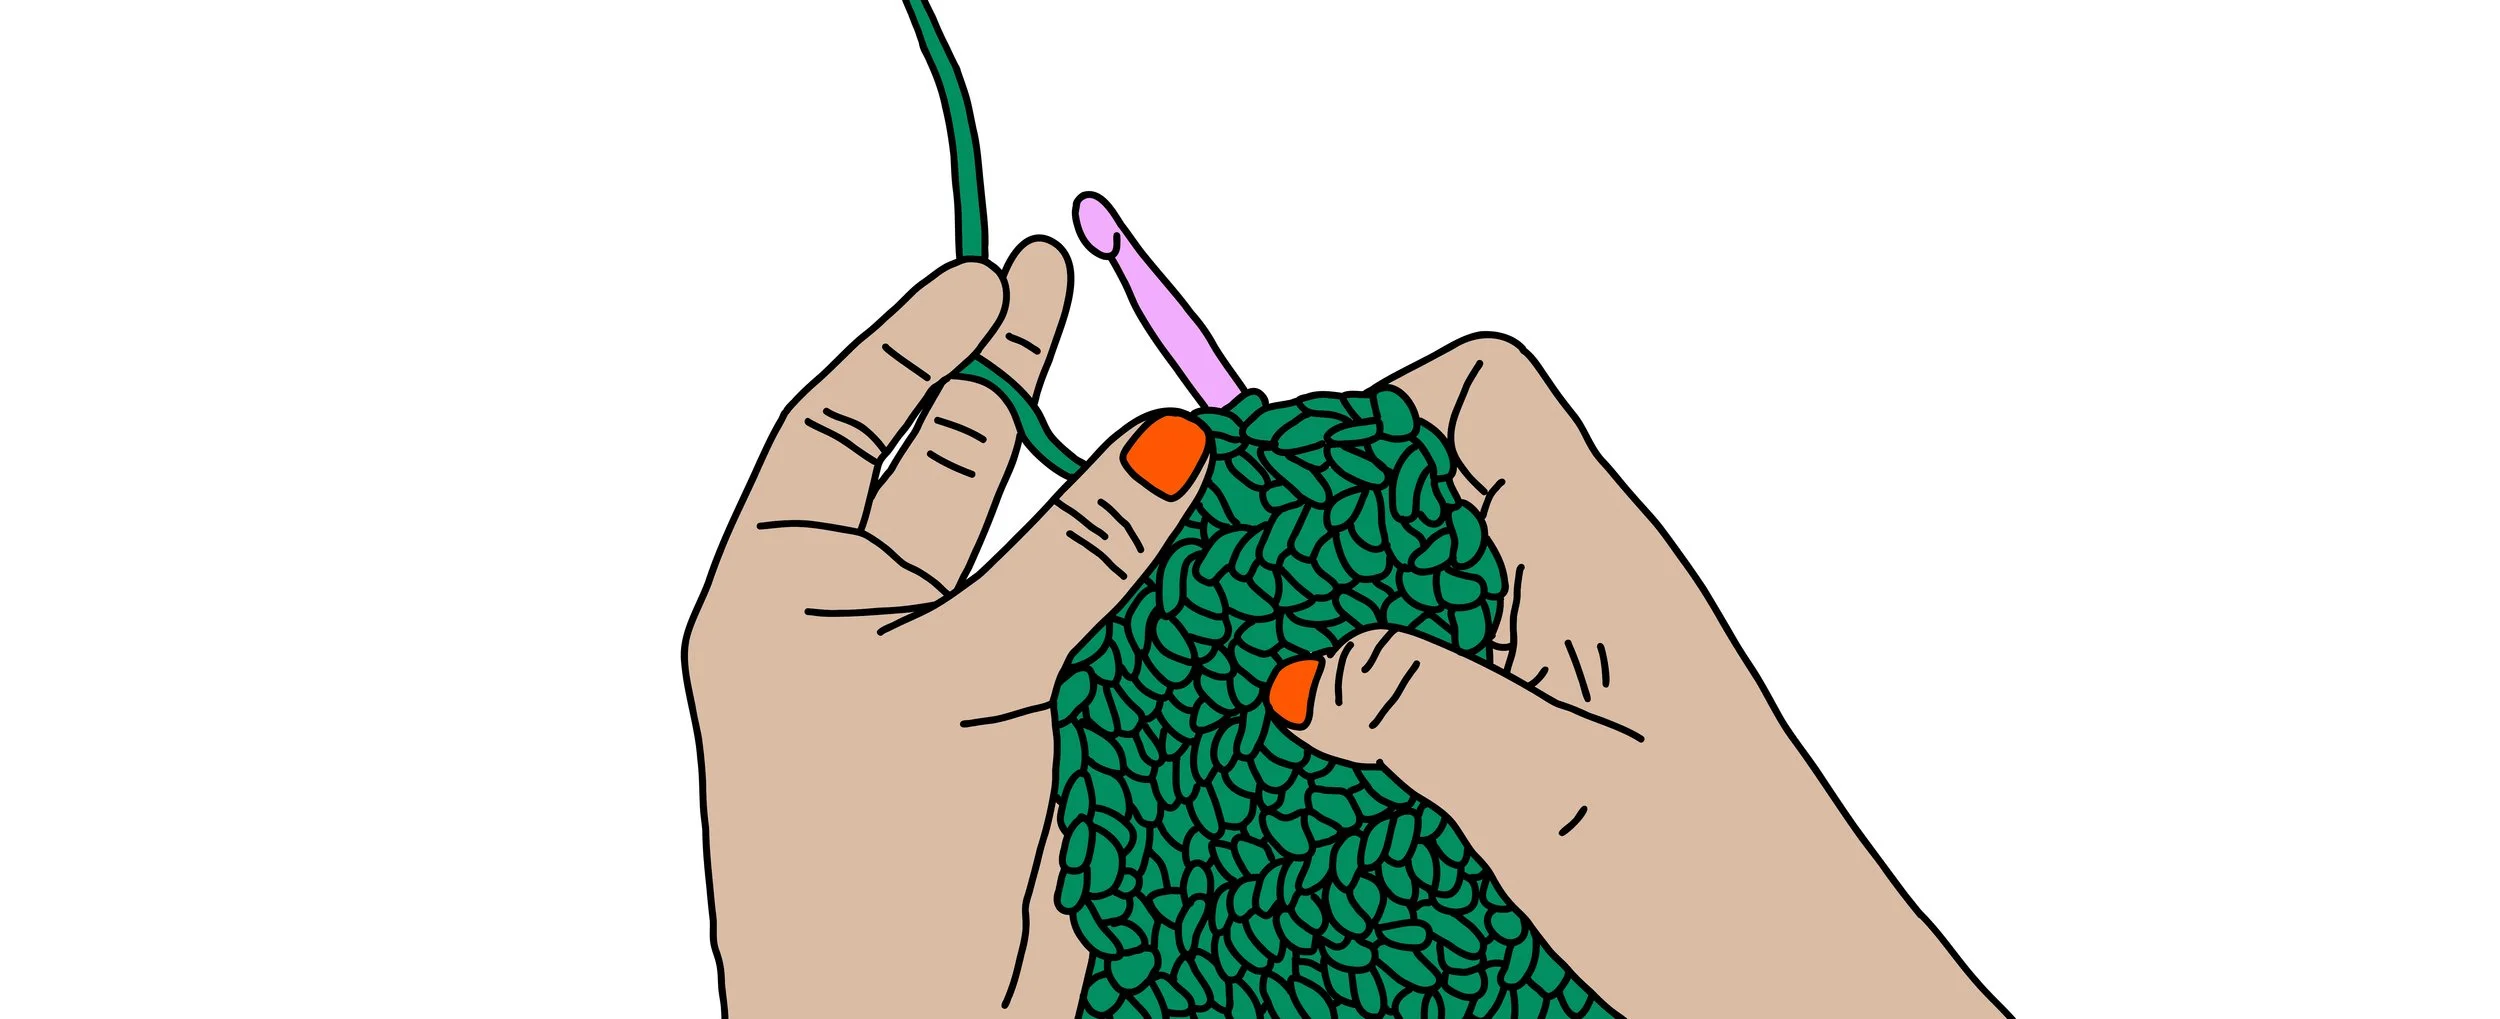
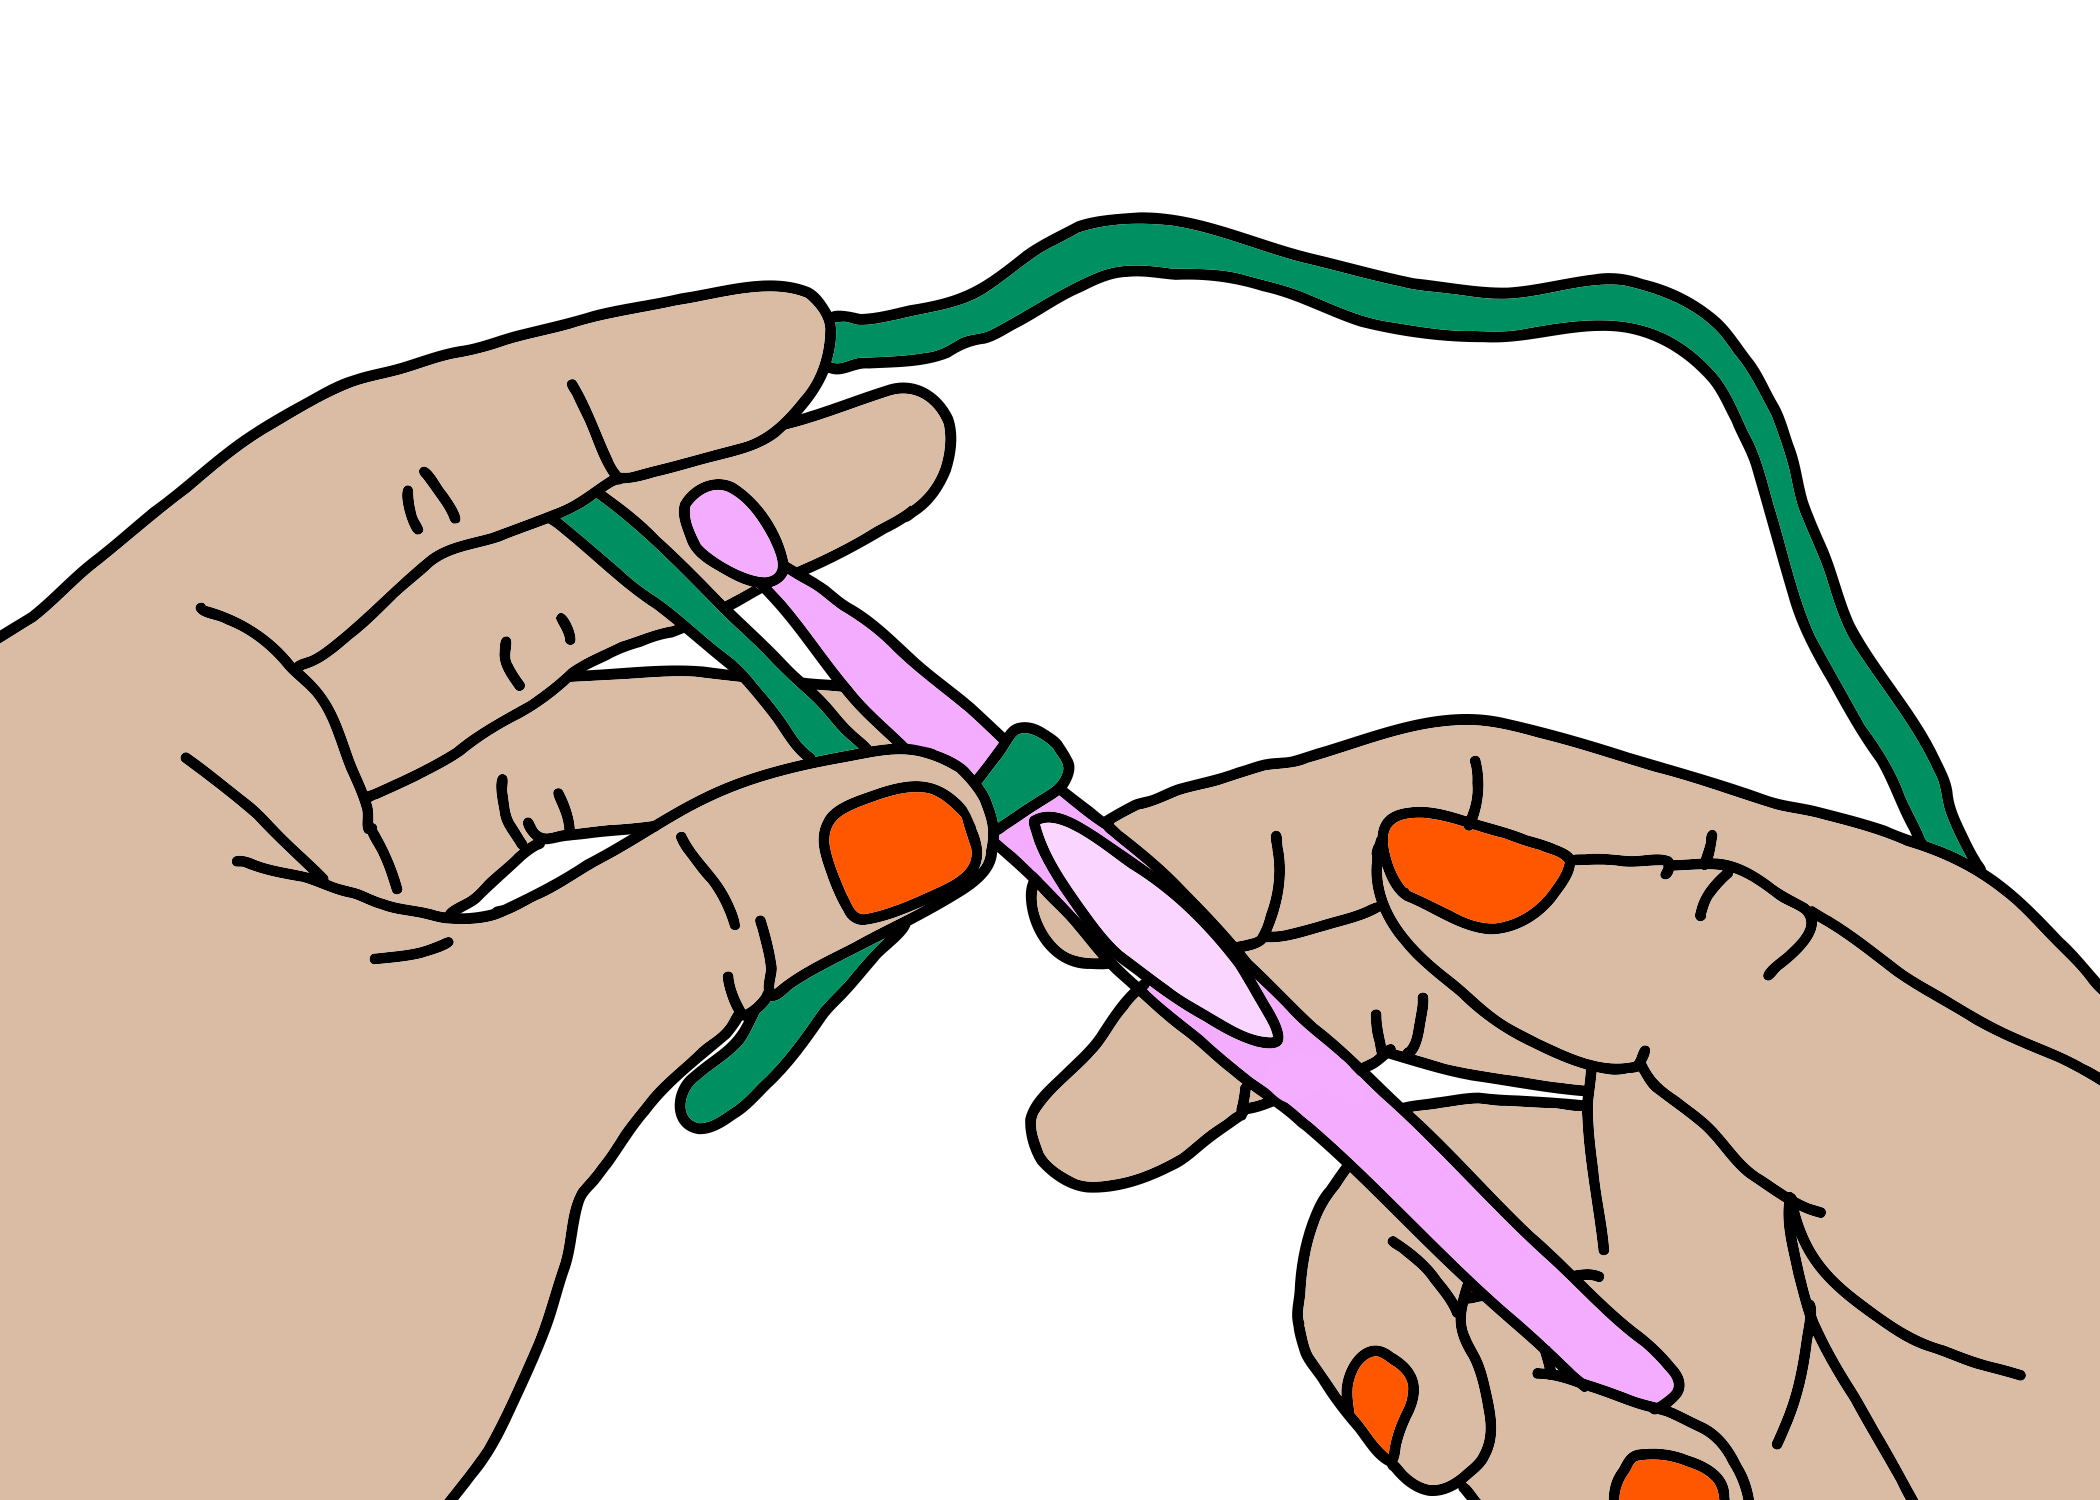
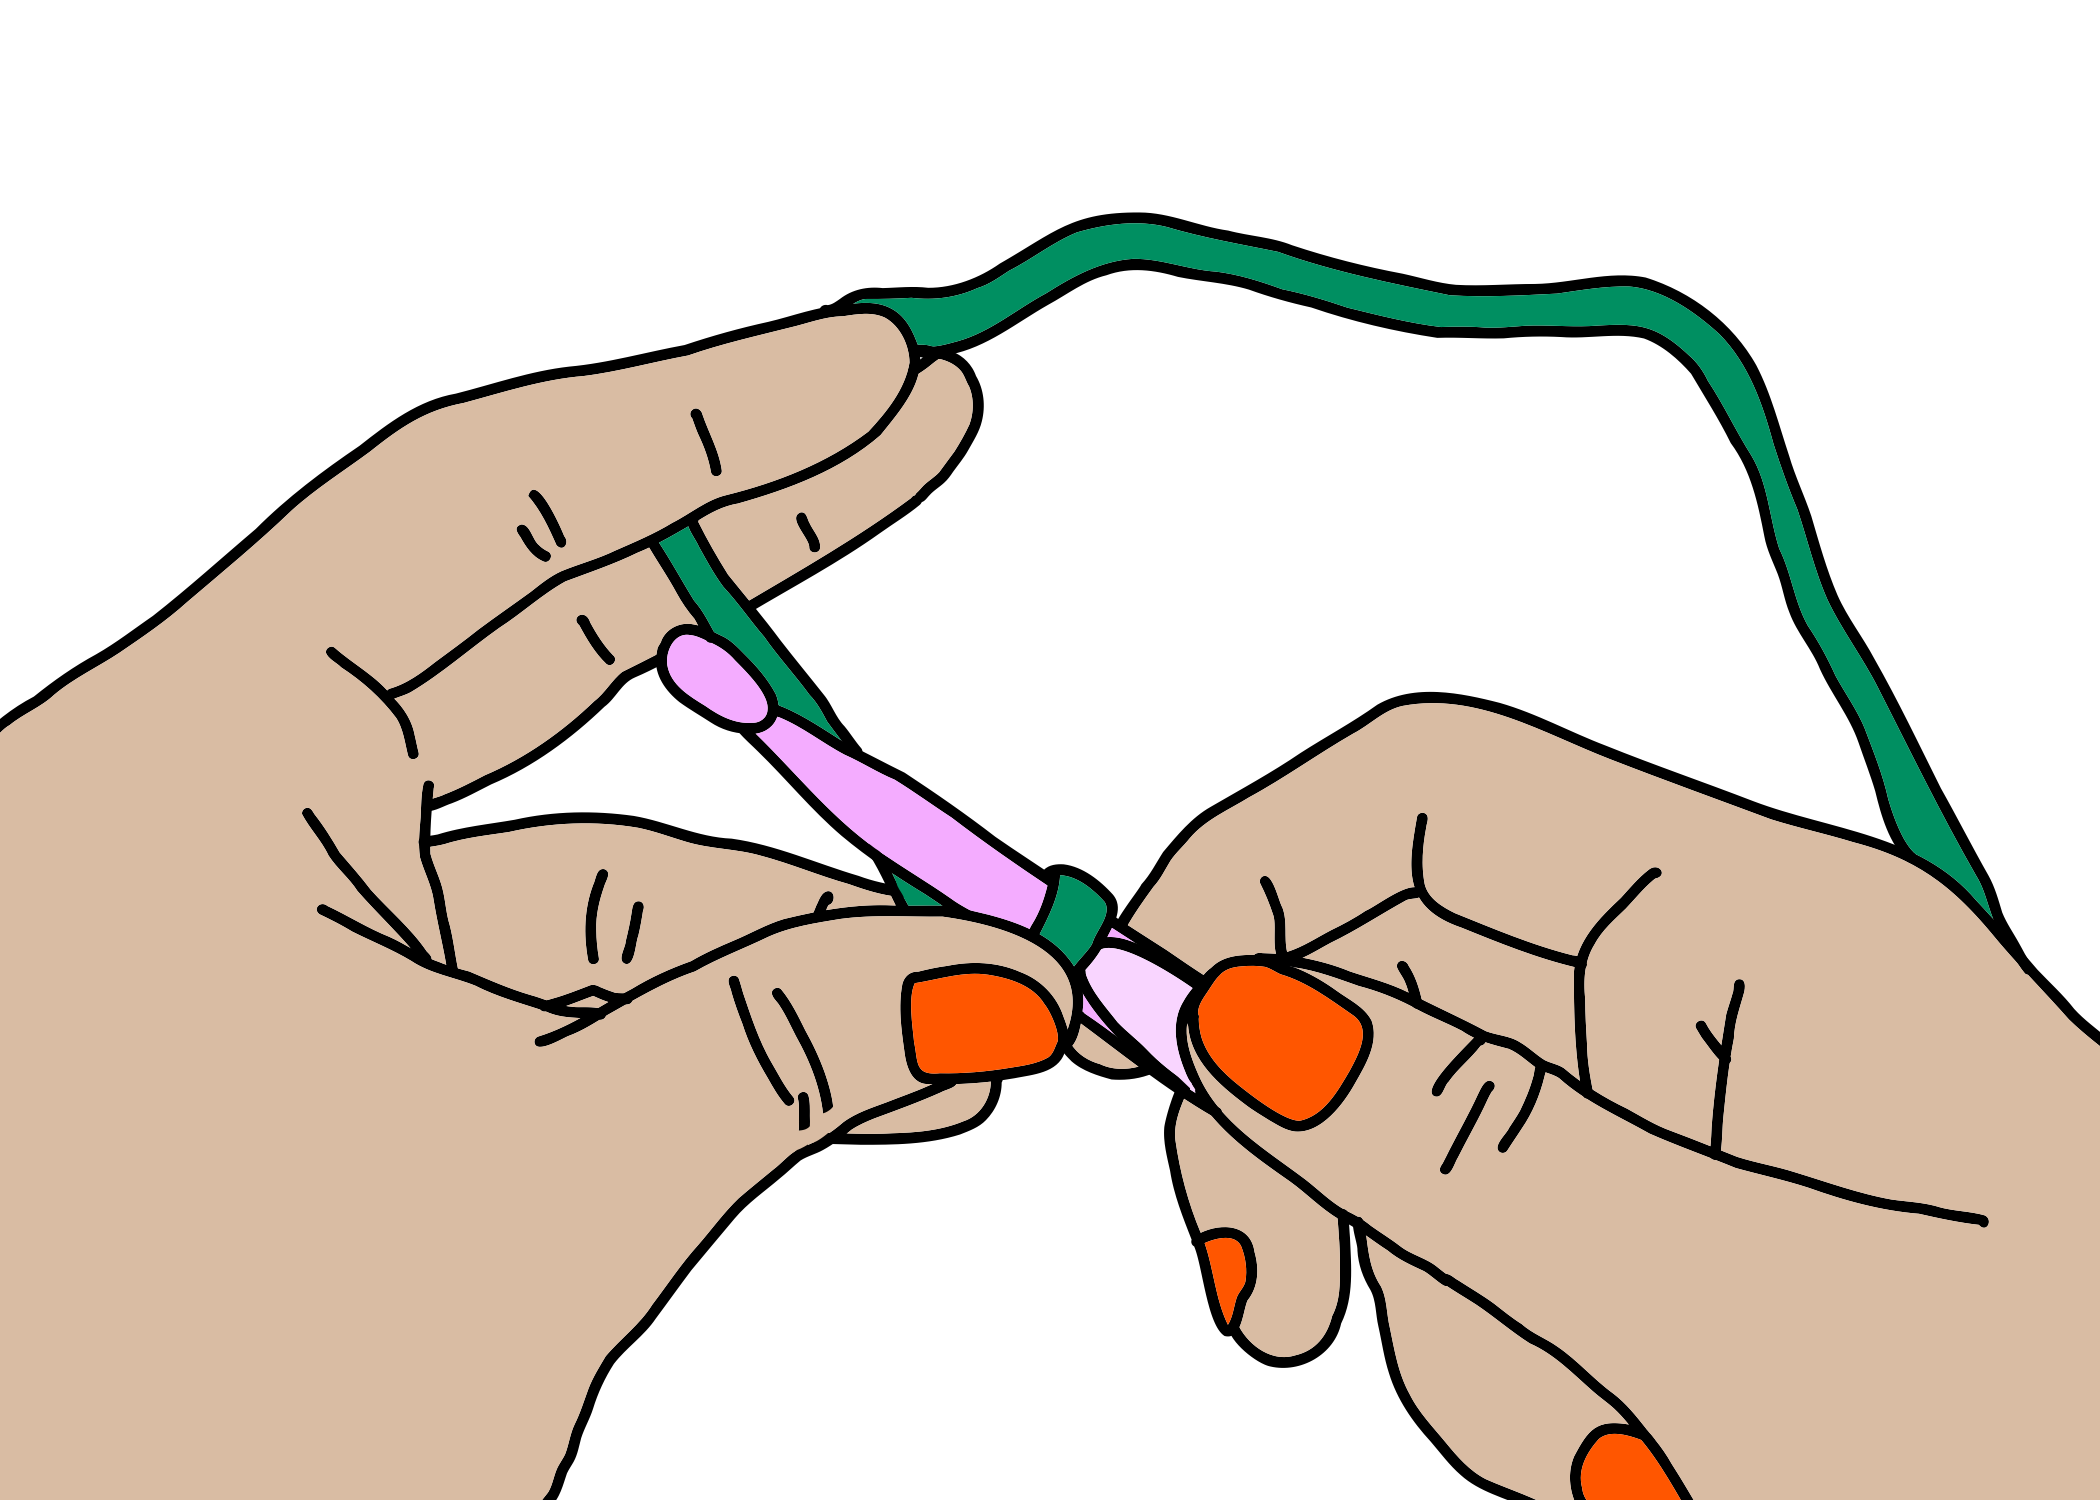
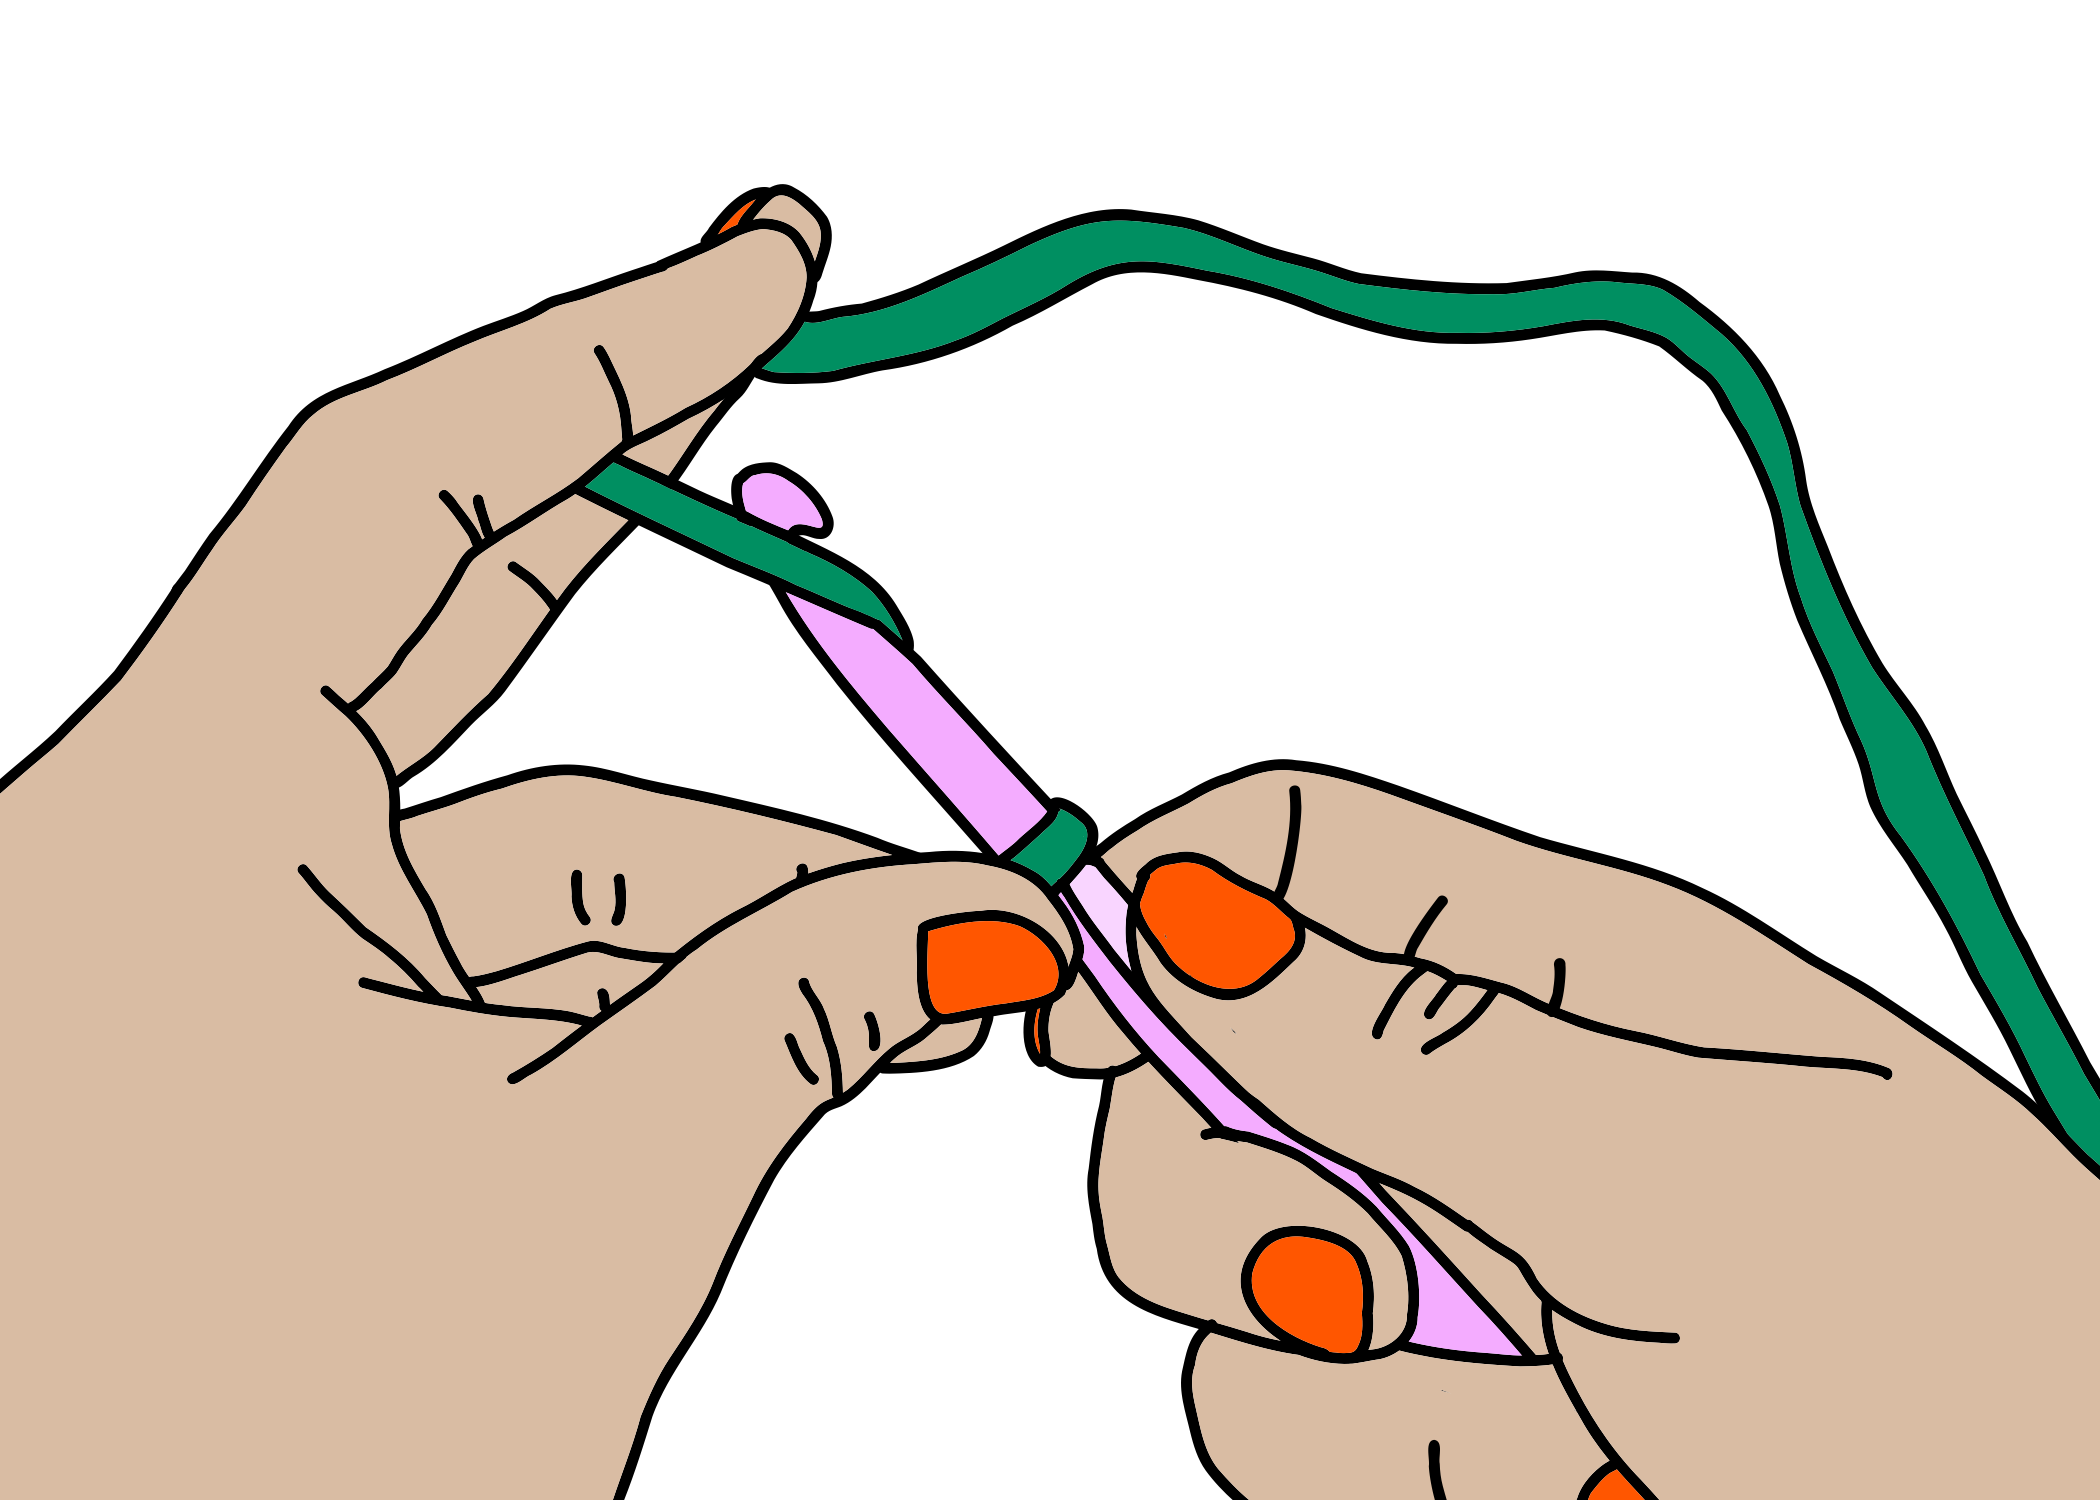
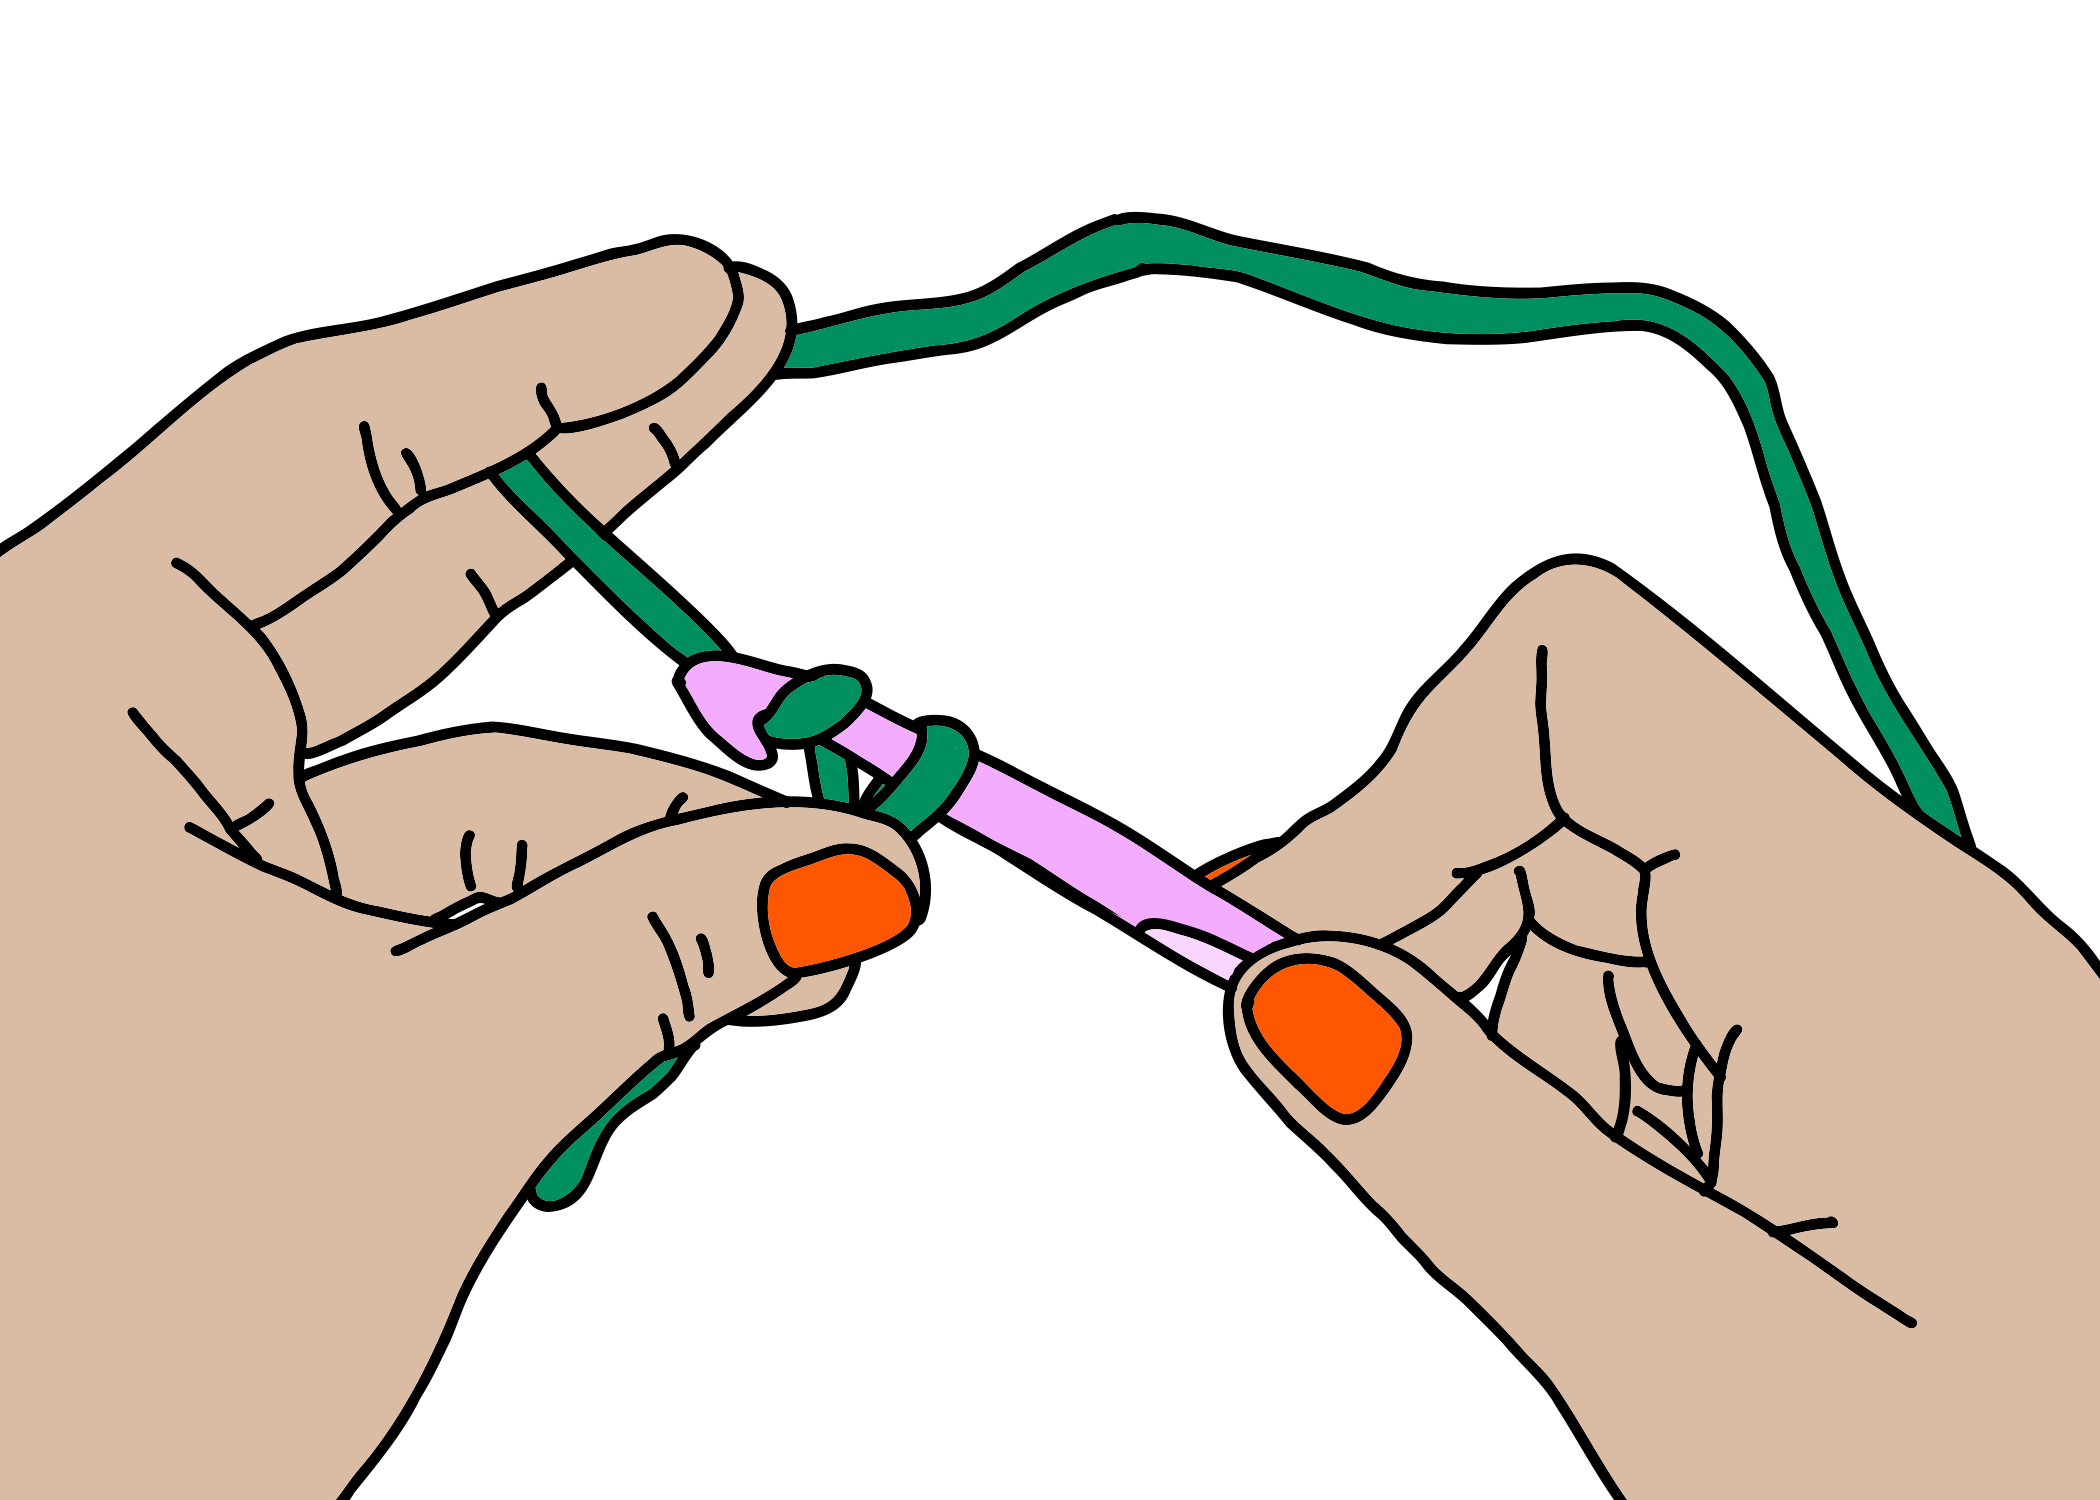
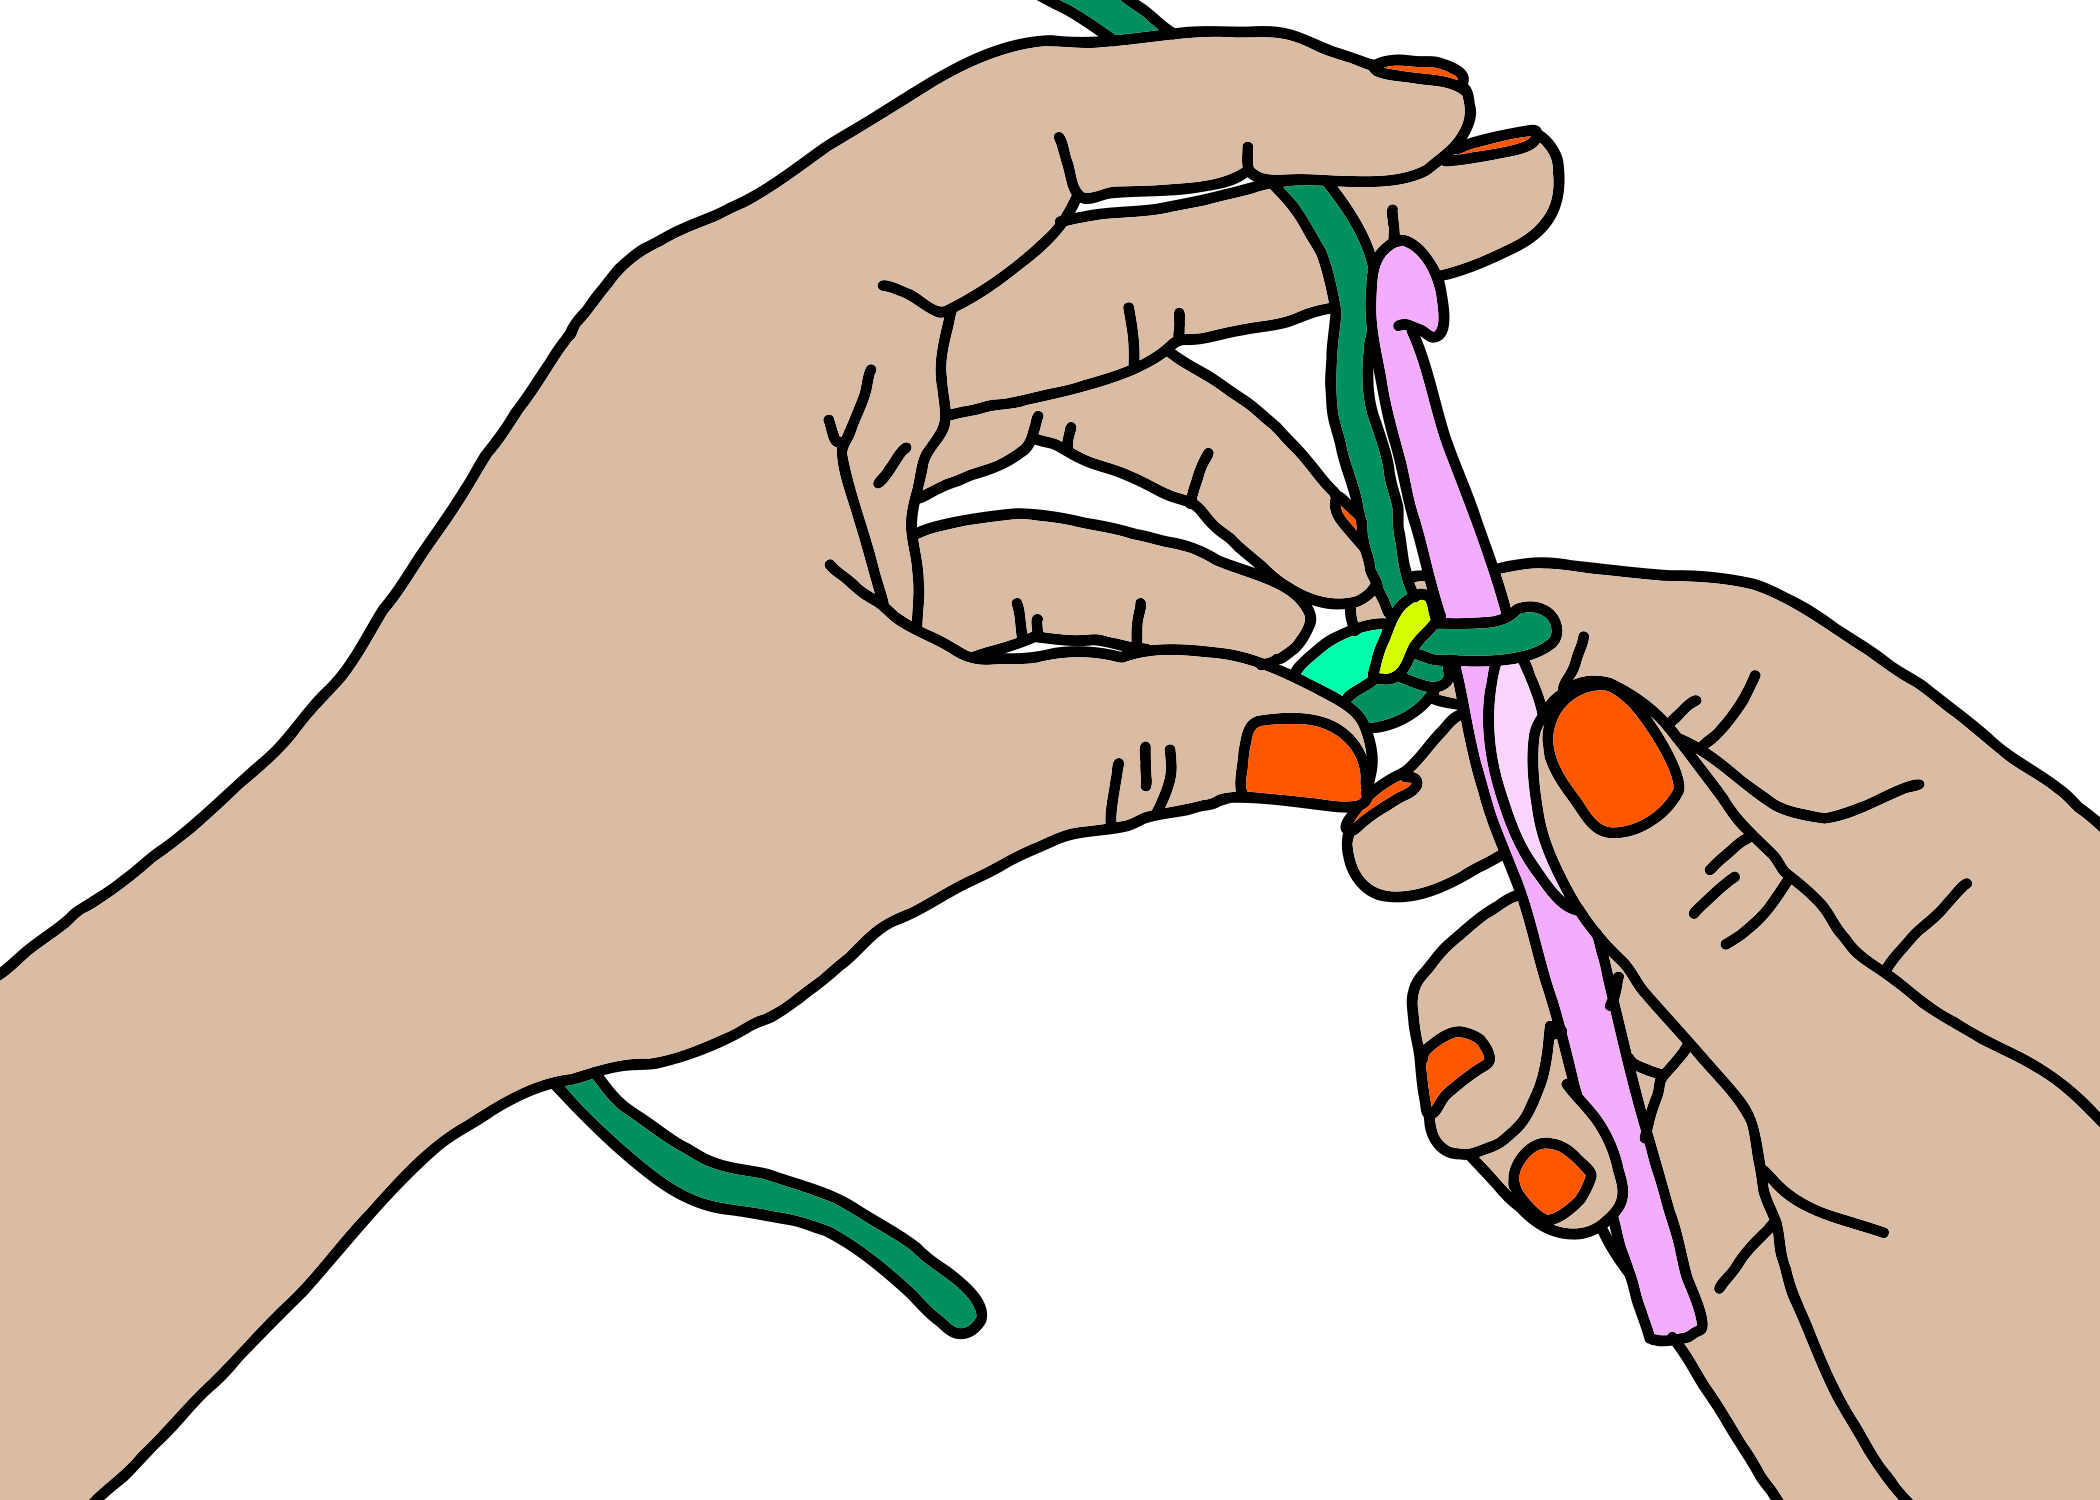
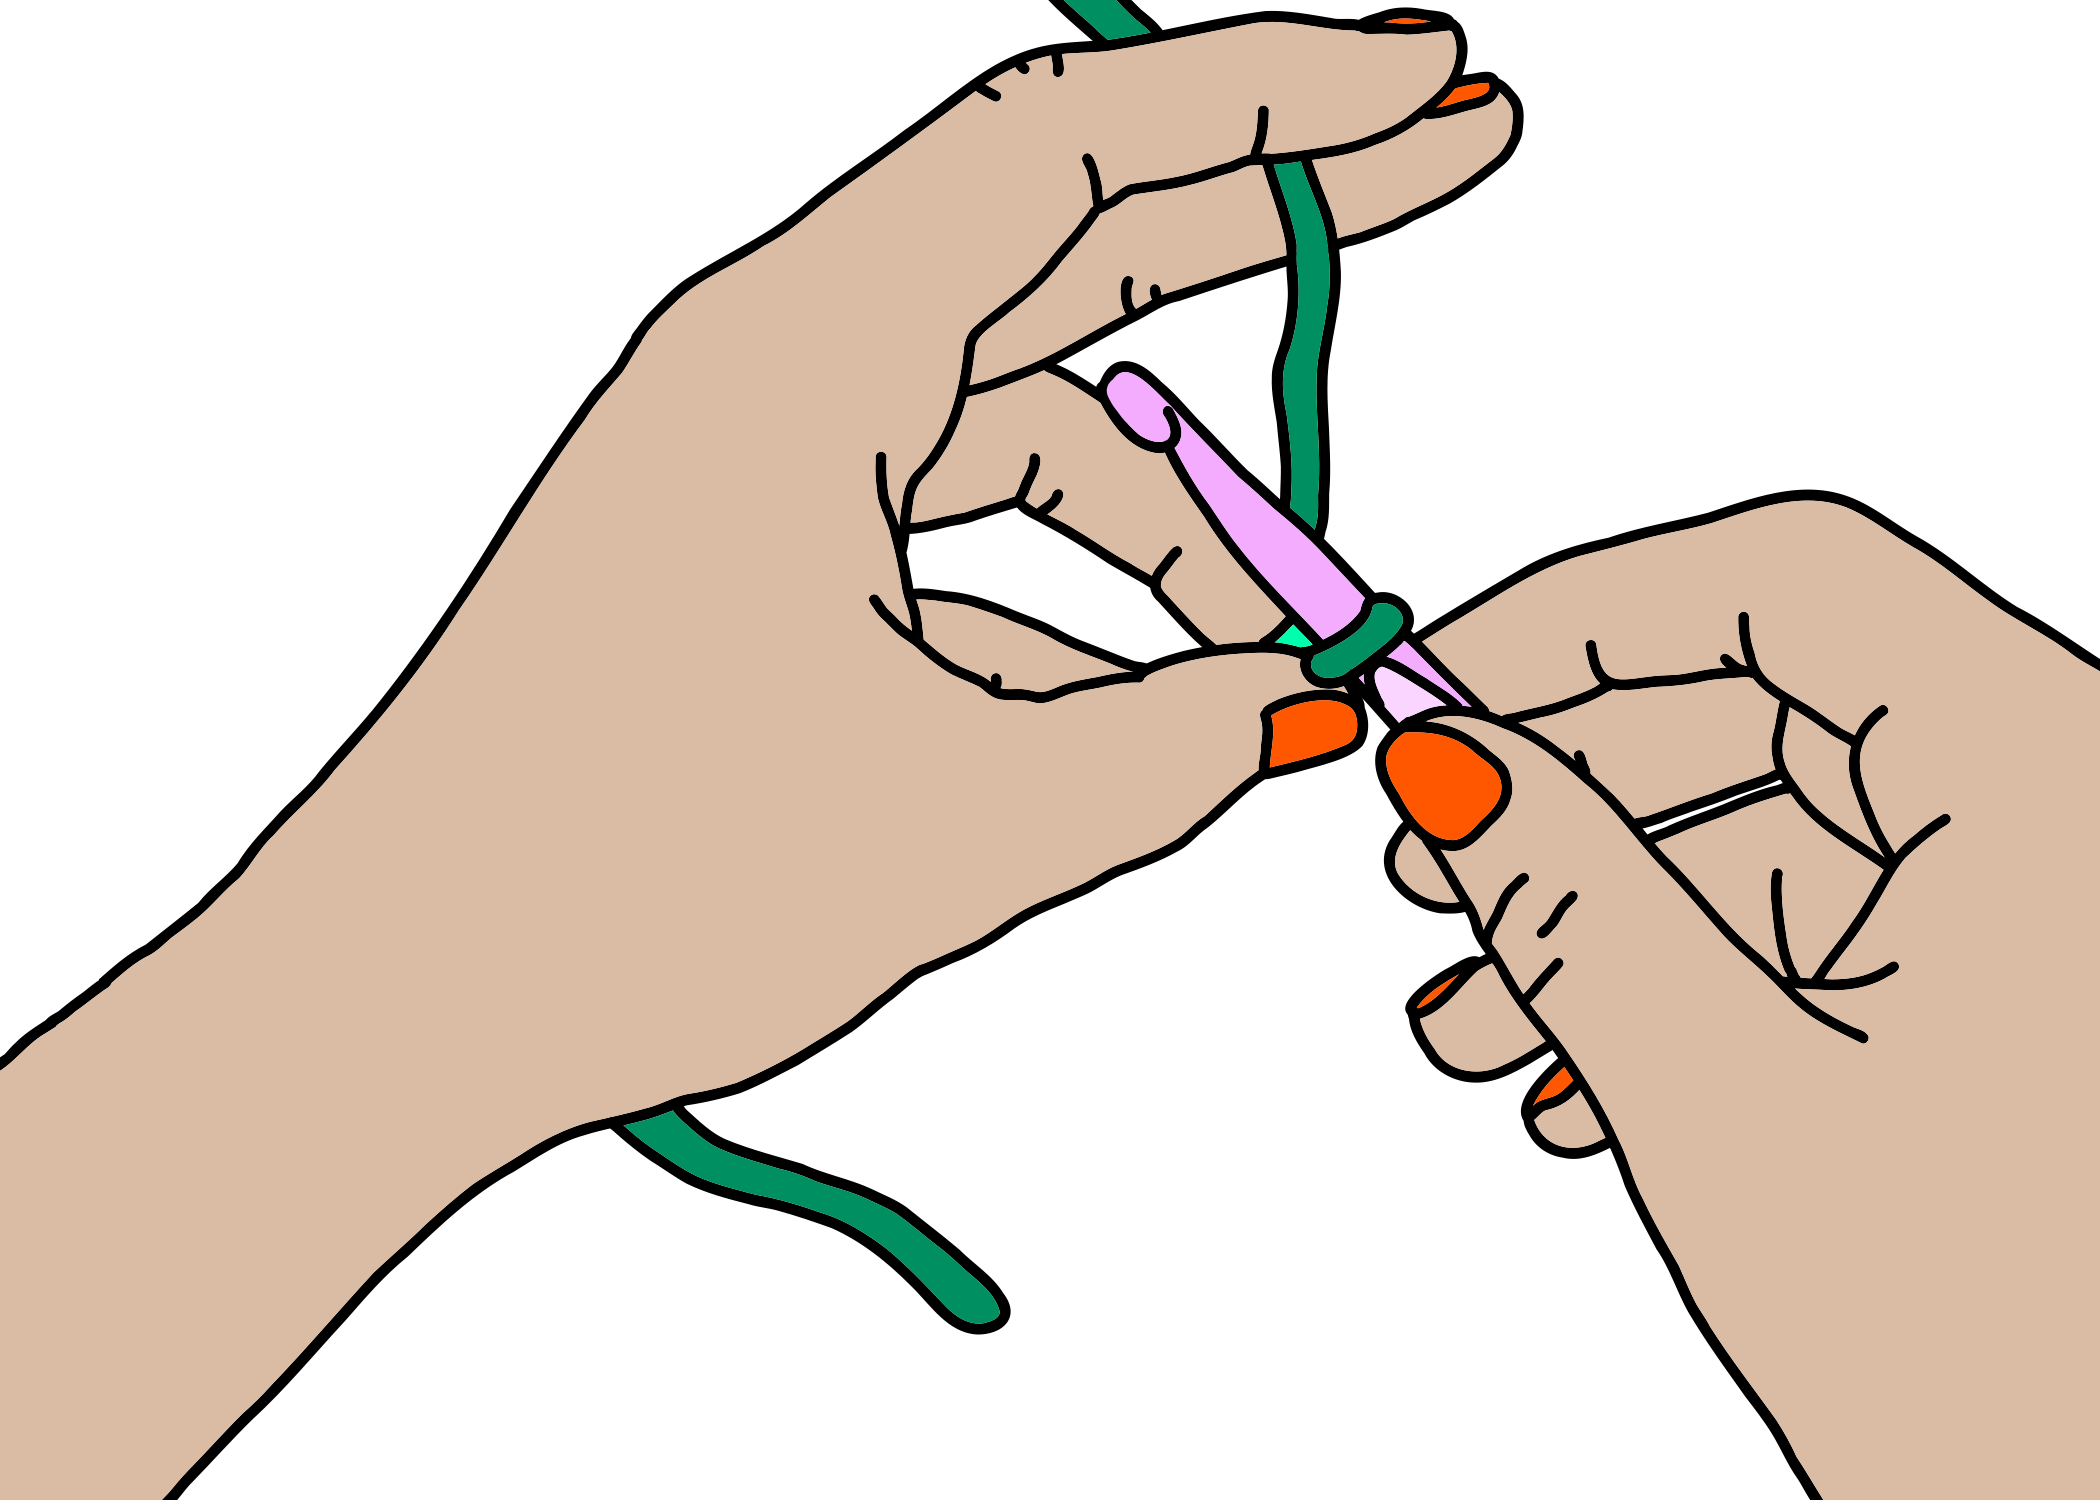
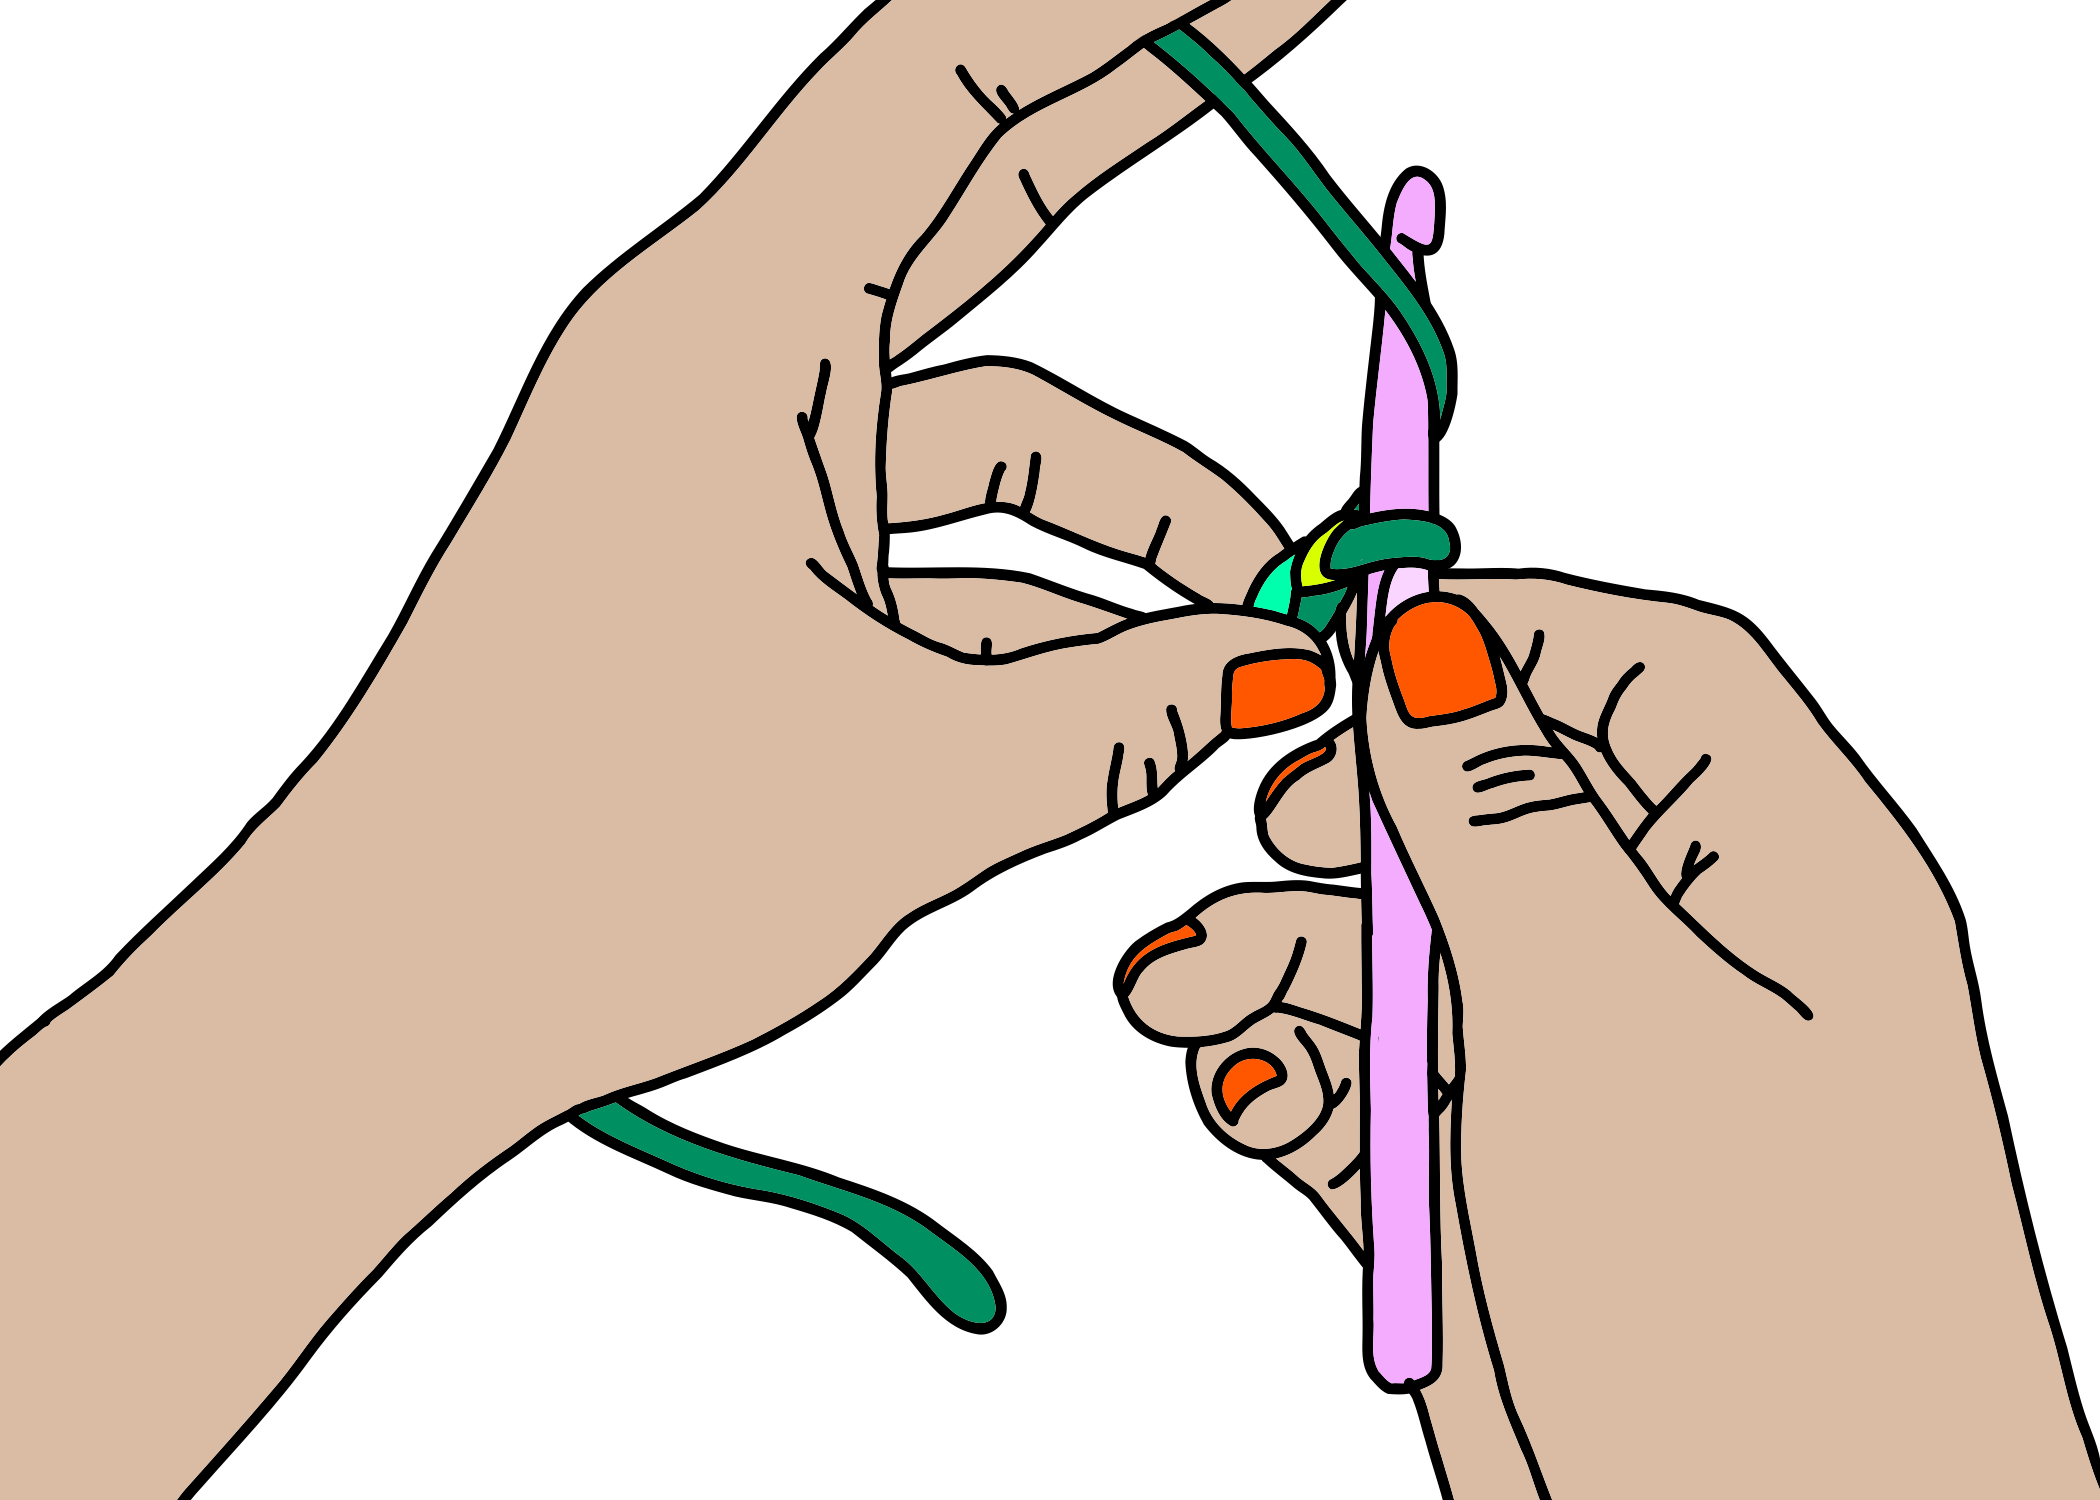
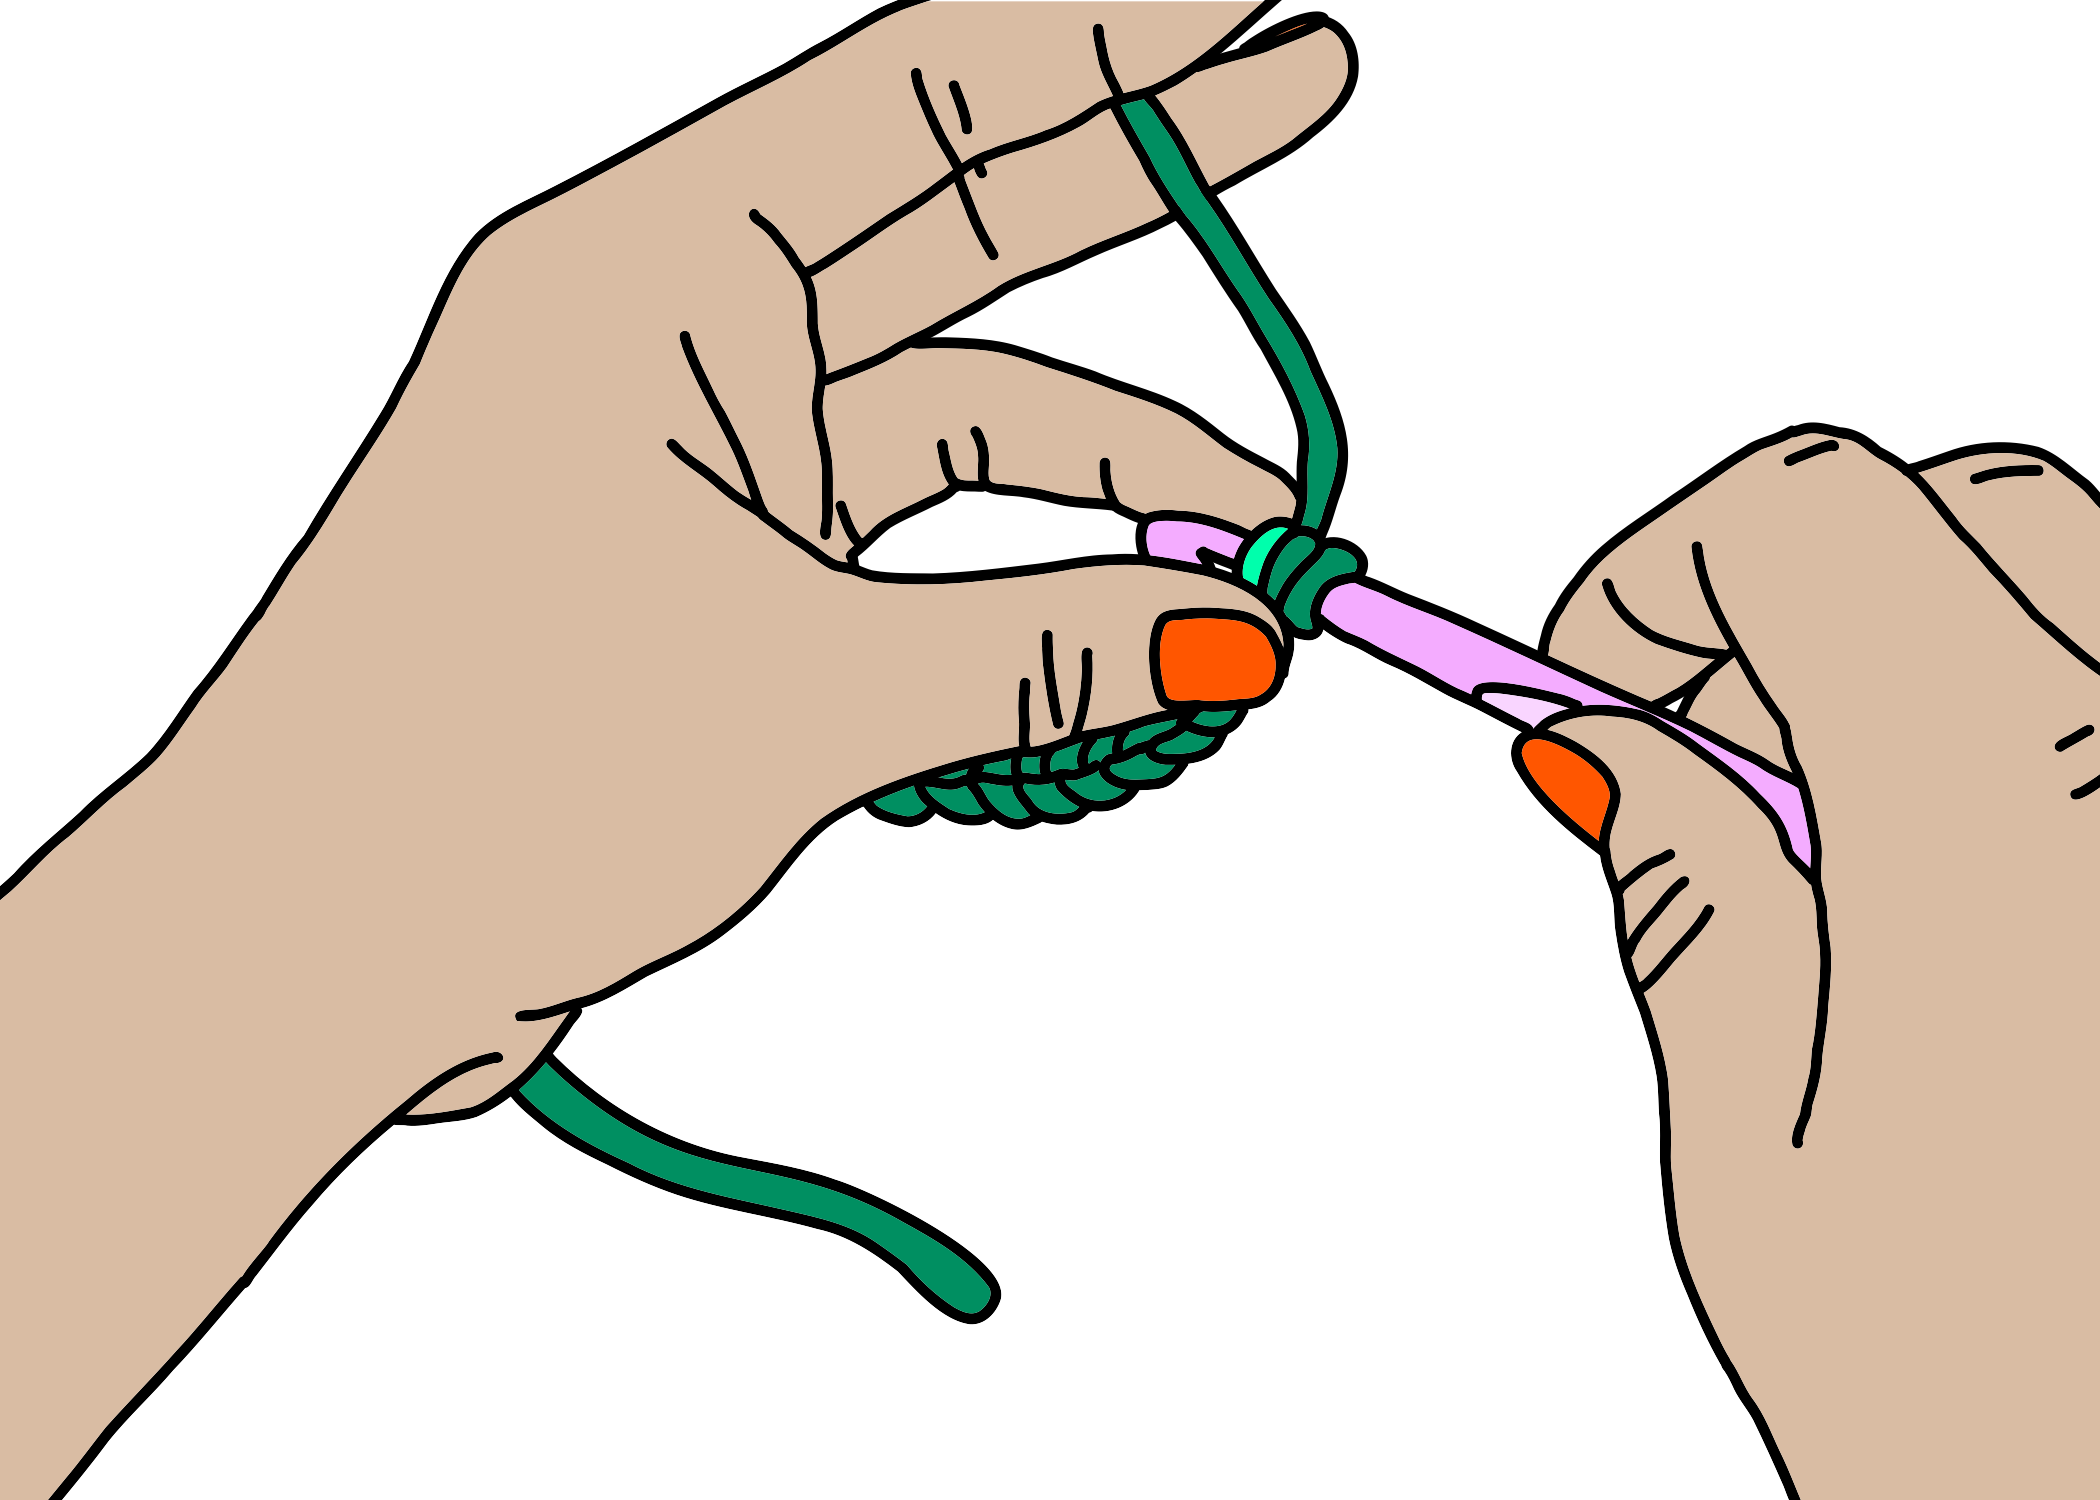
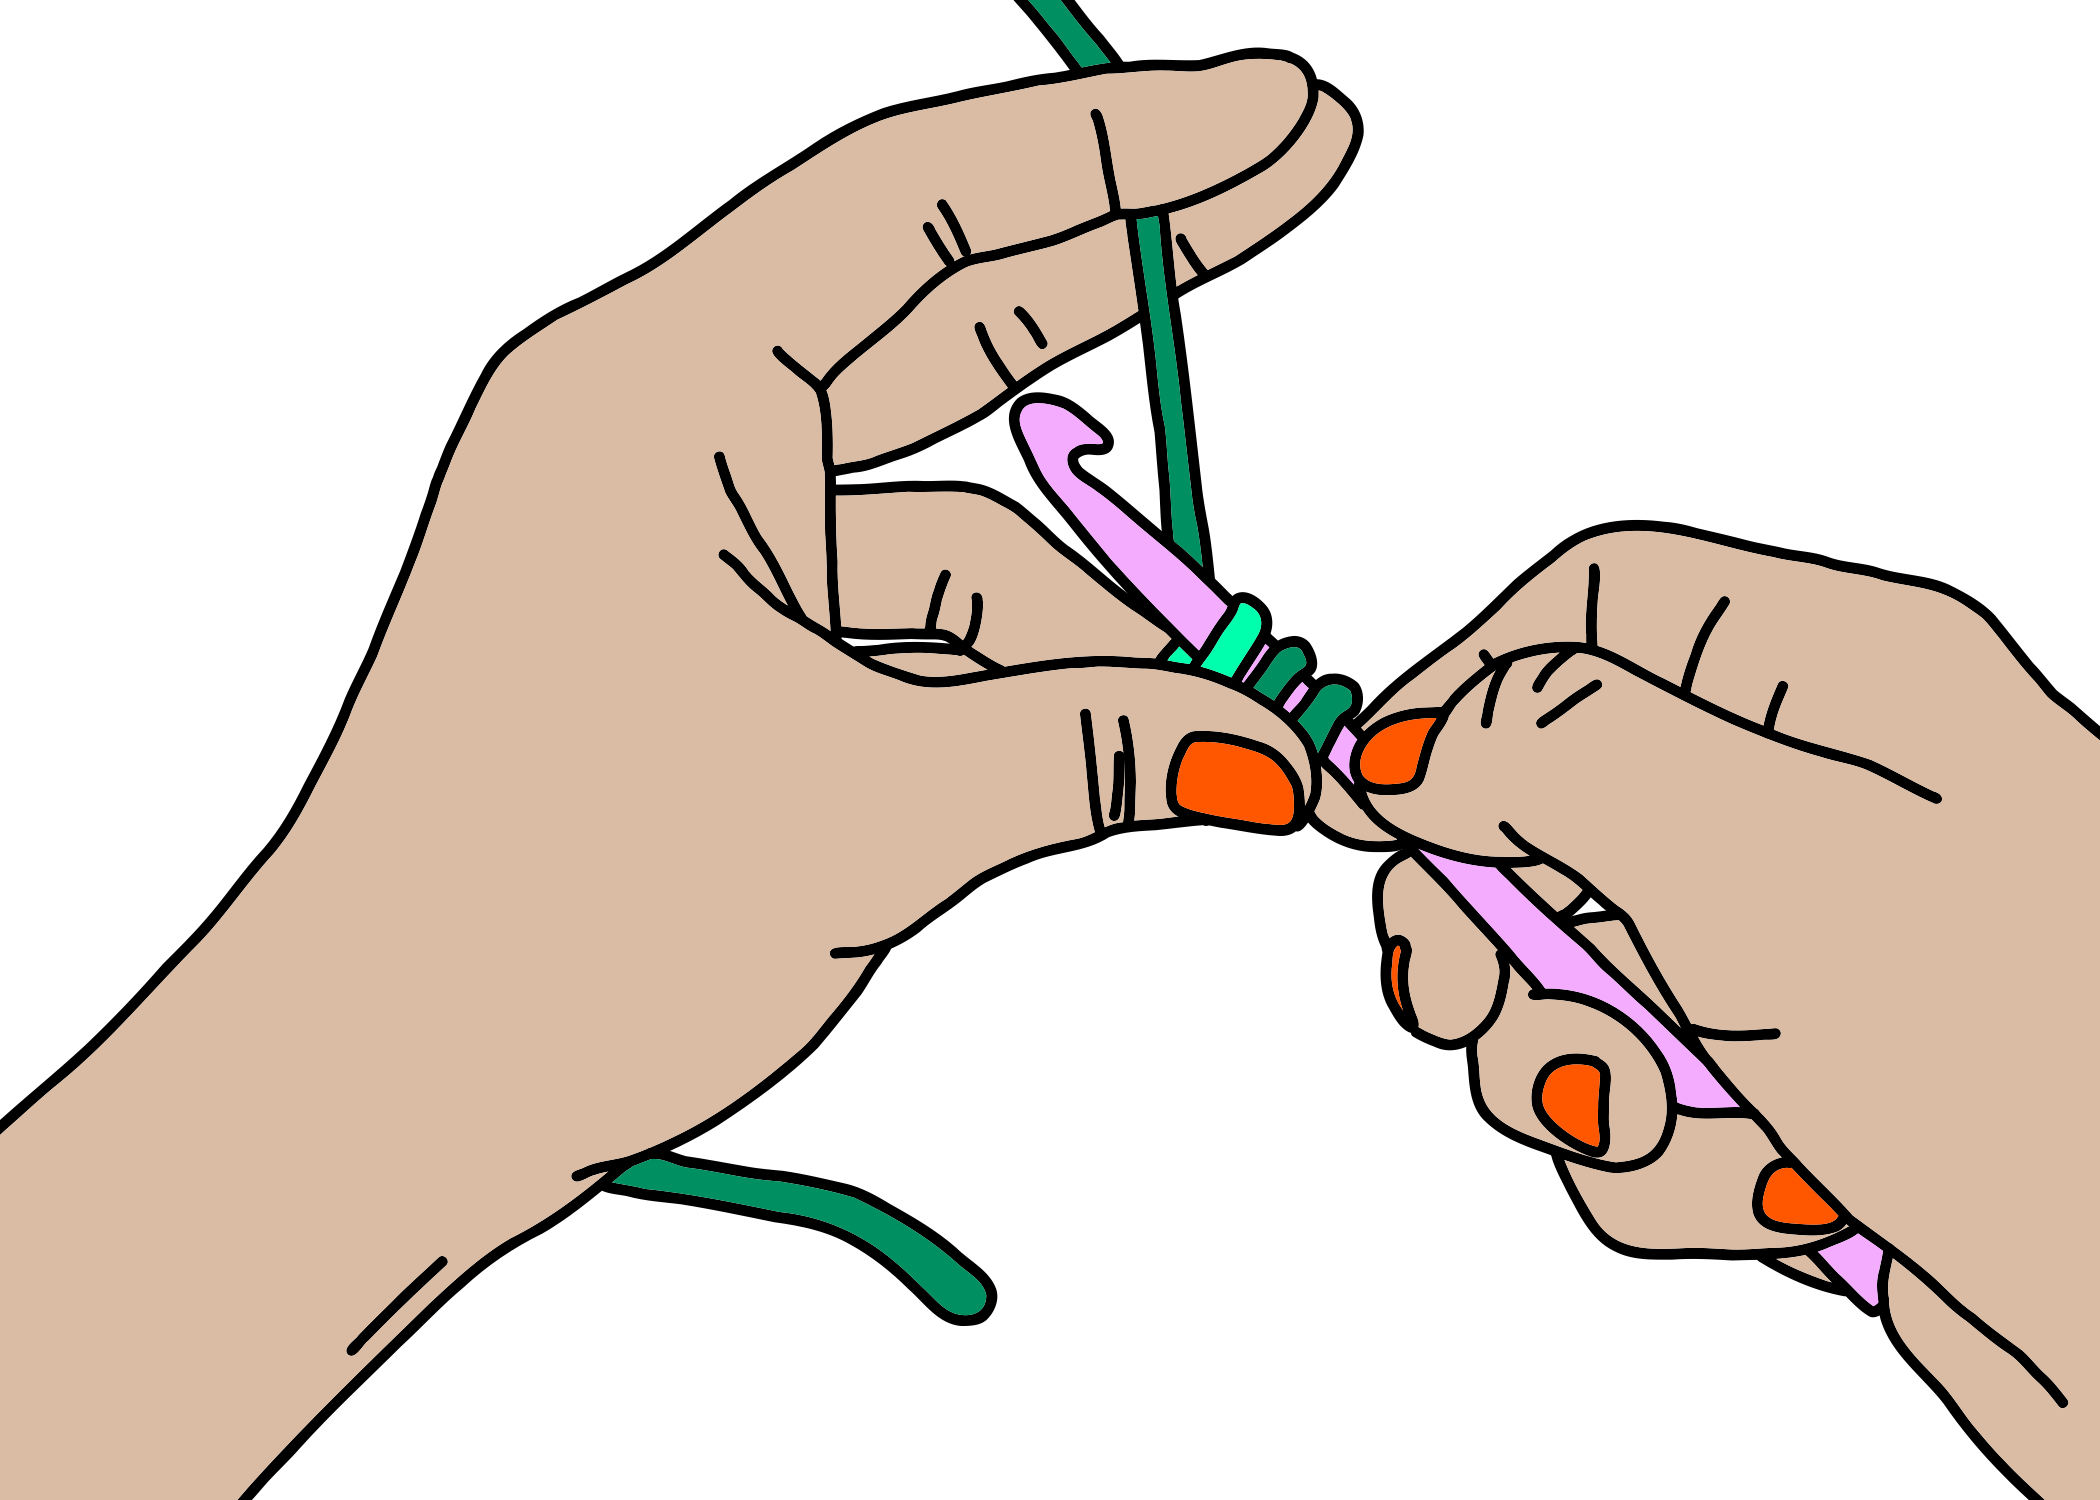
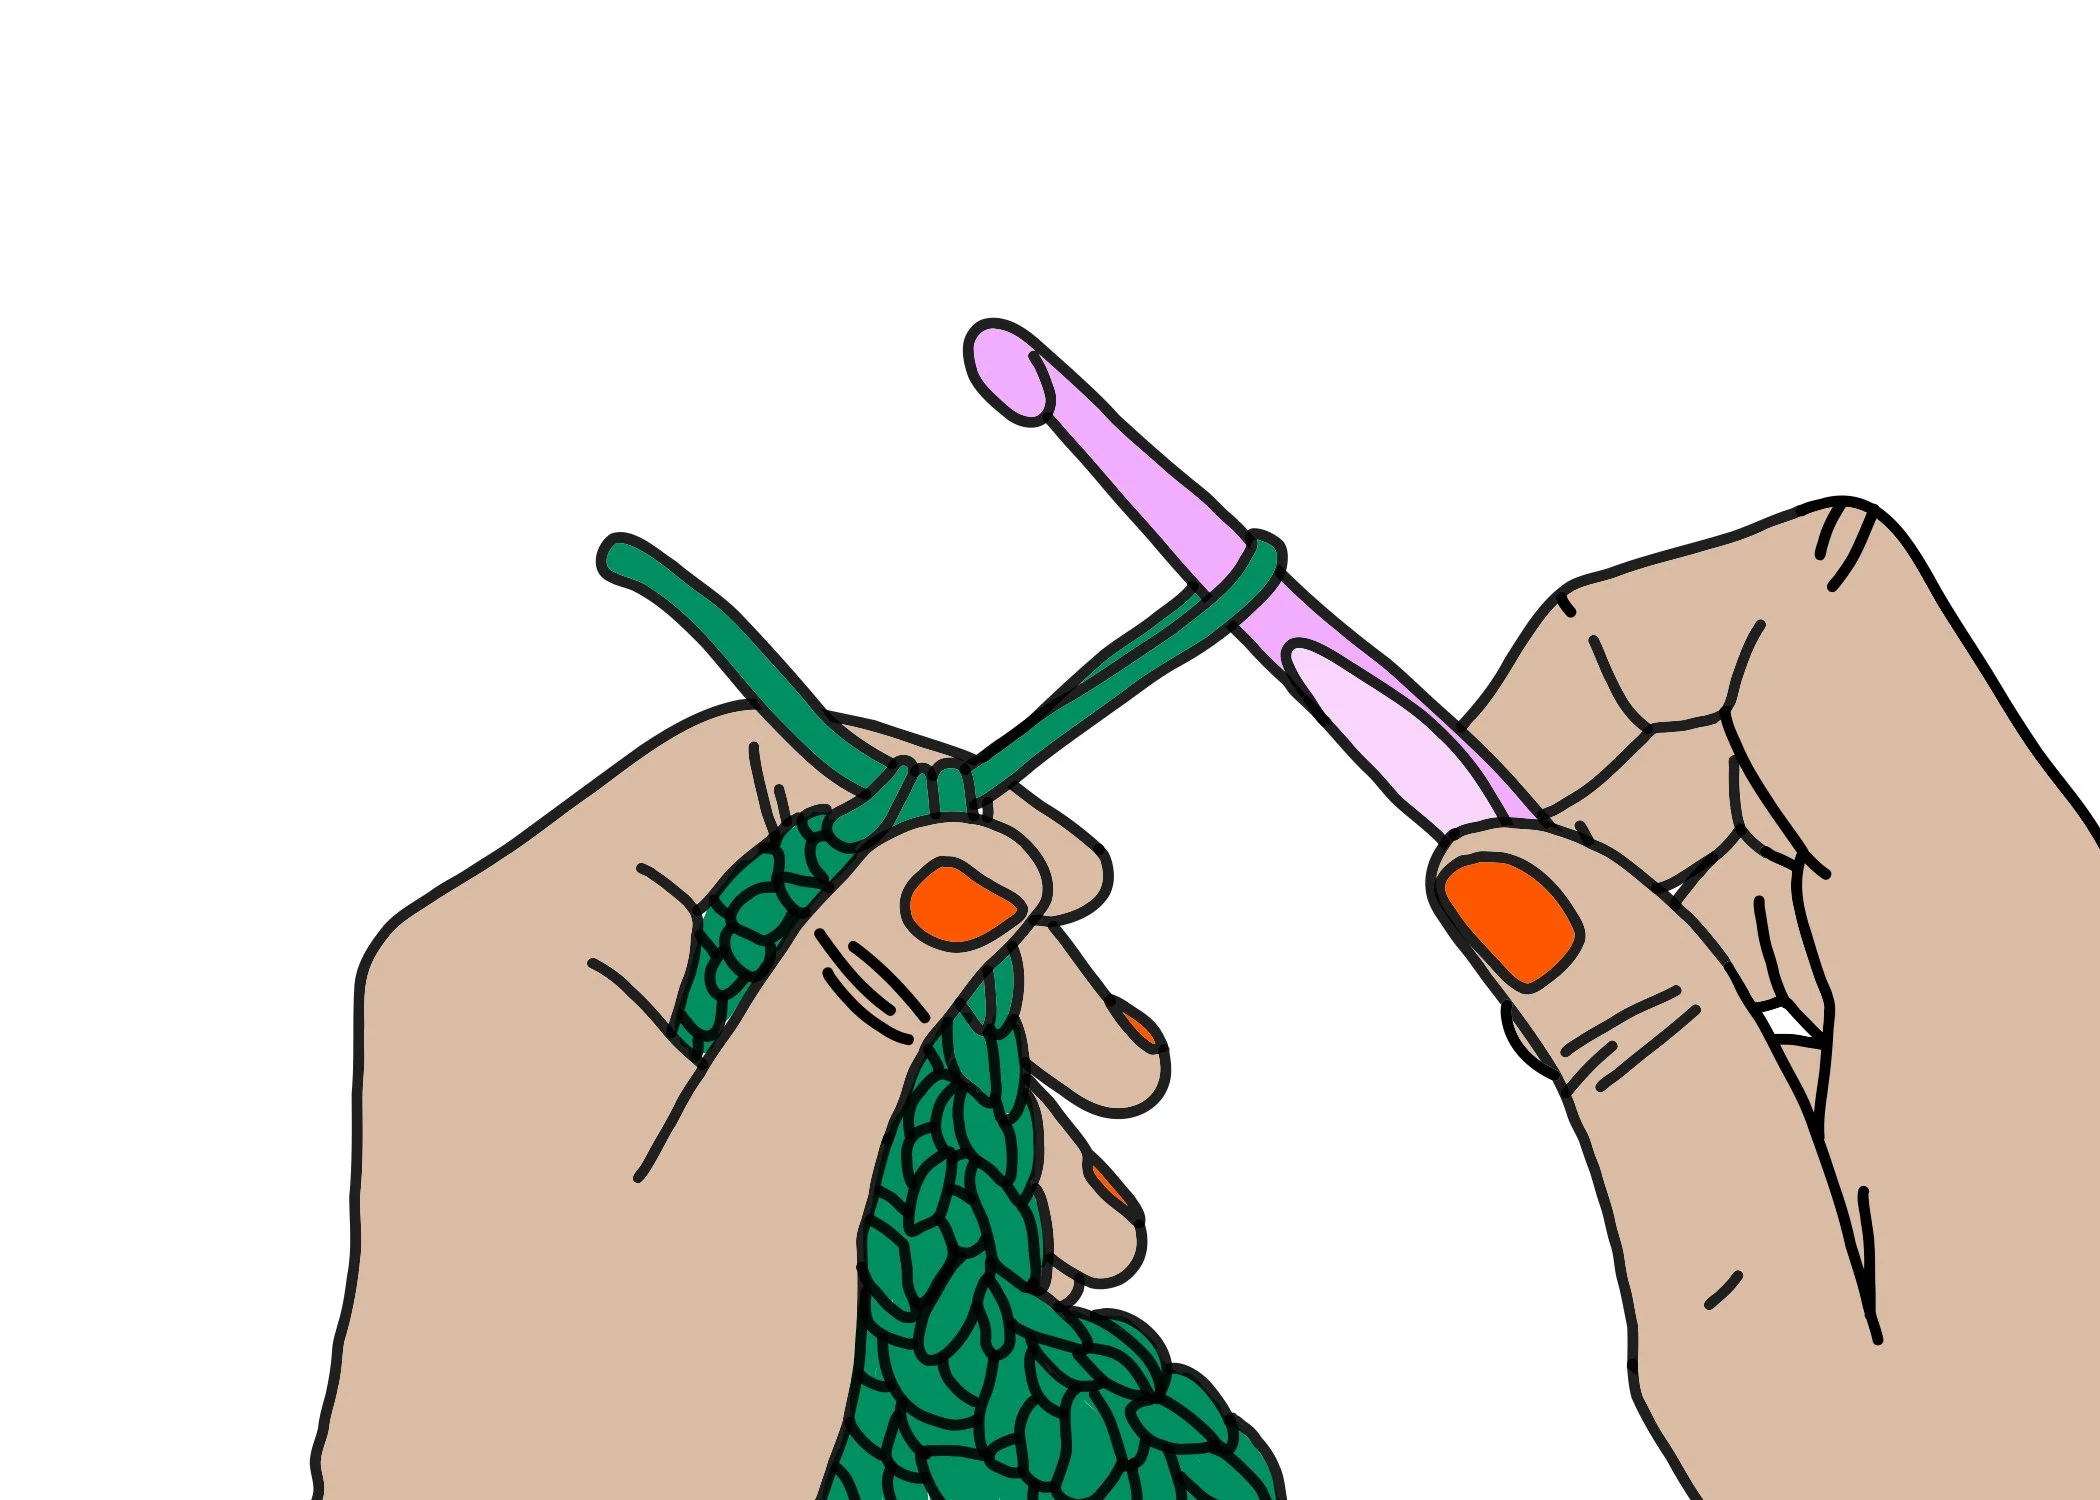
How to hold the yarn and crochet hook
Insert your crochet hook through the loop and pull to tighten — but not too-too tight!
The loop should have a bit of give, and the hook should be able to slide freely.
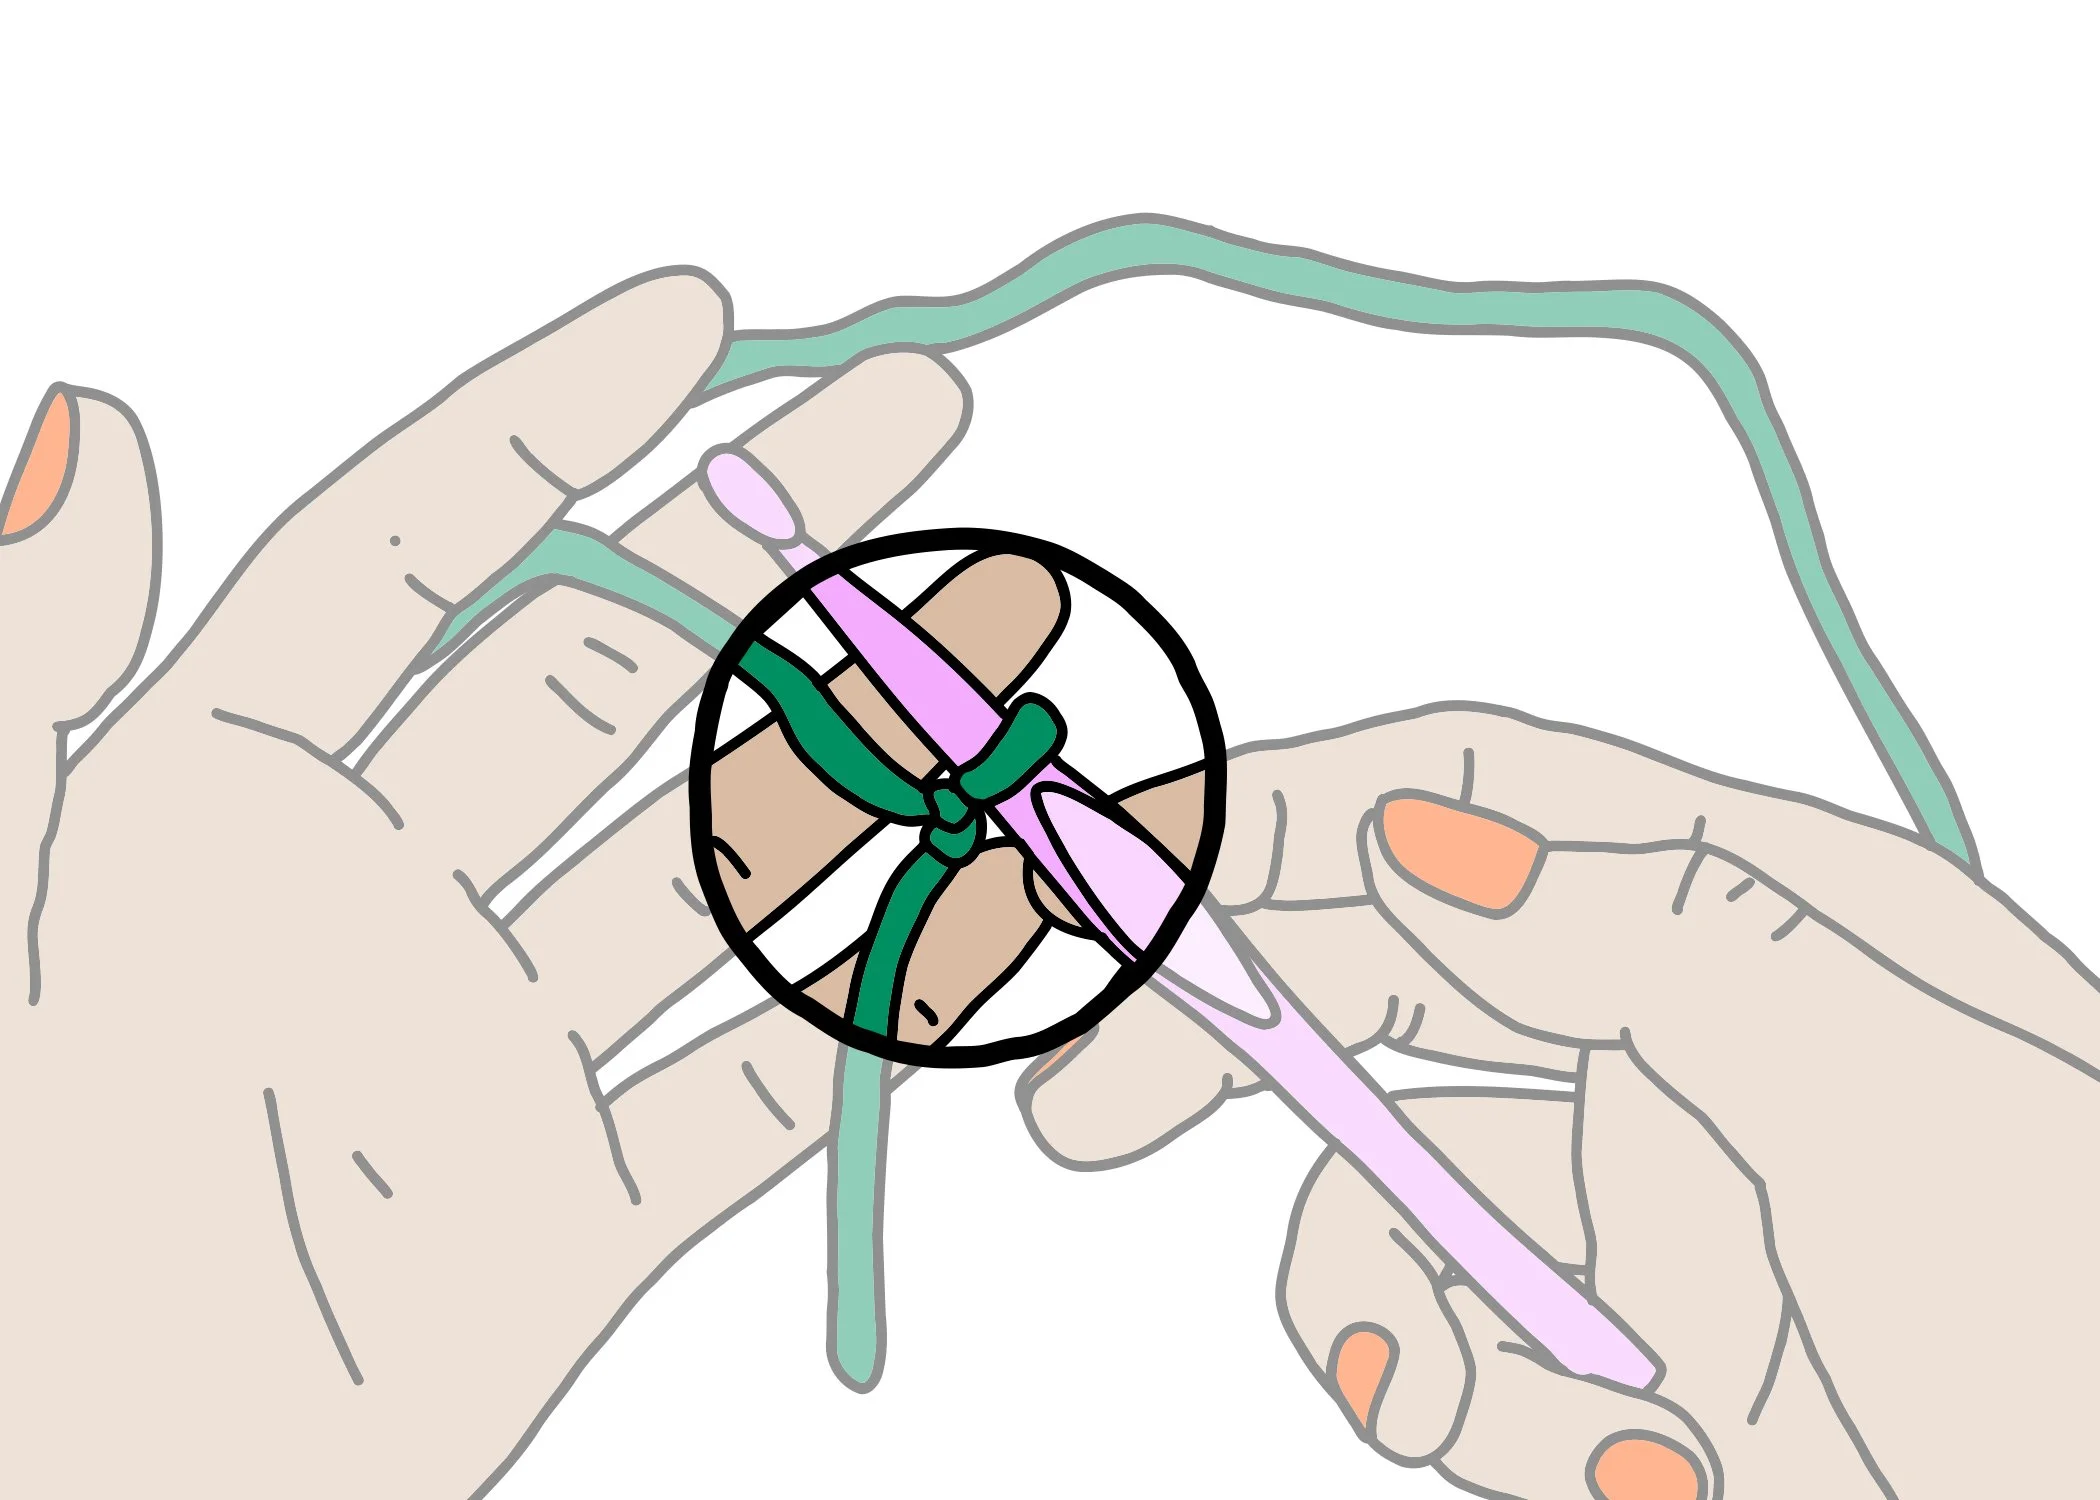
Figuring out how to get comfy with the yarn, the hook, and your hands, takes time. Be patient! Give this a try (but feel free to adapt and adjust as needed!):
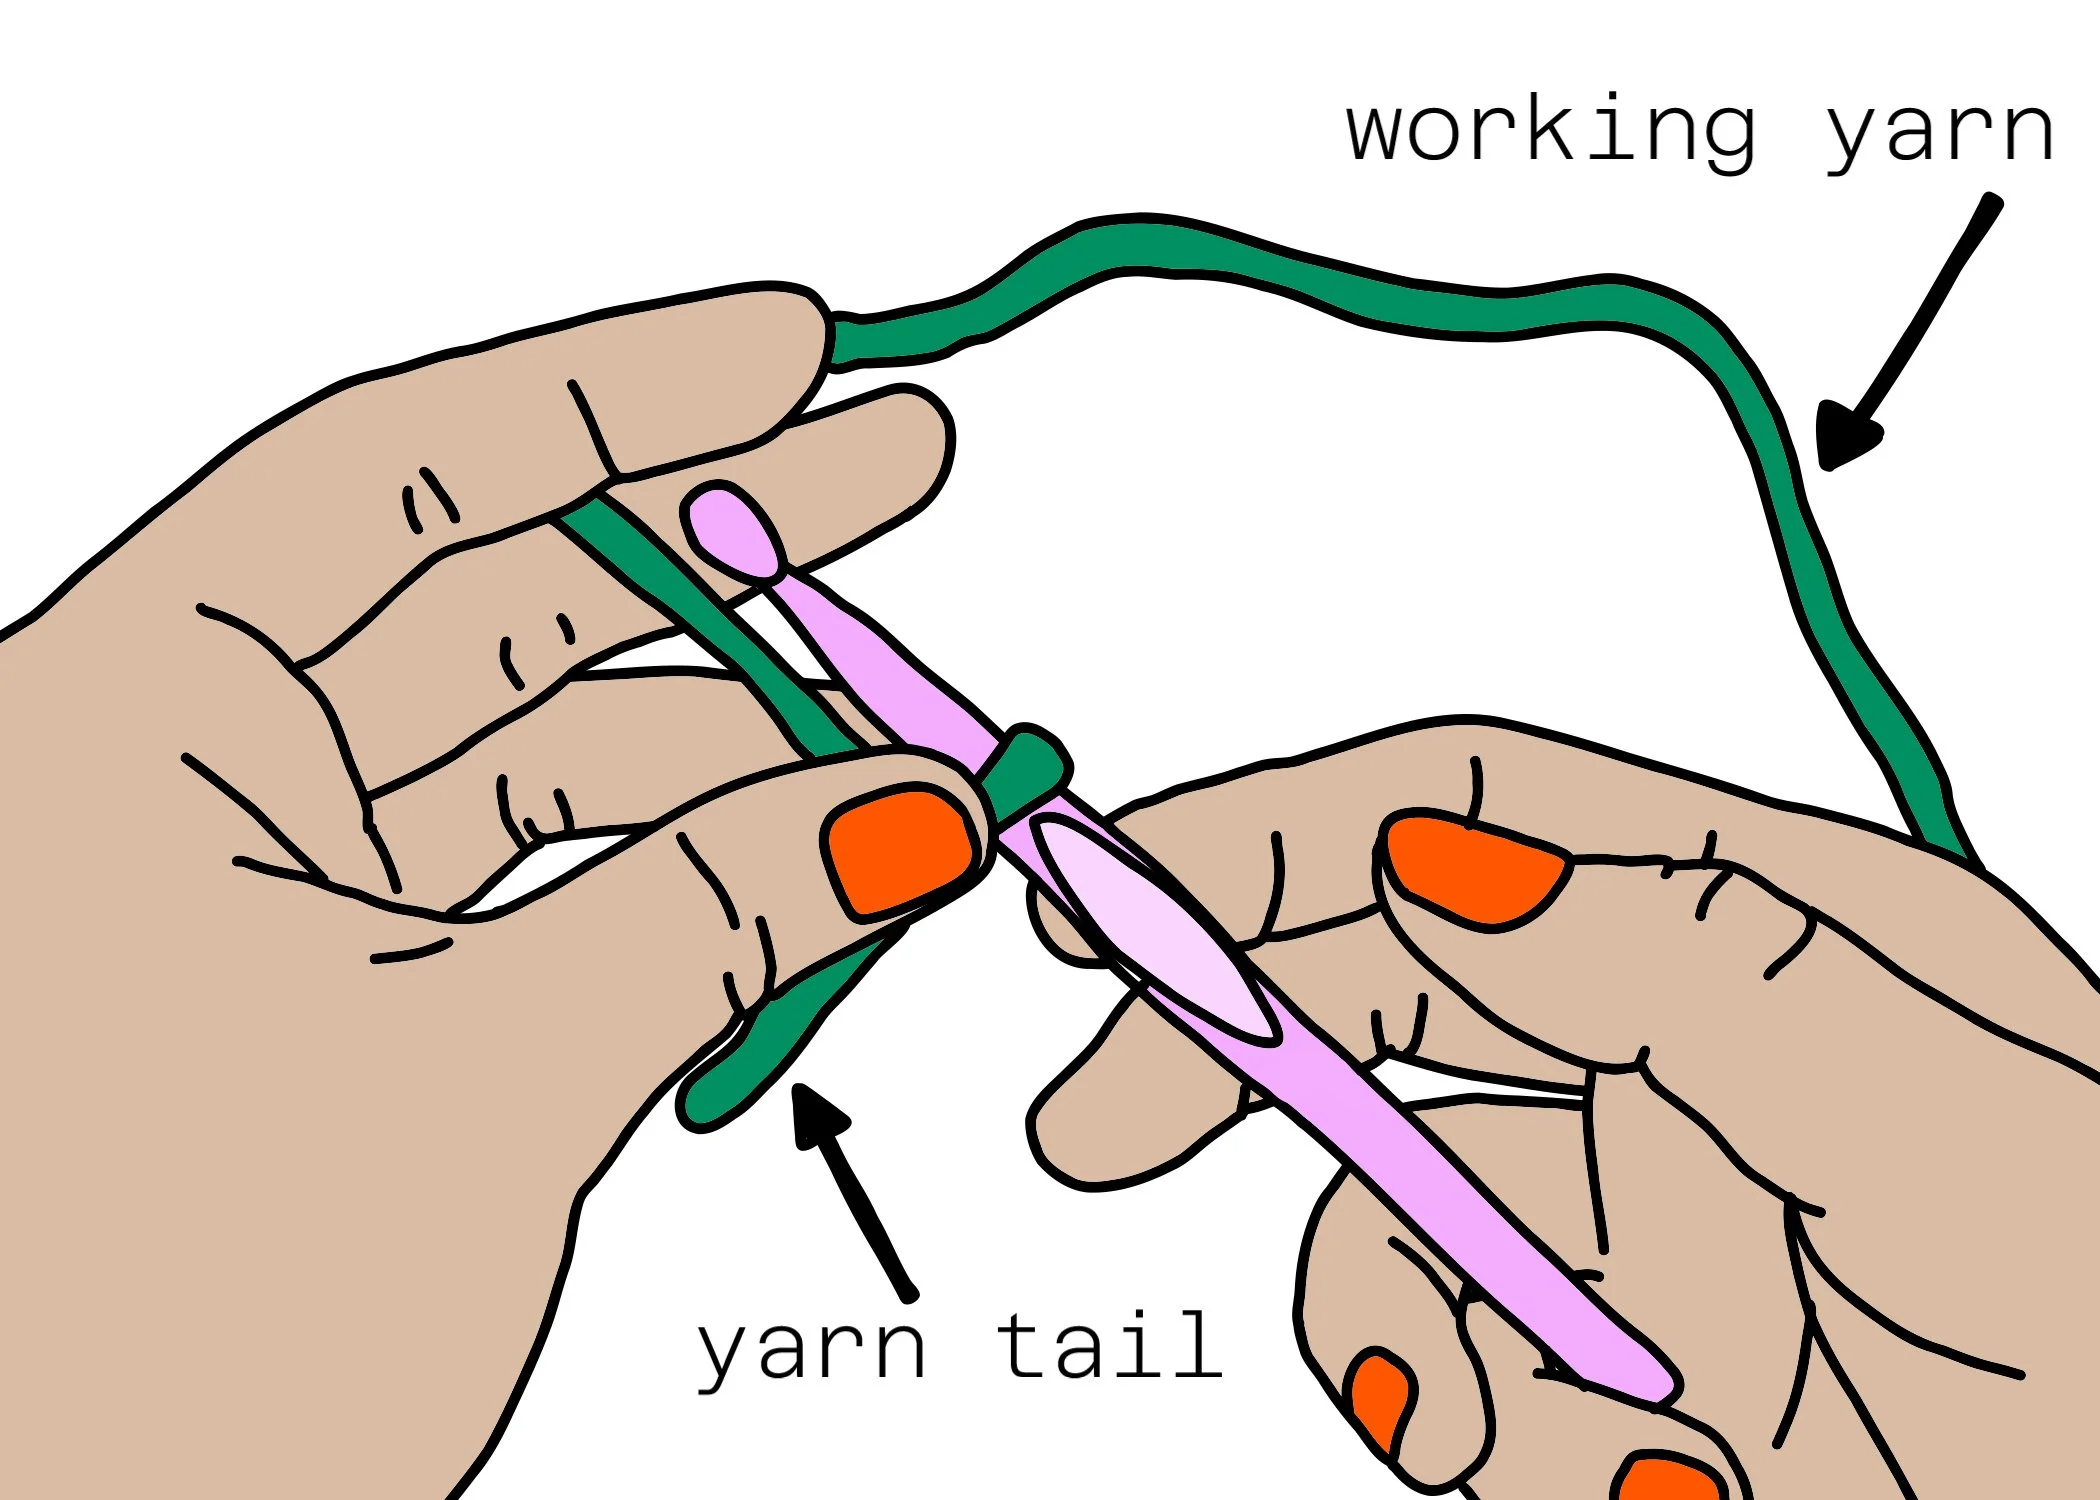
Keep the yarn tail towards you (always!).
Hold the knot between your ring finger and thumb.
Run the long end of the yarn (the working yarn) loosely through your middle and pointer fingers.
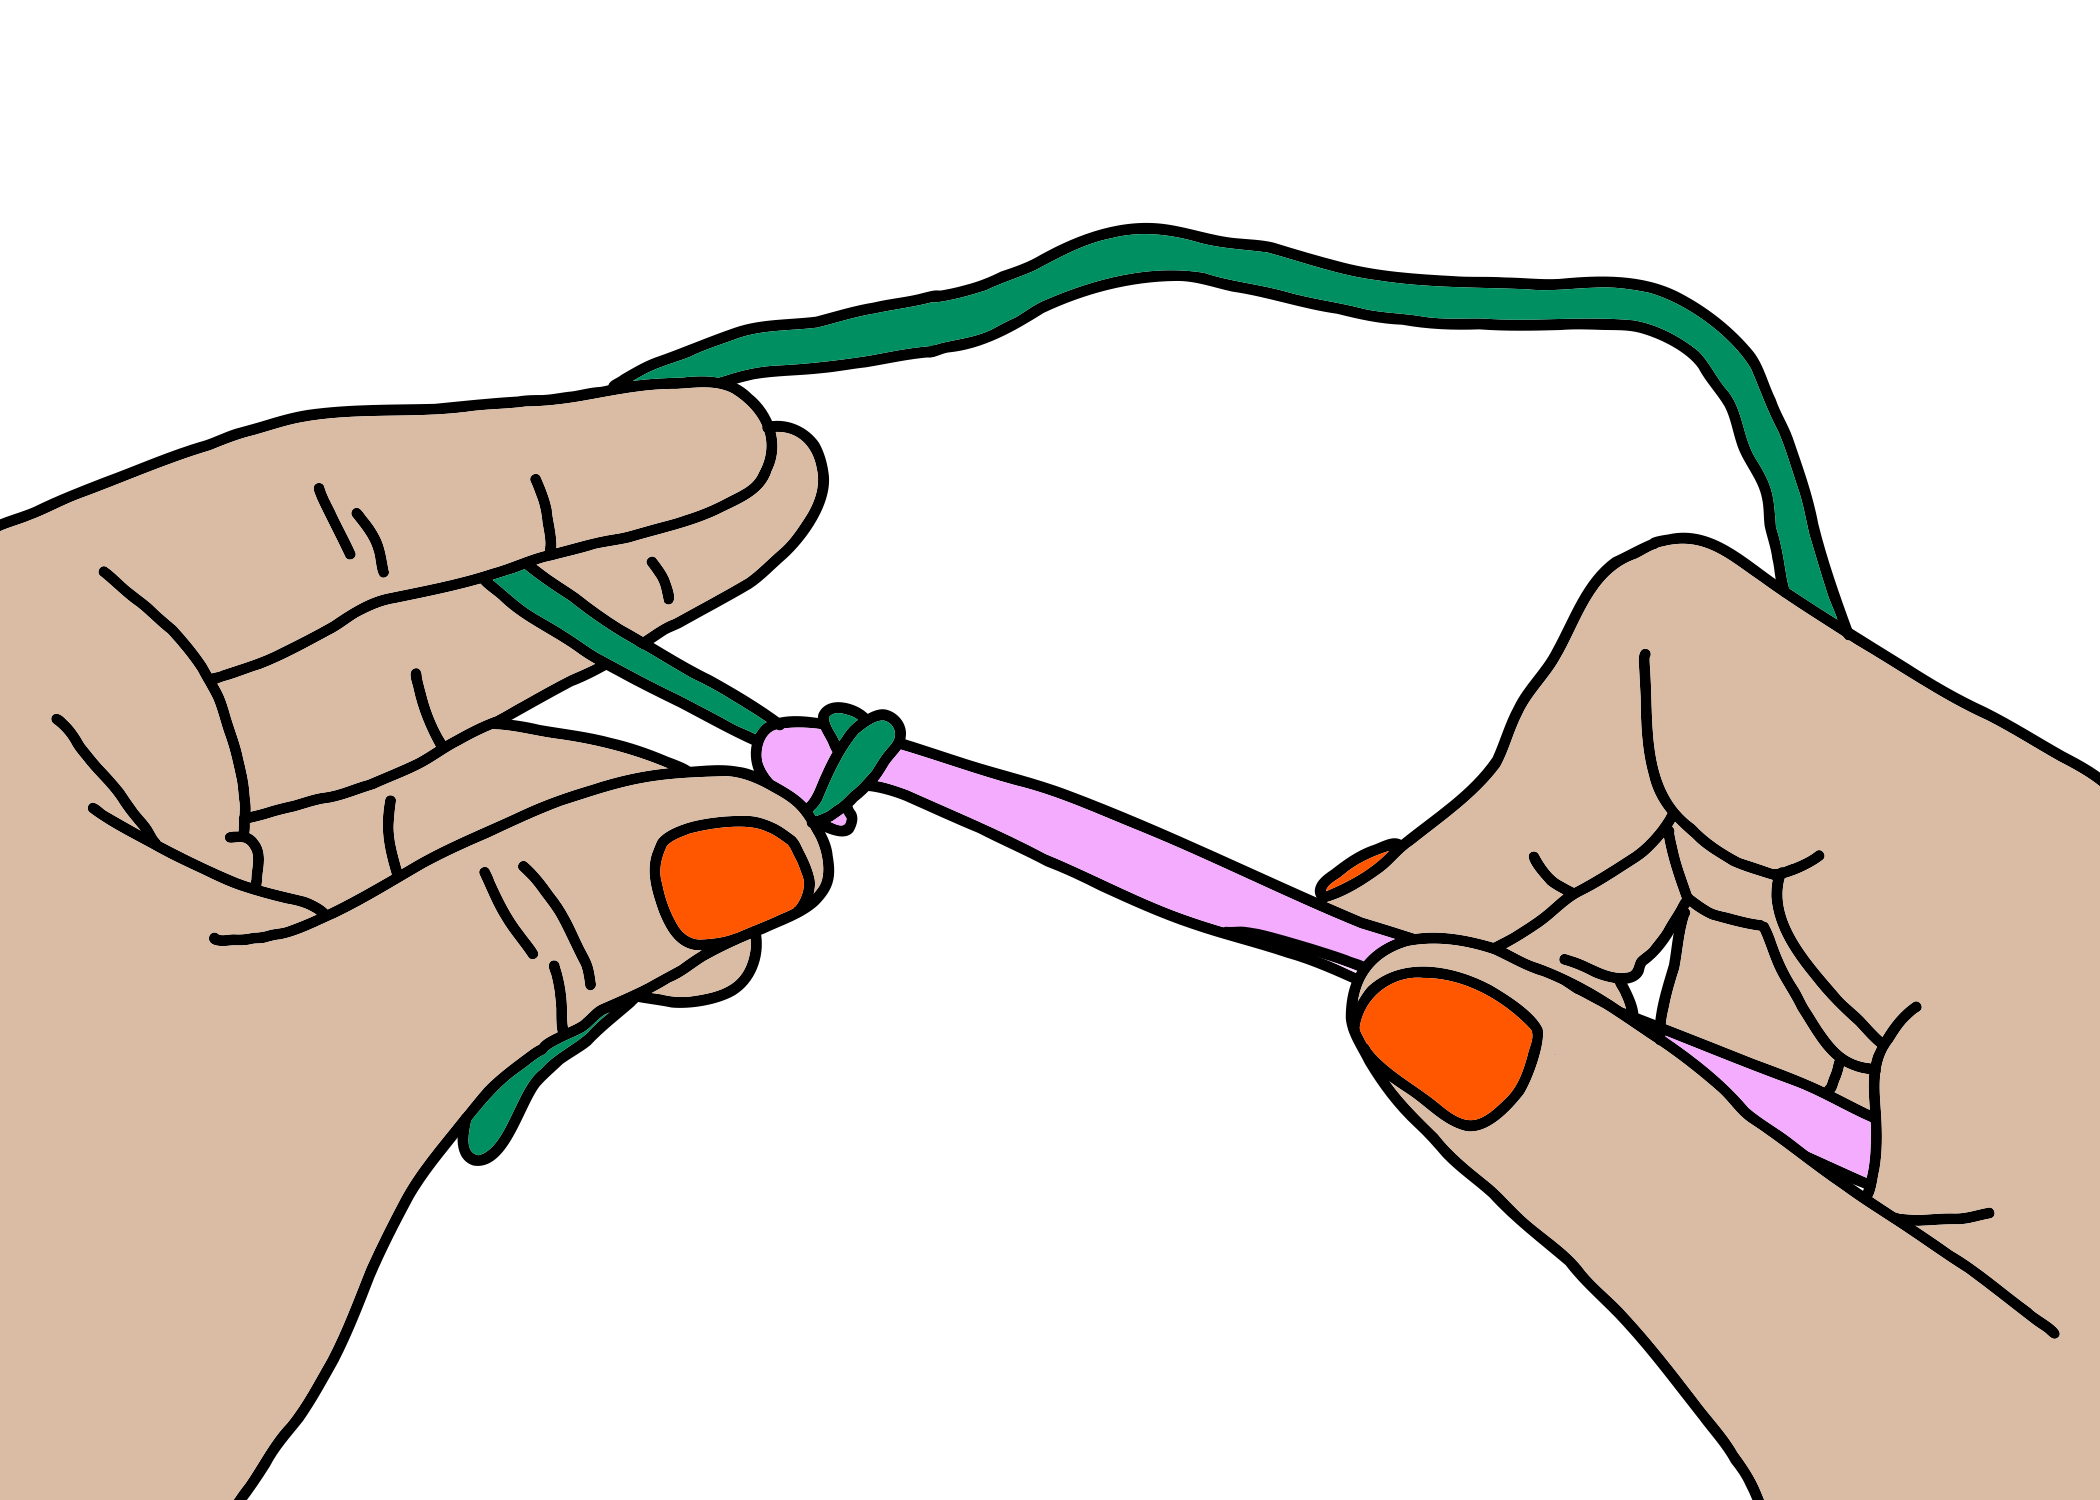
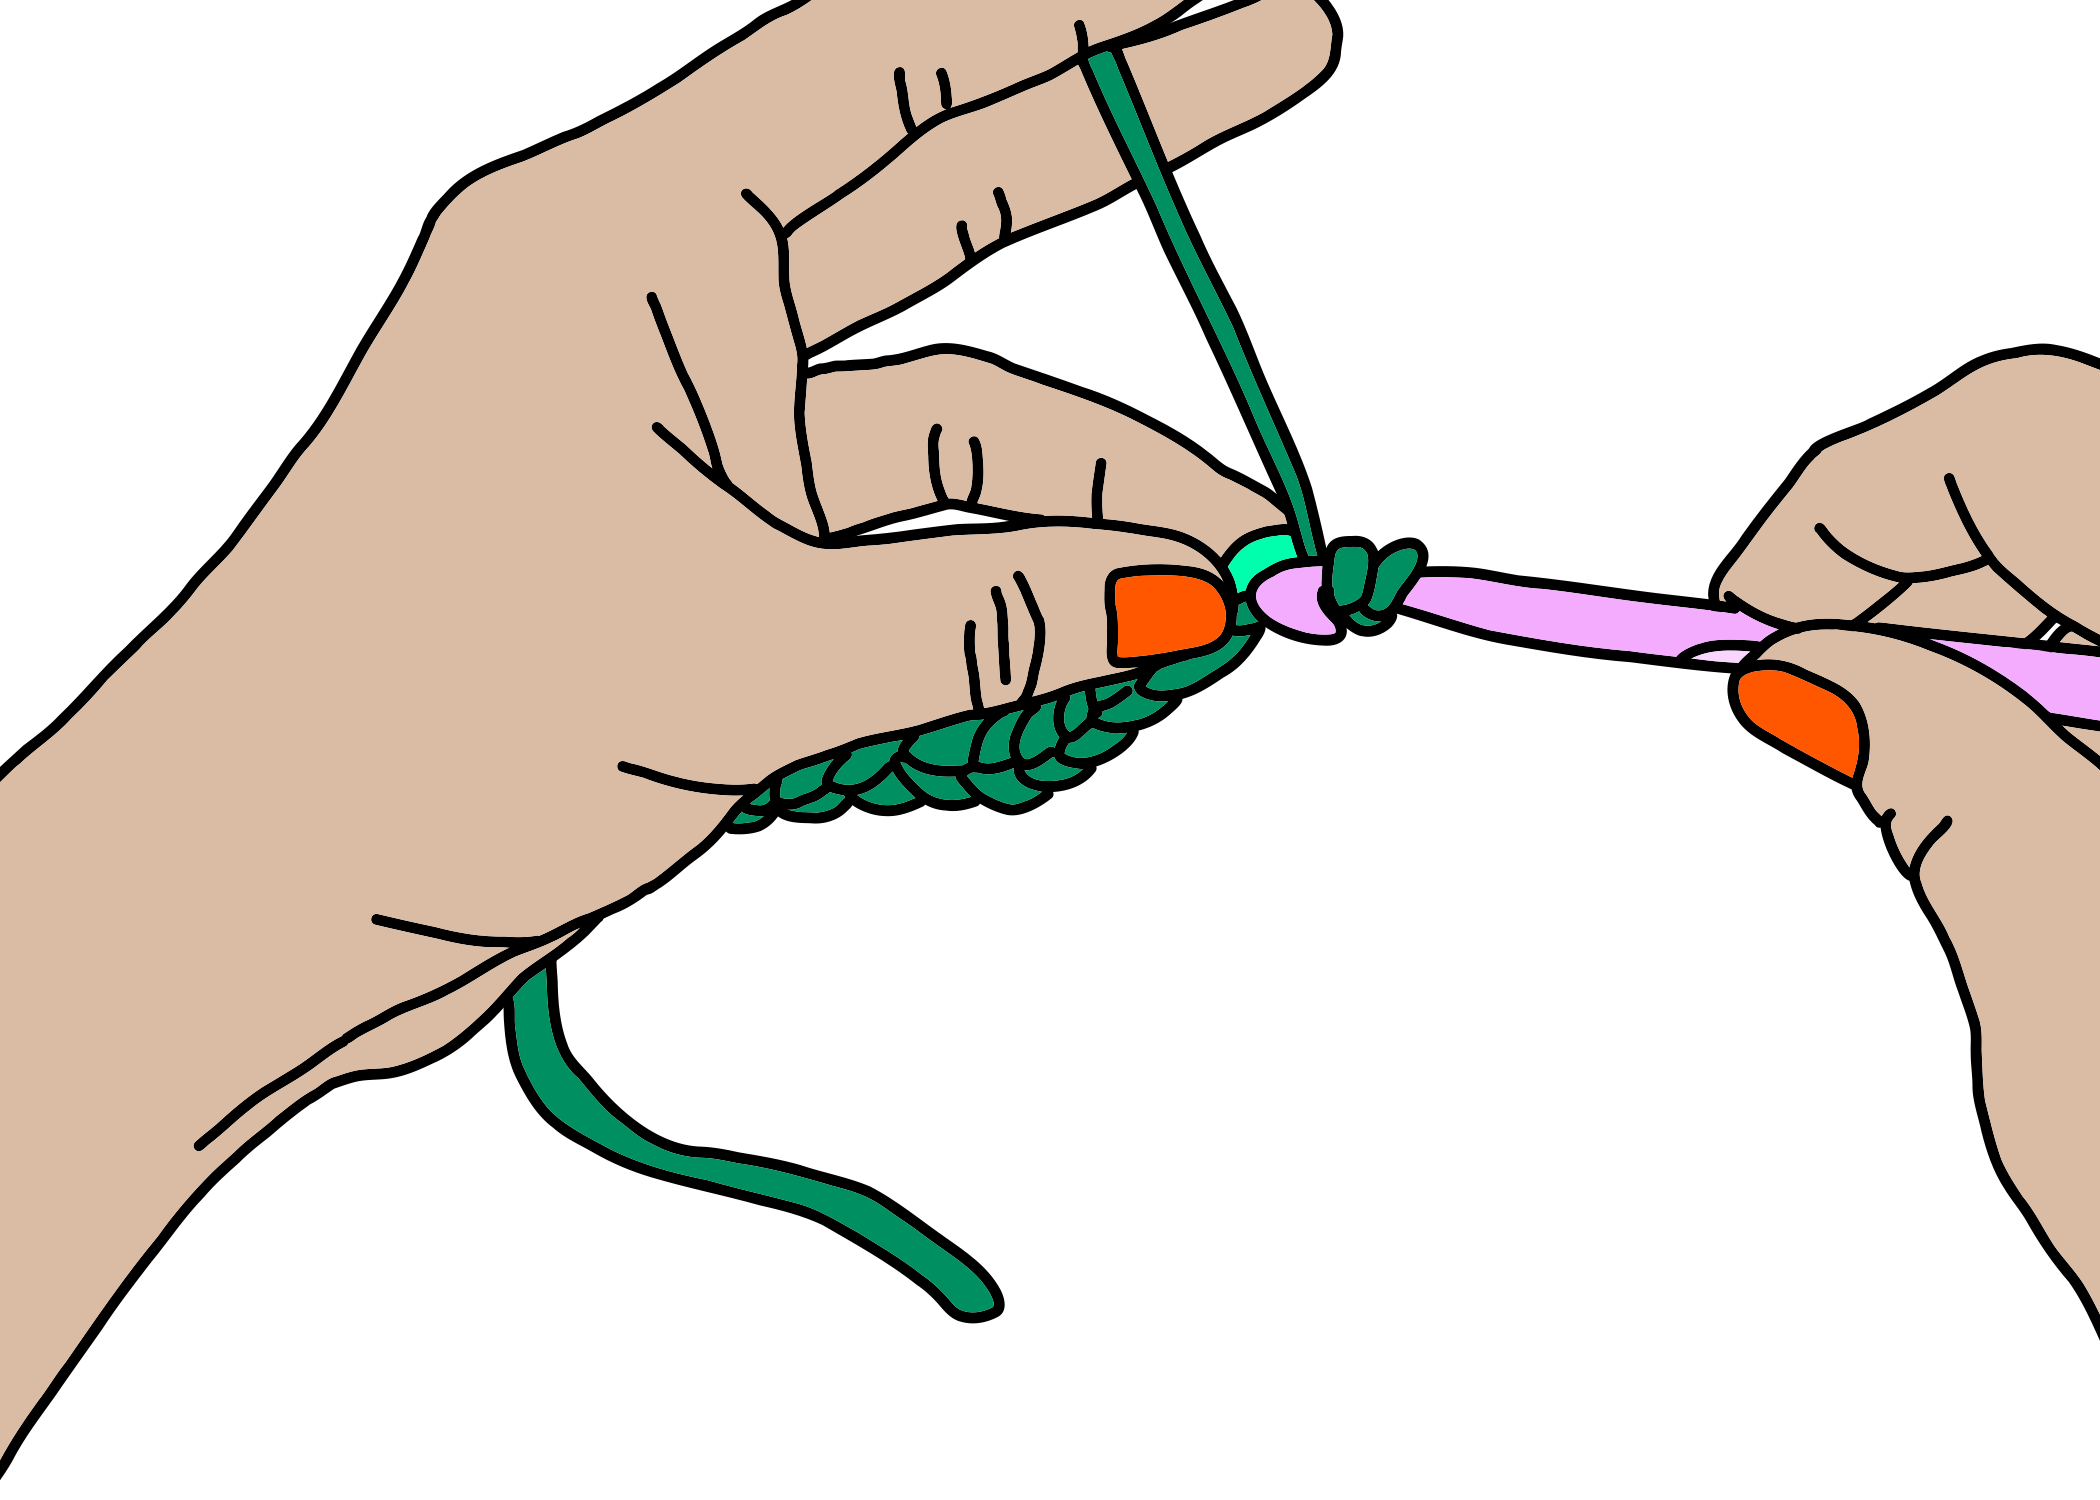
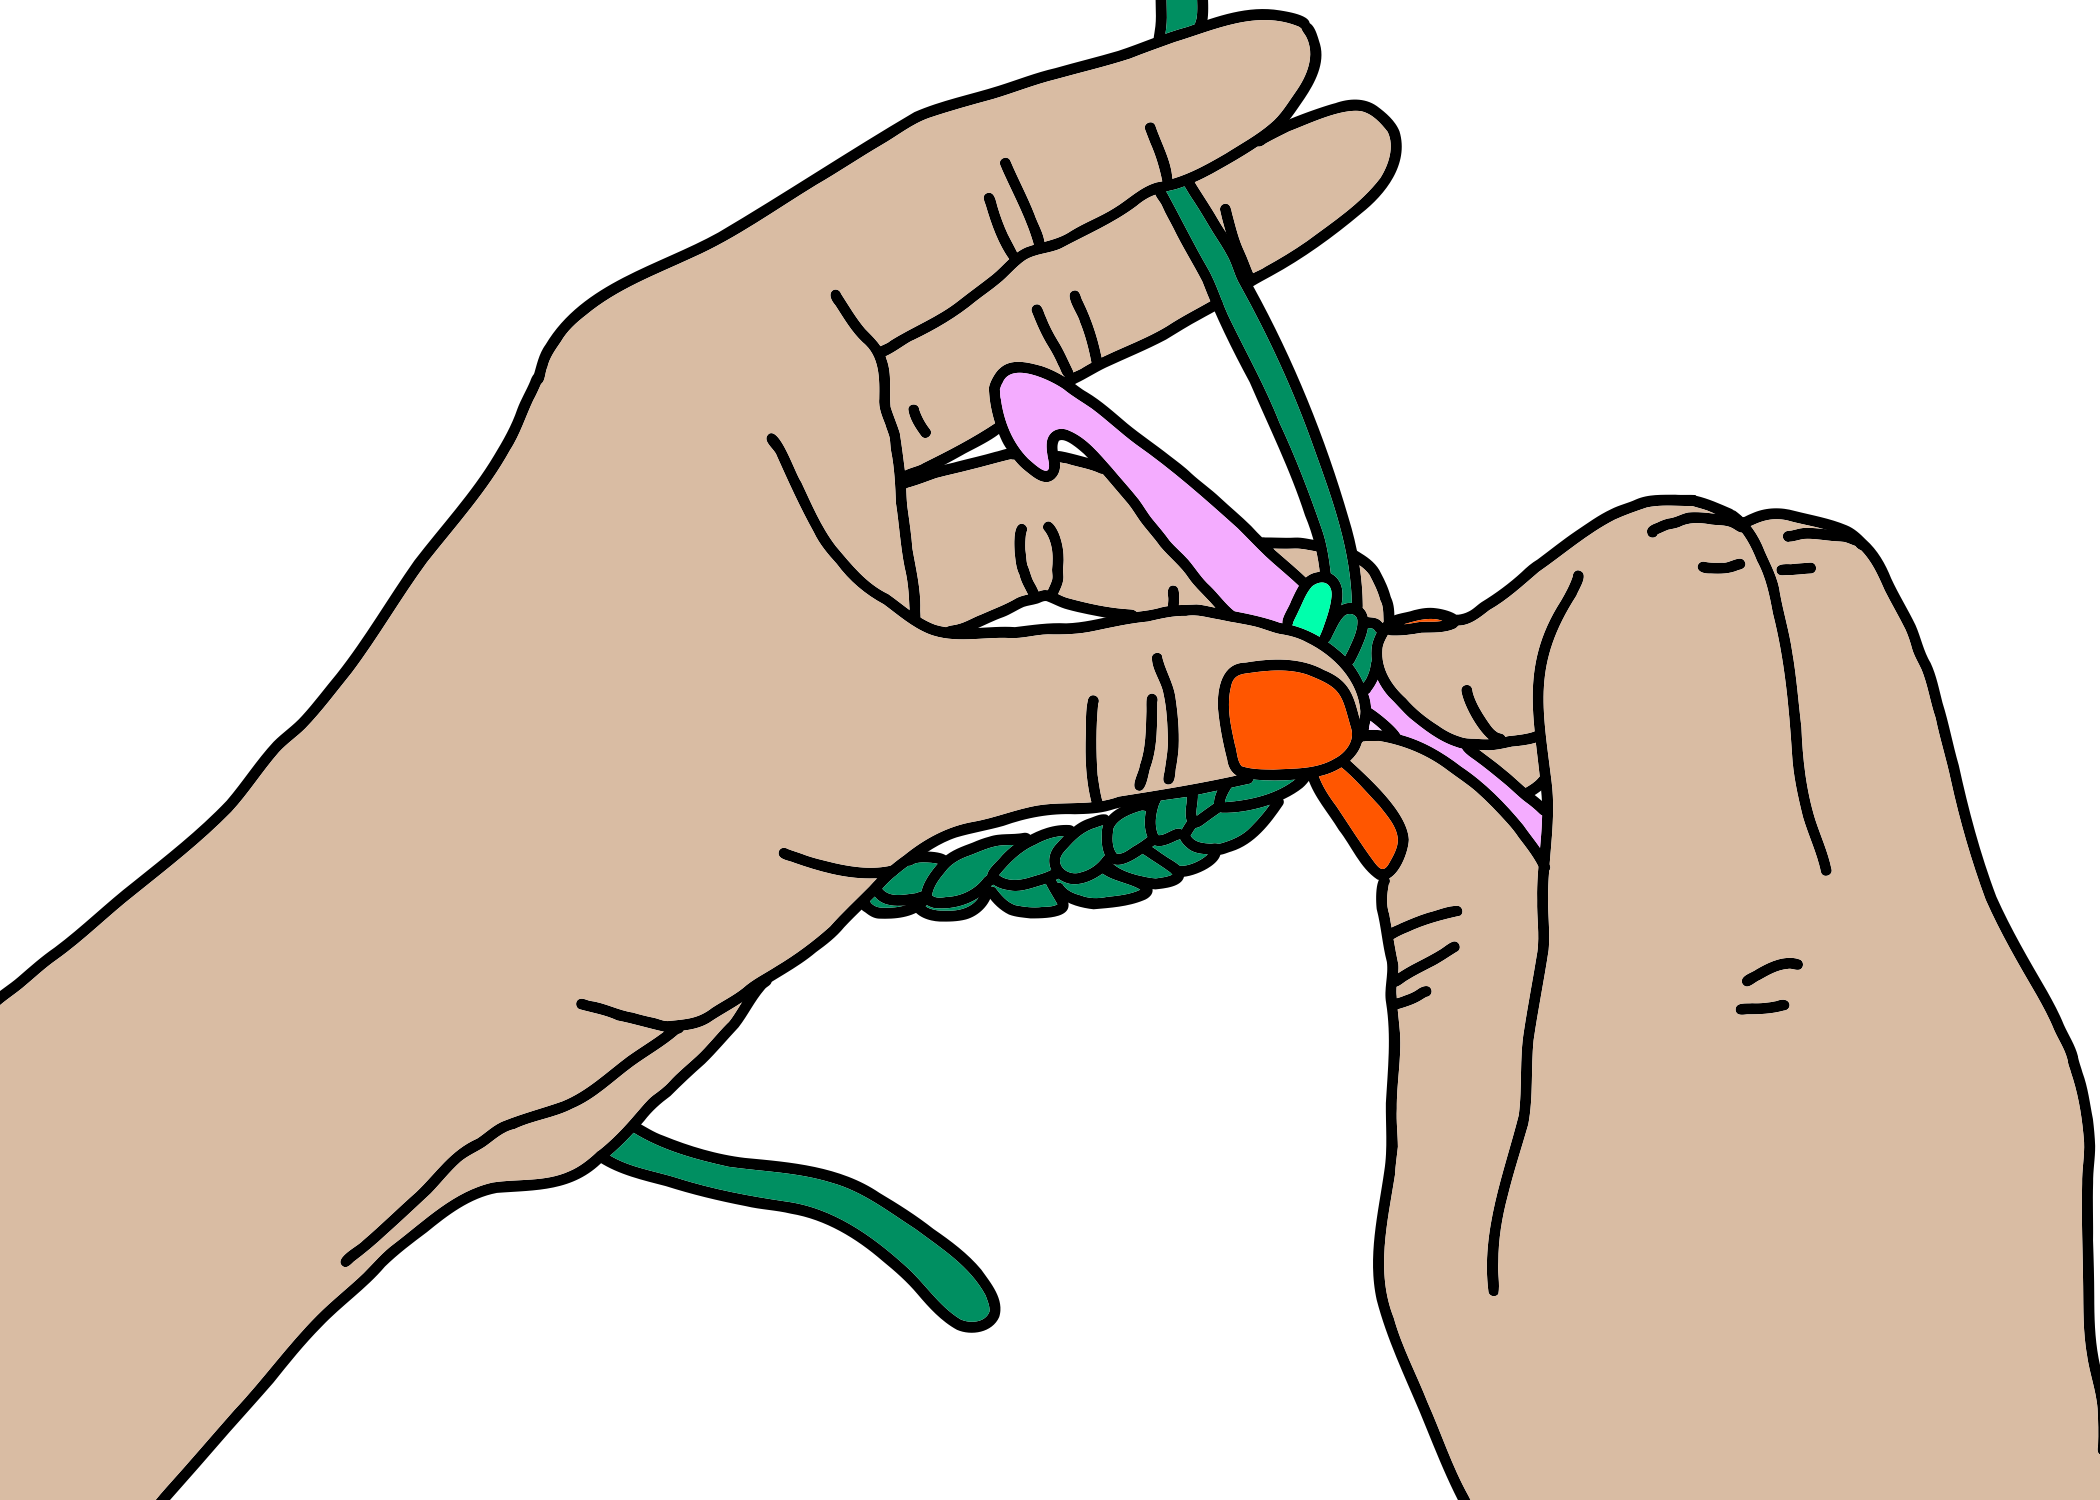
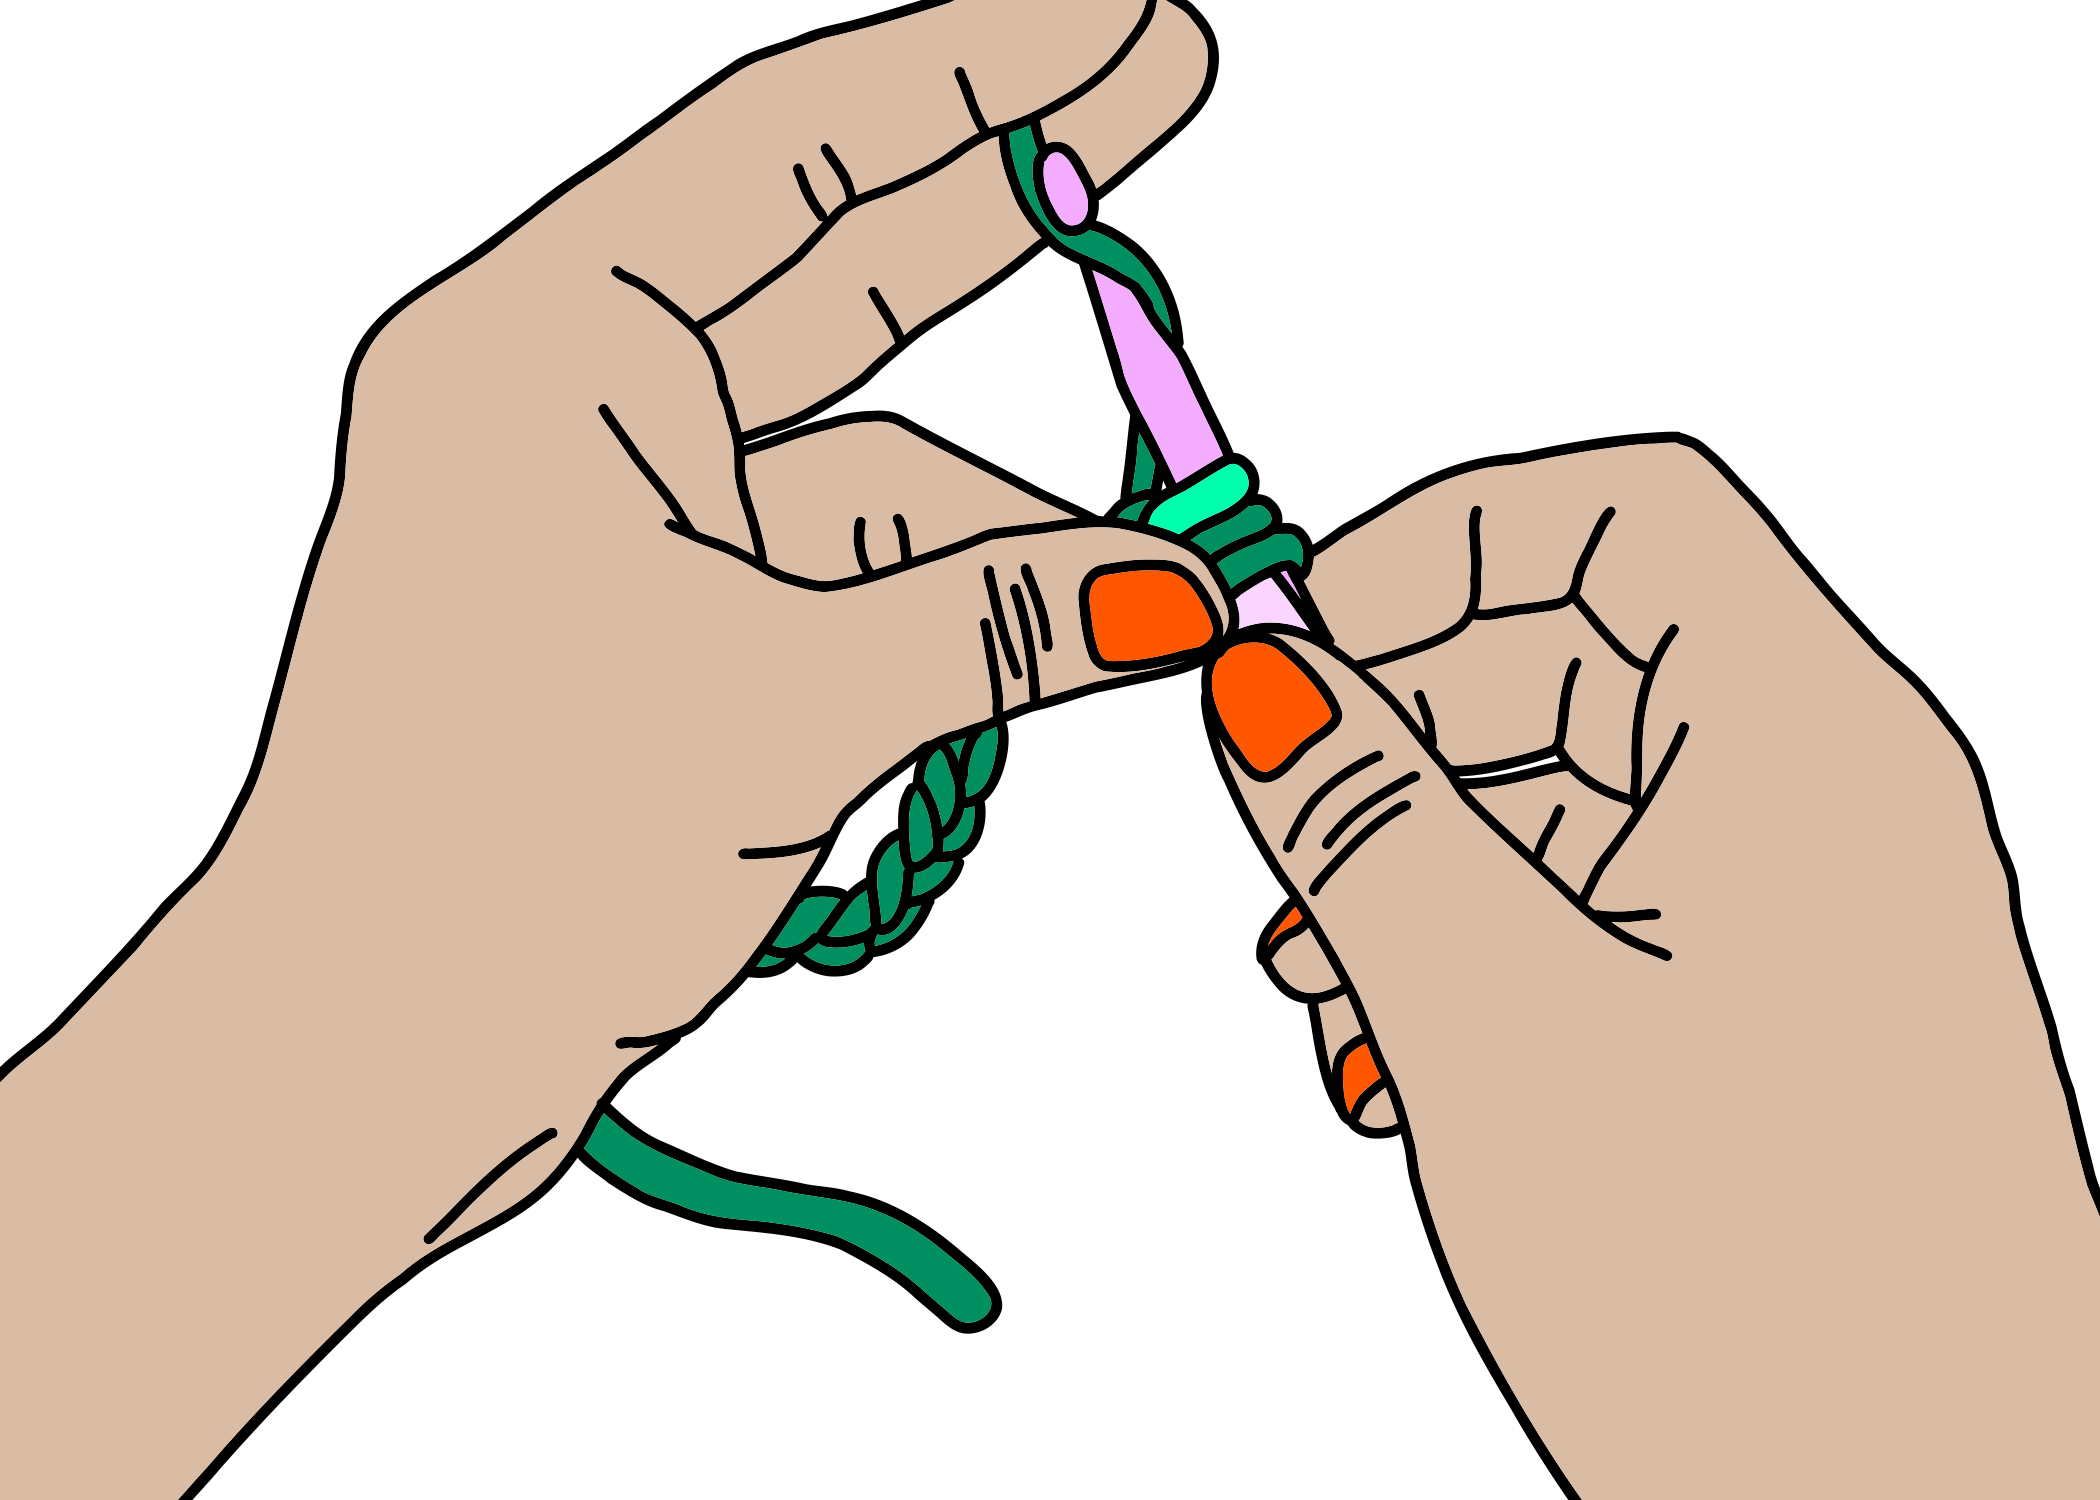
A chain stitch (ch)
The chain stitch is fundamental for crochet projects!
1 - 2:
Swoop the hook to the left, in front of the working yarn;
1
2
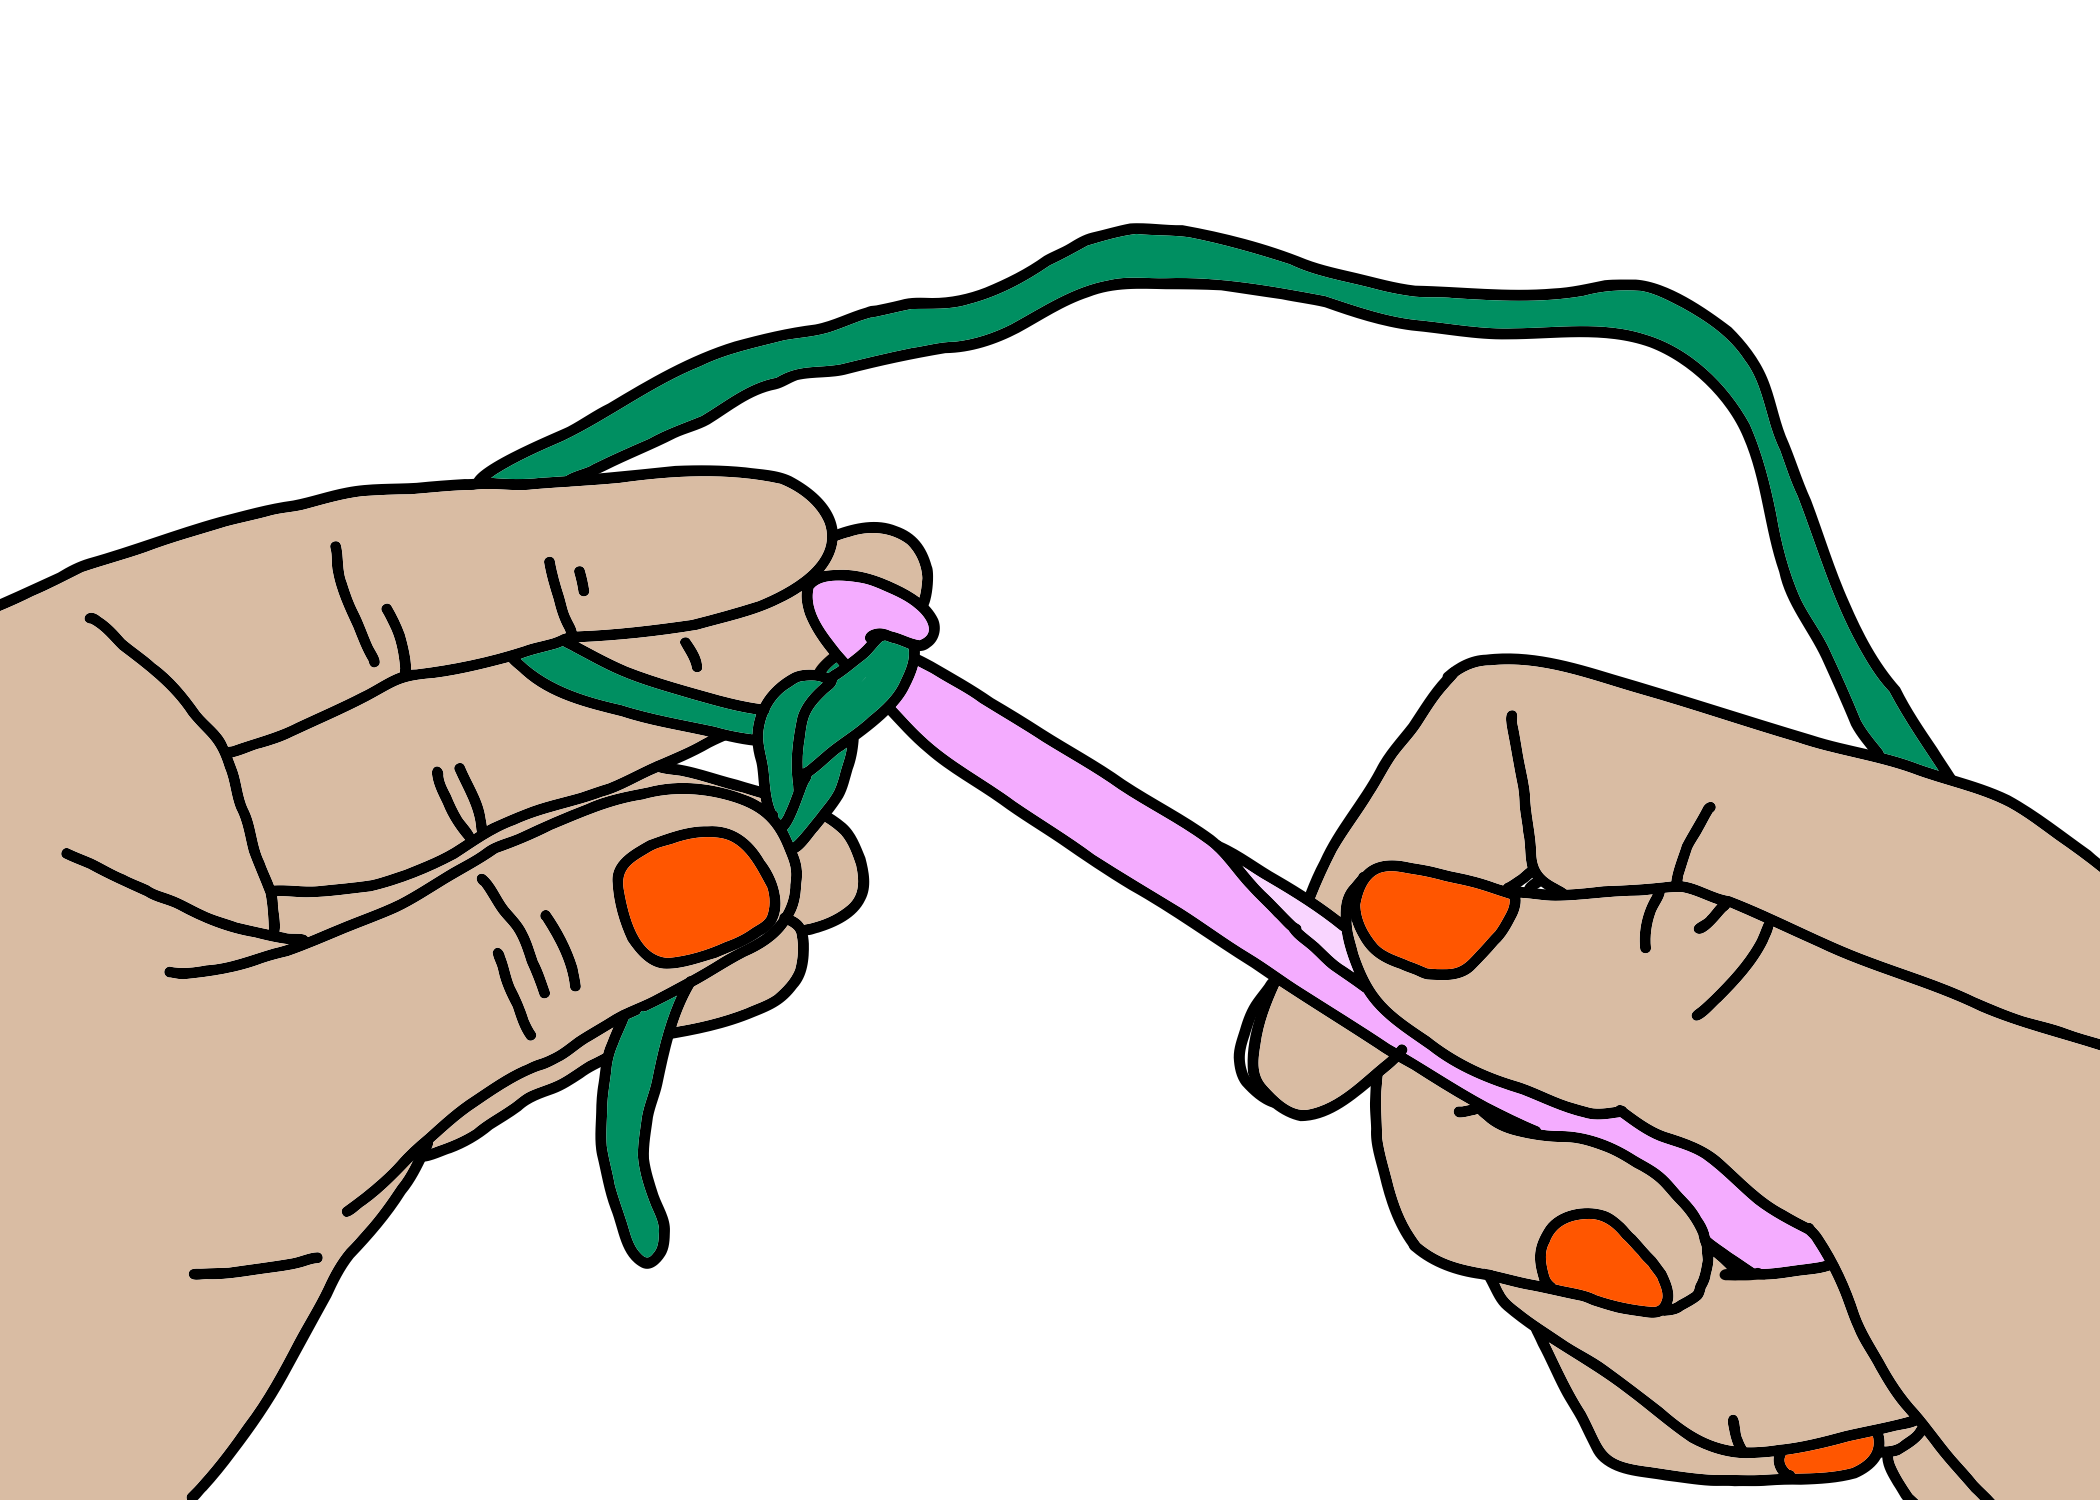
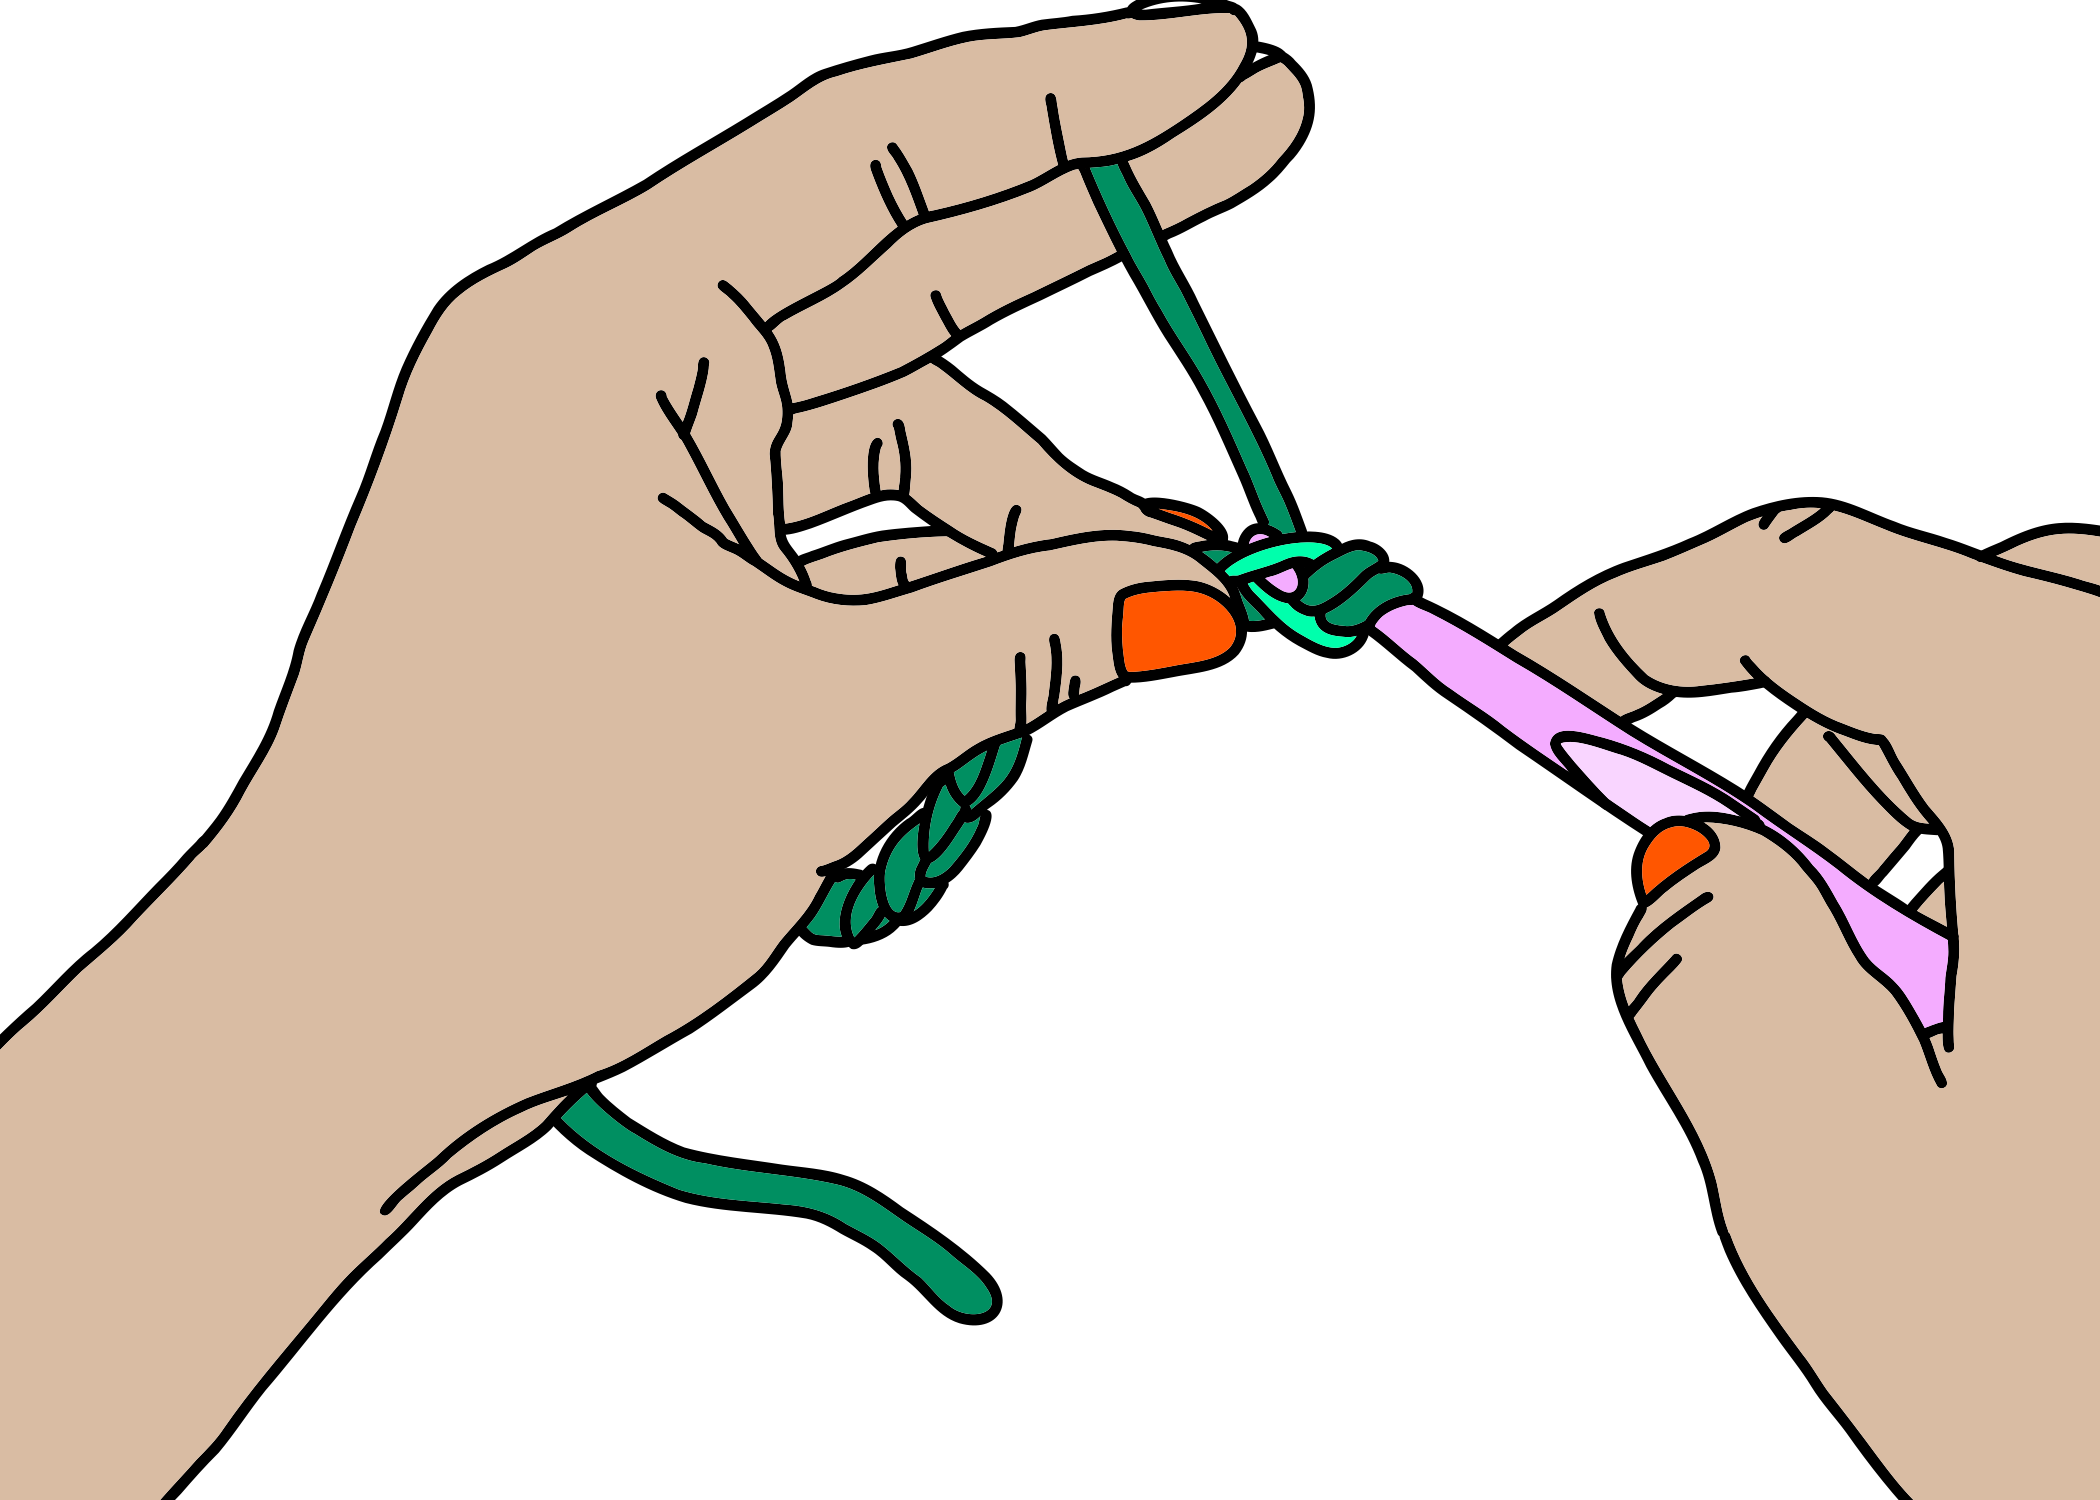
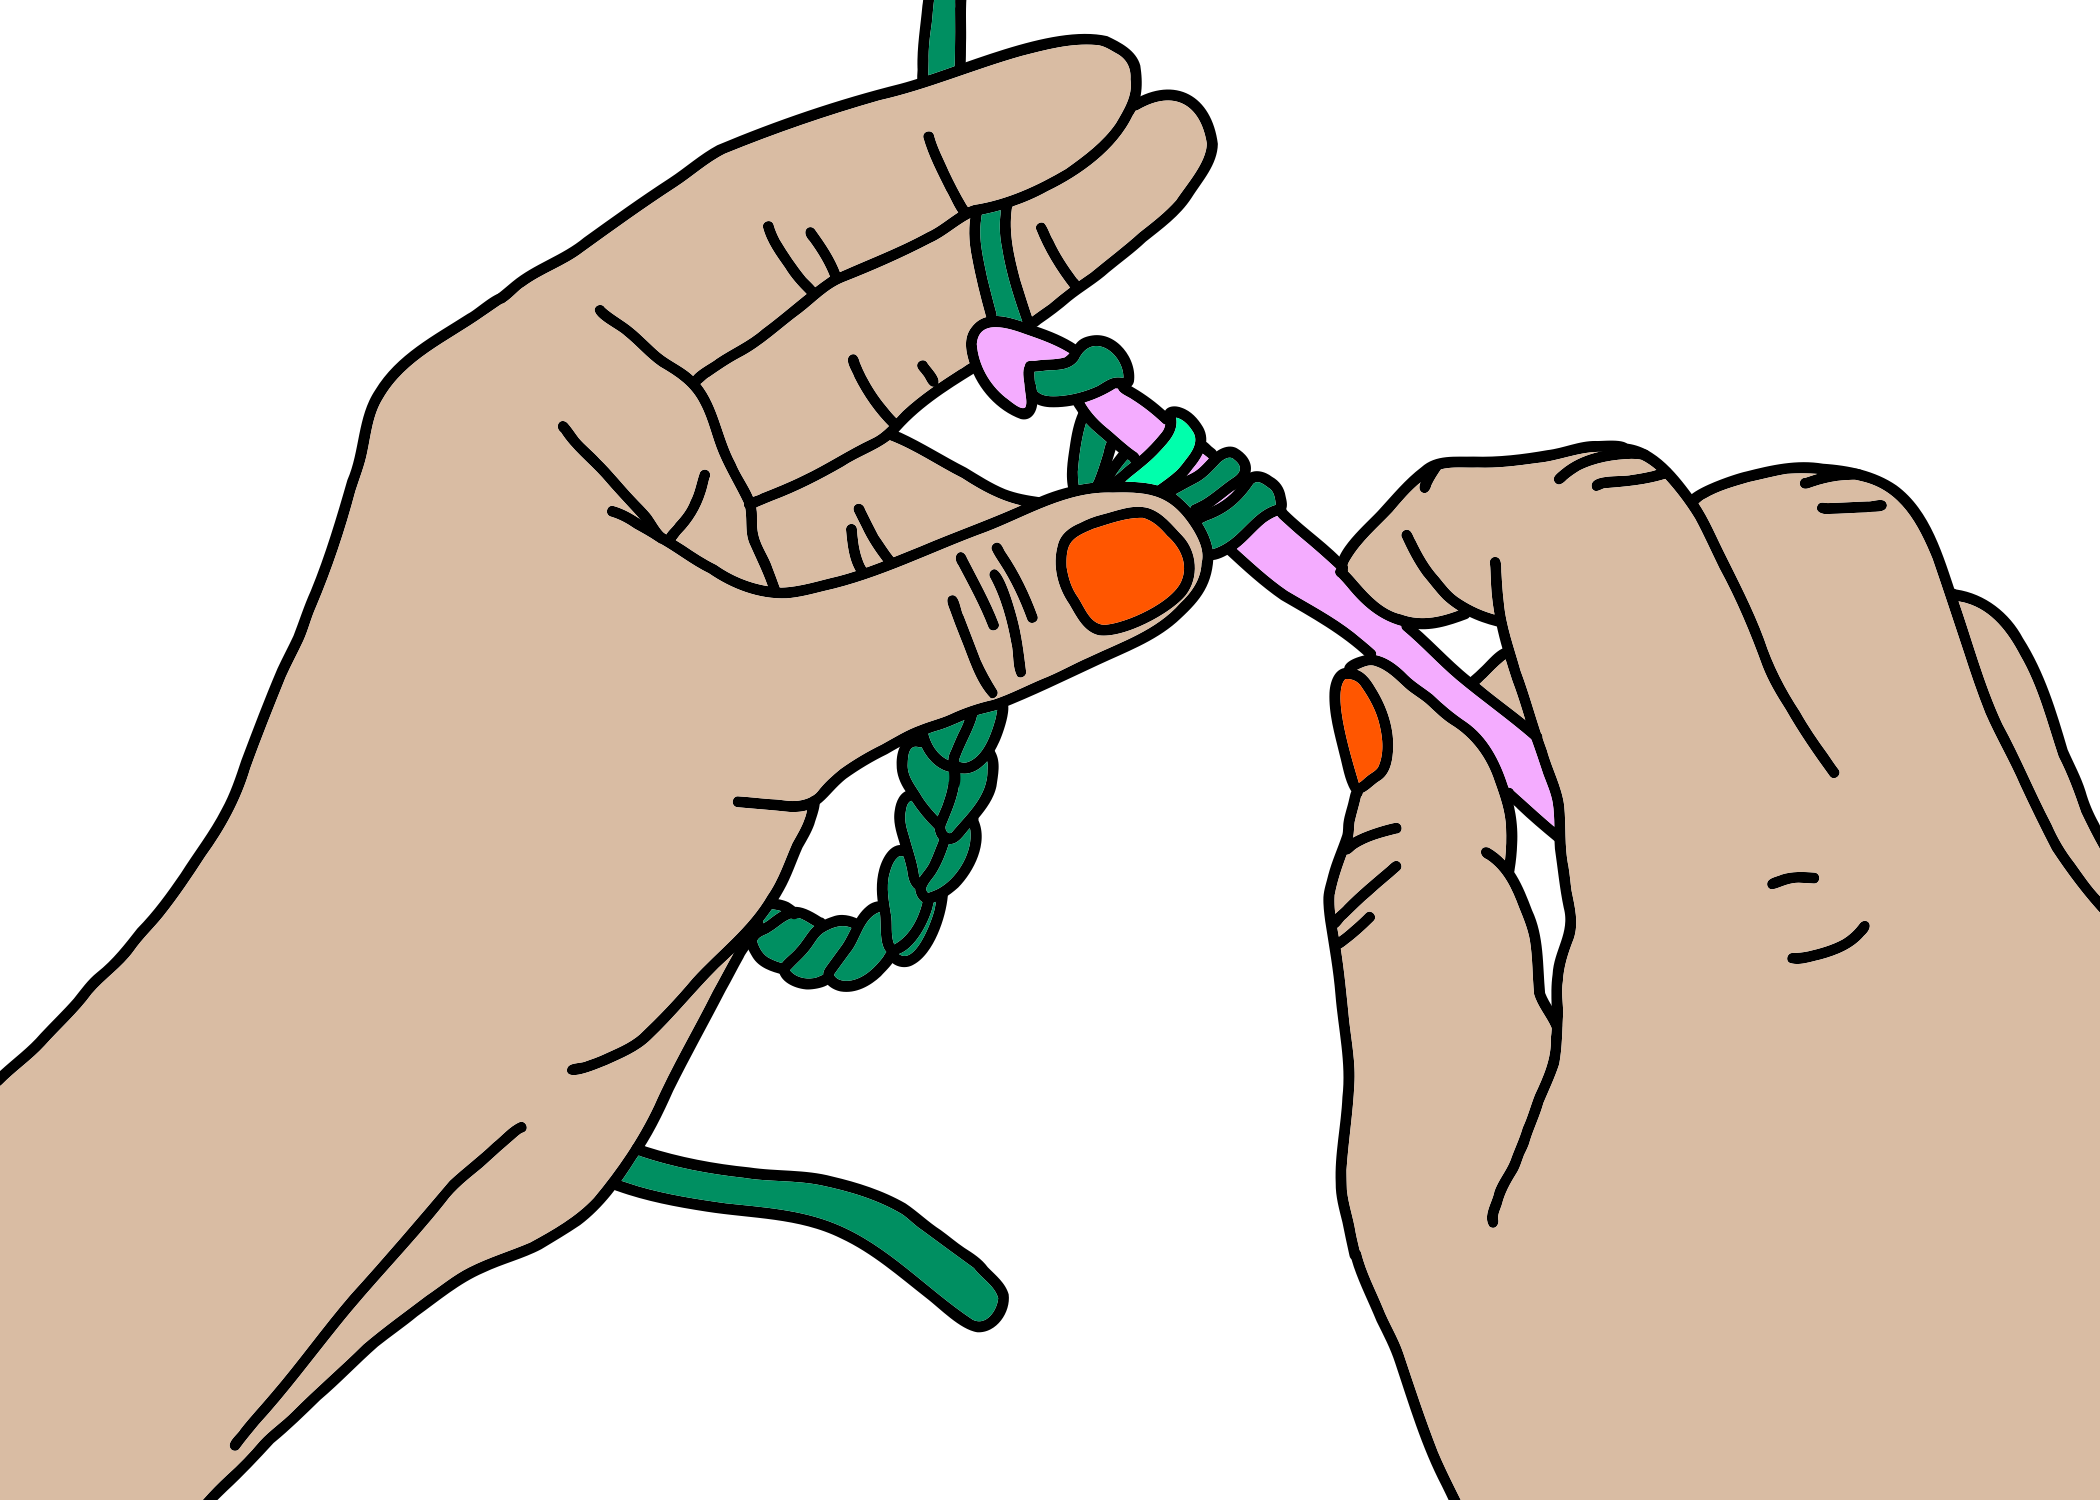
3 - 4:
spin it back and to the right, behind the working yarn, which you’ll catch it with the hook;
3
4
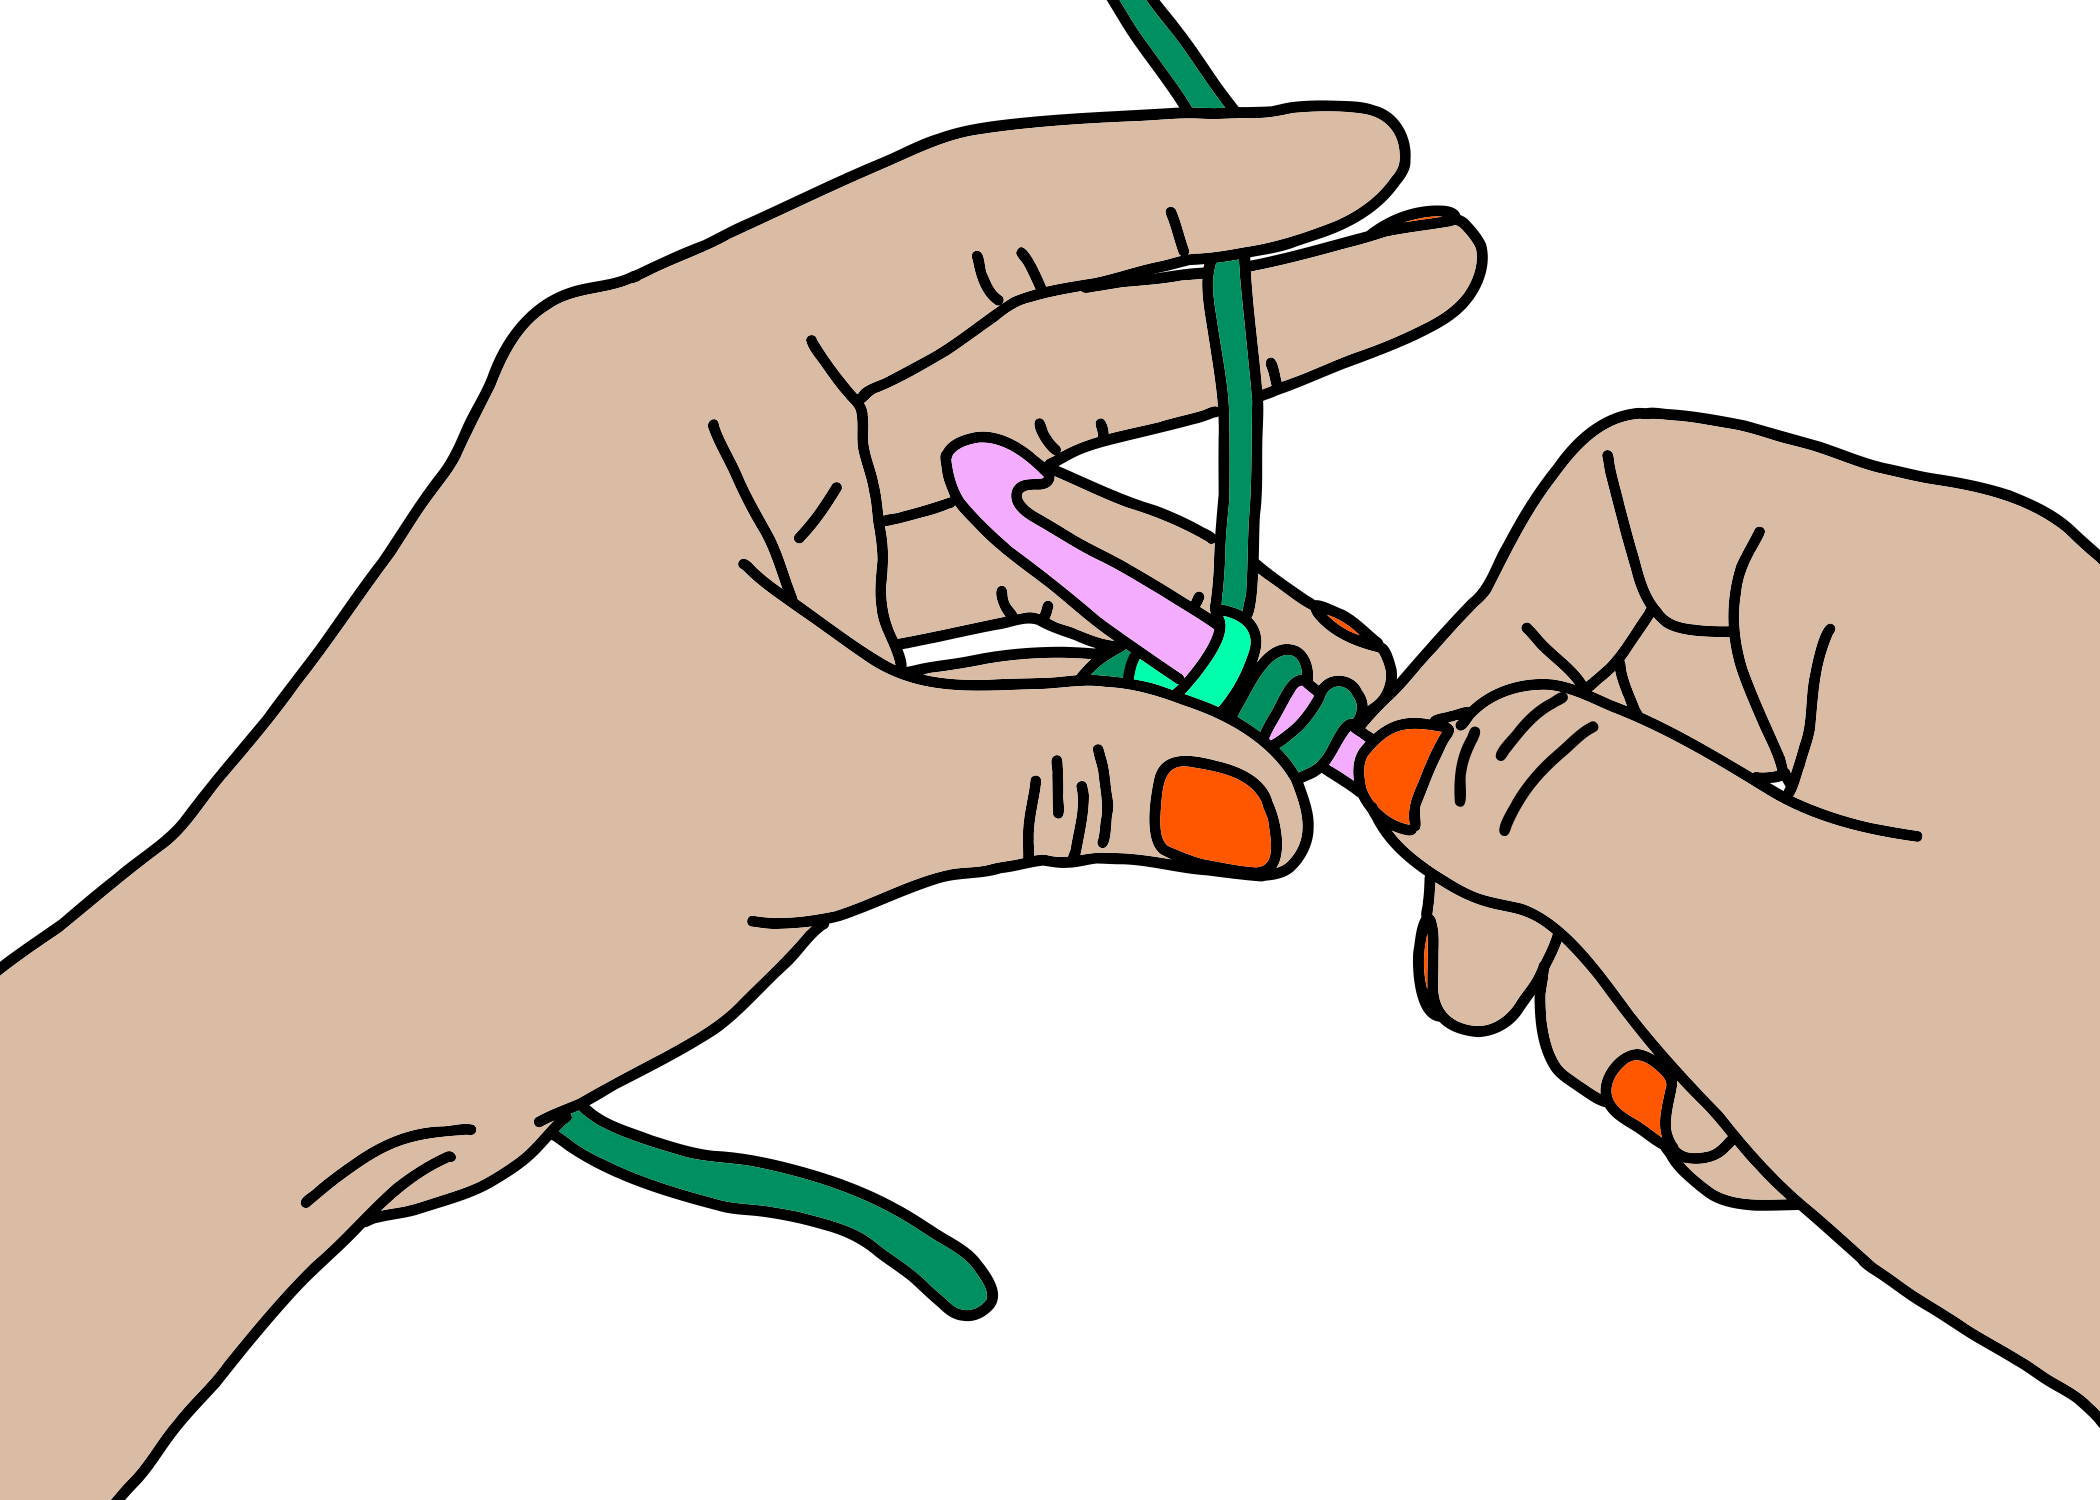
5:
pull the working yarn all the way through the loop;
6:
and that’s a chain stitch — you crocheted! You are crocheting!
5
6
Here’s how it looks in action: gif, then vid.

A row of chain stitches (ch)
Keep the tension light, with some slack.
Spend some time with your row: identify (and count, if you’d like!) the stitches; you’ll work with these in the next step. Note that there’s a sneaky one — nearest to hook that your loop and working yarn go through — that looks legit, but you’ll ignore it when you start to hdc.

A half-double crochet (hdc)
This is where we really get going with a half-double crochet (hdc)! Another super stitch — and this one’s a three-parter, with what might feel like a million fiddly bits from start to finish. It takes a minute to make this one make sense, so be patient with yourself. Your brain and hands might learn what’s what at a different pace; give them time to catch up to each other, and you will find your flow.
In order to give you a sense of where we’re headed, here’s what the whoooole thing looks like.
Below are still illustrations for each of the fiddly bits in each of the three parts, and below those is a vid.
The first part of the hdc:
1:
Hold your row of chain stitches where it meets your crochet hook;
1
2:
swoop the hook to the left, in front of the working yarn;
2
3:
spin it back and to the right, behind the working yarn, which you’ll catch it with the hook;
3
4:
bring the hook down in front of your row of stitches (but not through yet!);
at this point, you should have two loops on your hook;
4
5:
direct your hook back again, through that nearest chain stitch at end of the row;
5
6:
at this point, you should now have three loops on your hook.
6
The second part of the hdc:
7:
Tilt the hook to catch the working yarn;

7
8:
pull the crochet hook (and the working yarn!) through that same chain stitch;
8
9:
keep pulling;

9
10:
then readjust your hook so it can slide easily through your three loops.
10
The third part of the hdc:
11:
Swoop the hook to the left, in front of the working yarn;
11
12:
spin it back and to the right, behind the working yarn, which you’ll catch it with the hook;
12
13:
slide the hook (and the working yarn!) down towards your loops;
13
14:
pull the crochet hook (and the working yarn!) through that same chain stitch;

14
15:
and THAT is a half double crochet!!

15
Here’s that vid of the full hdc.
Snip and tuck your working yarn
Almost there! Crochet to the end of your final row, then;
snip the working yarn with a few inches to spare
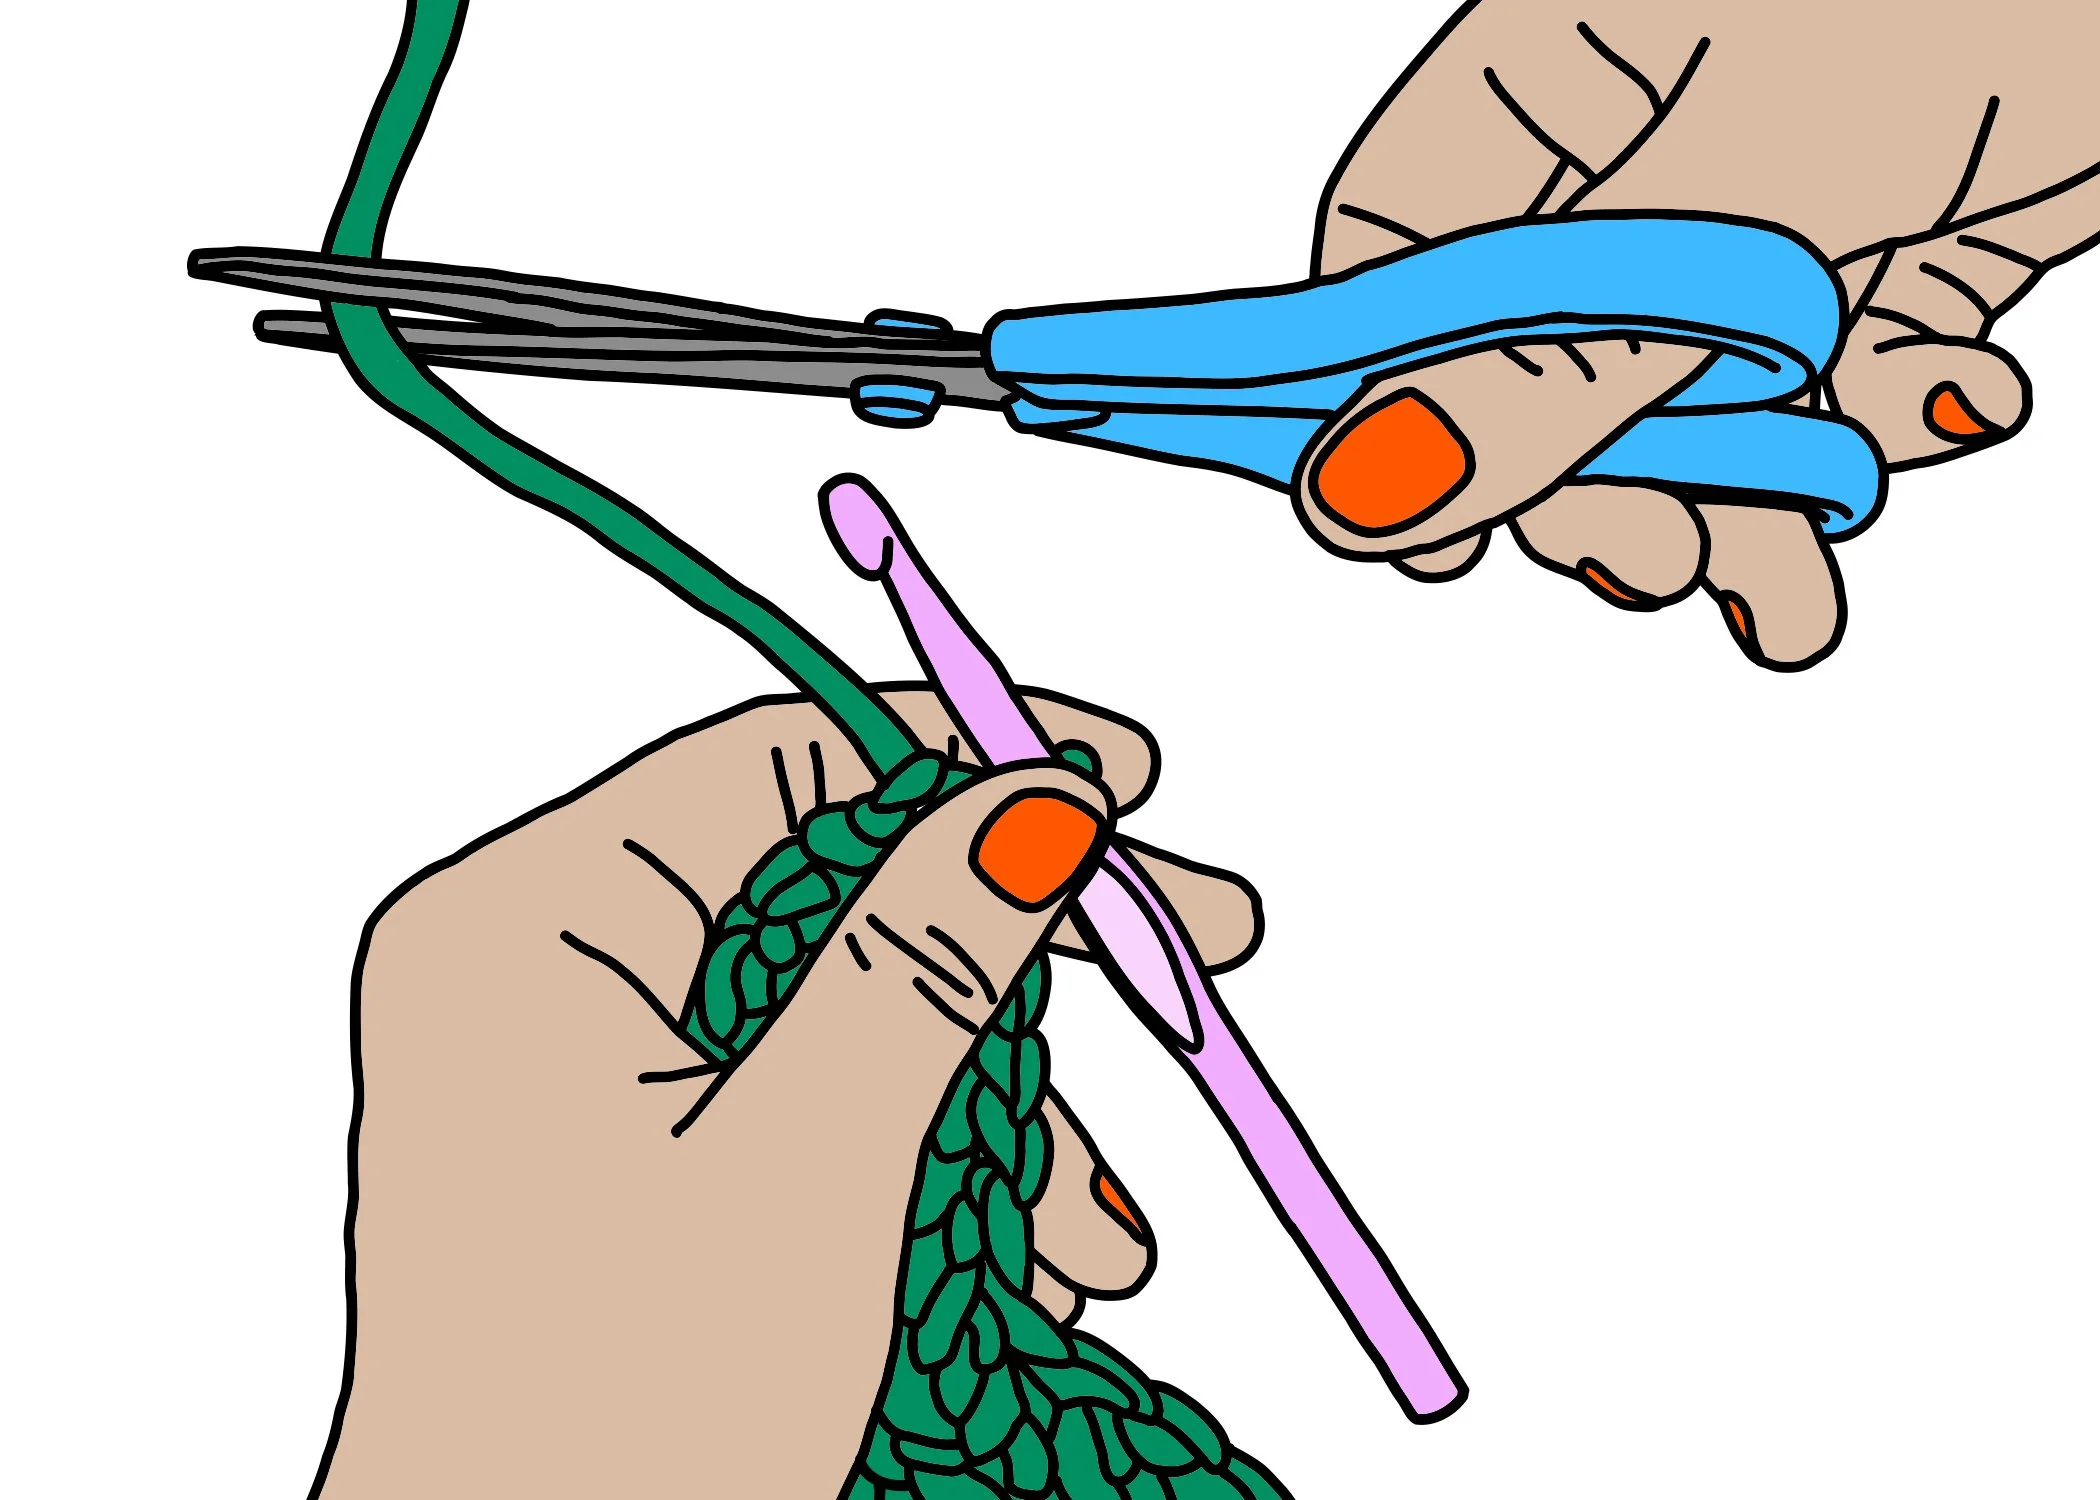
and zoot the end out of the loop.

Tuck that end — and the tail on the other end, when you started — in amongst the stitches.
Big huge thank you to my lovely pal Ellen for testing out this DIY!
