MAKE••• A Seasonal Wreath!
Bundle + zhuzh.

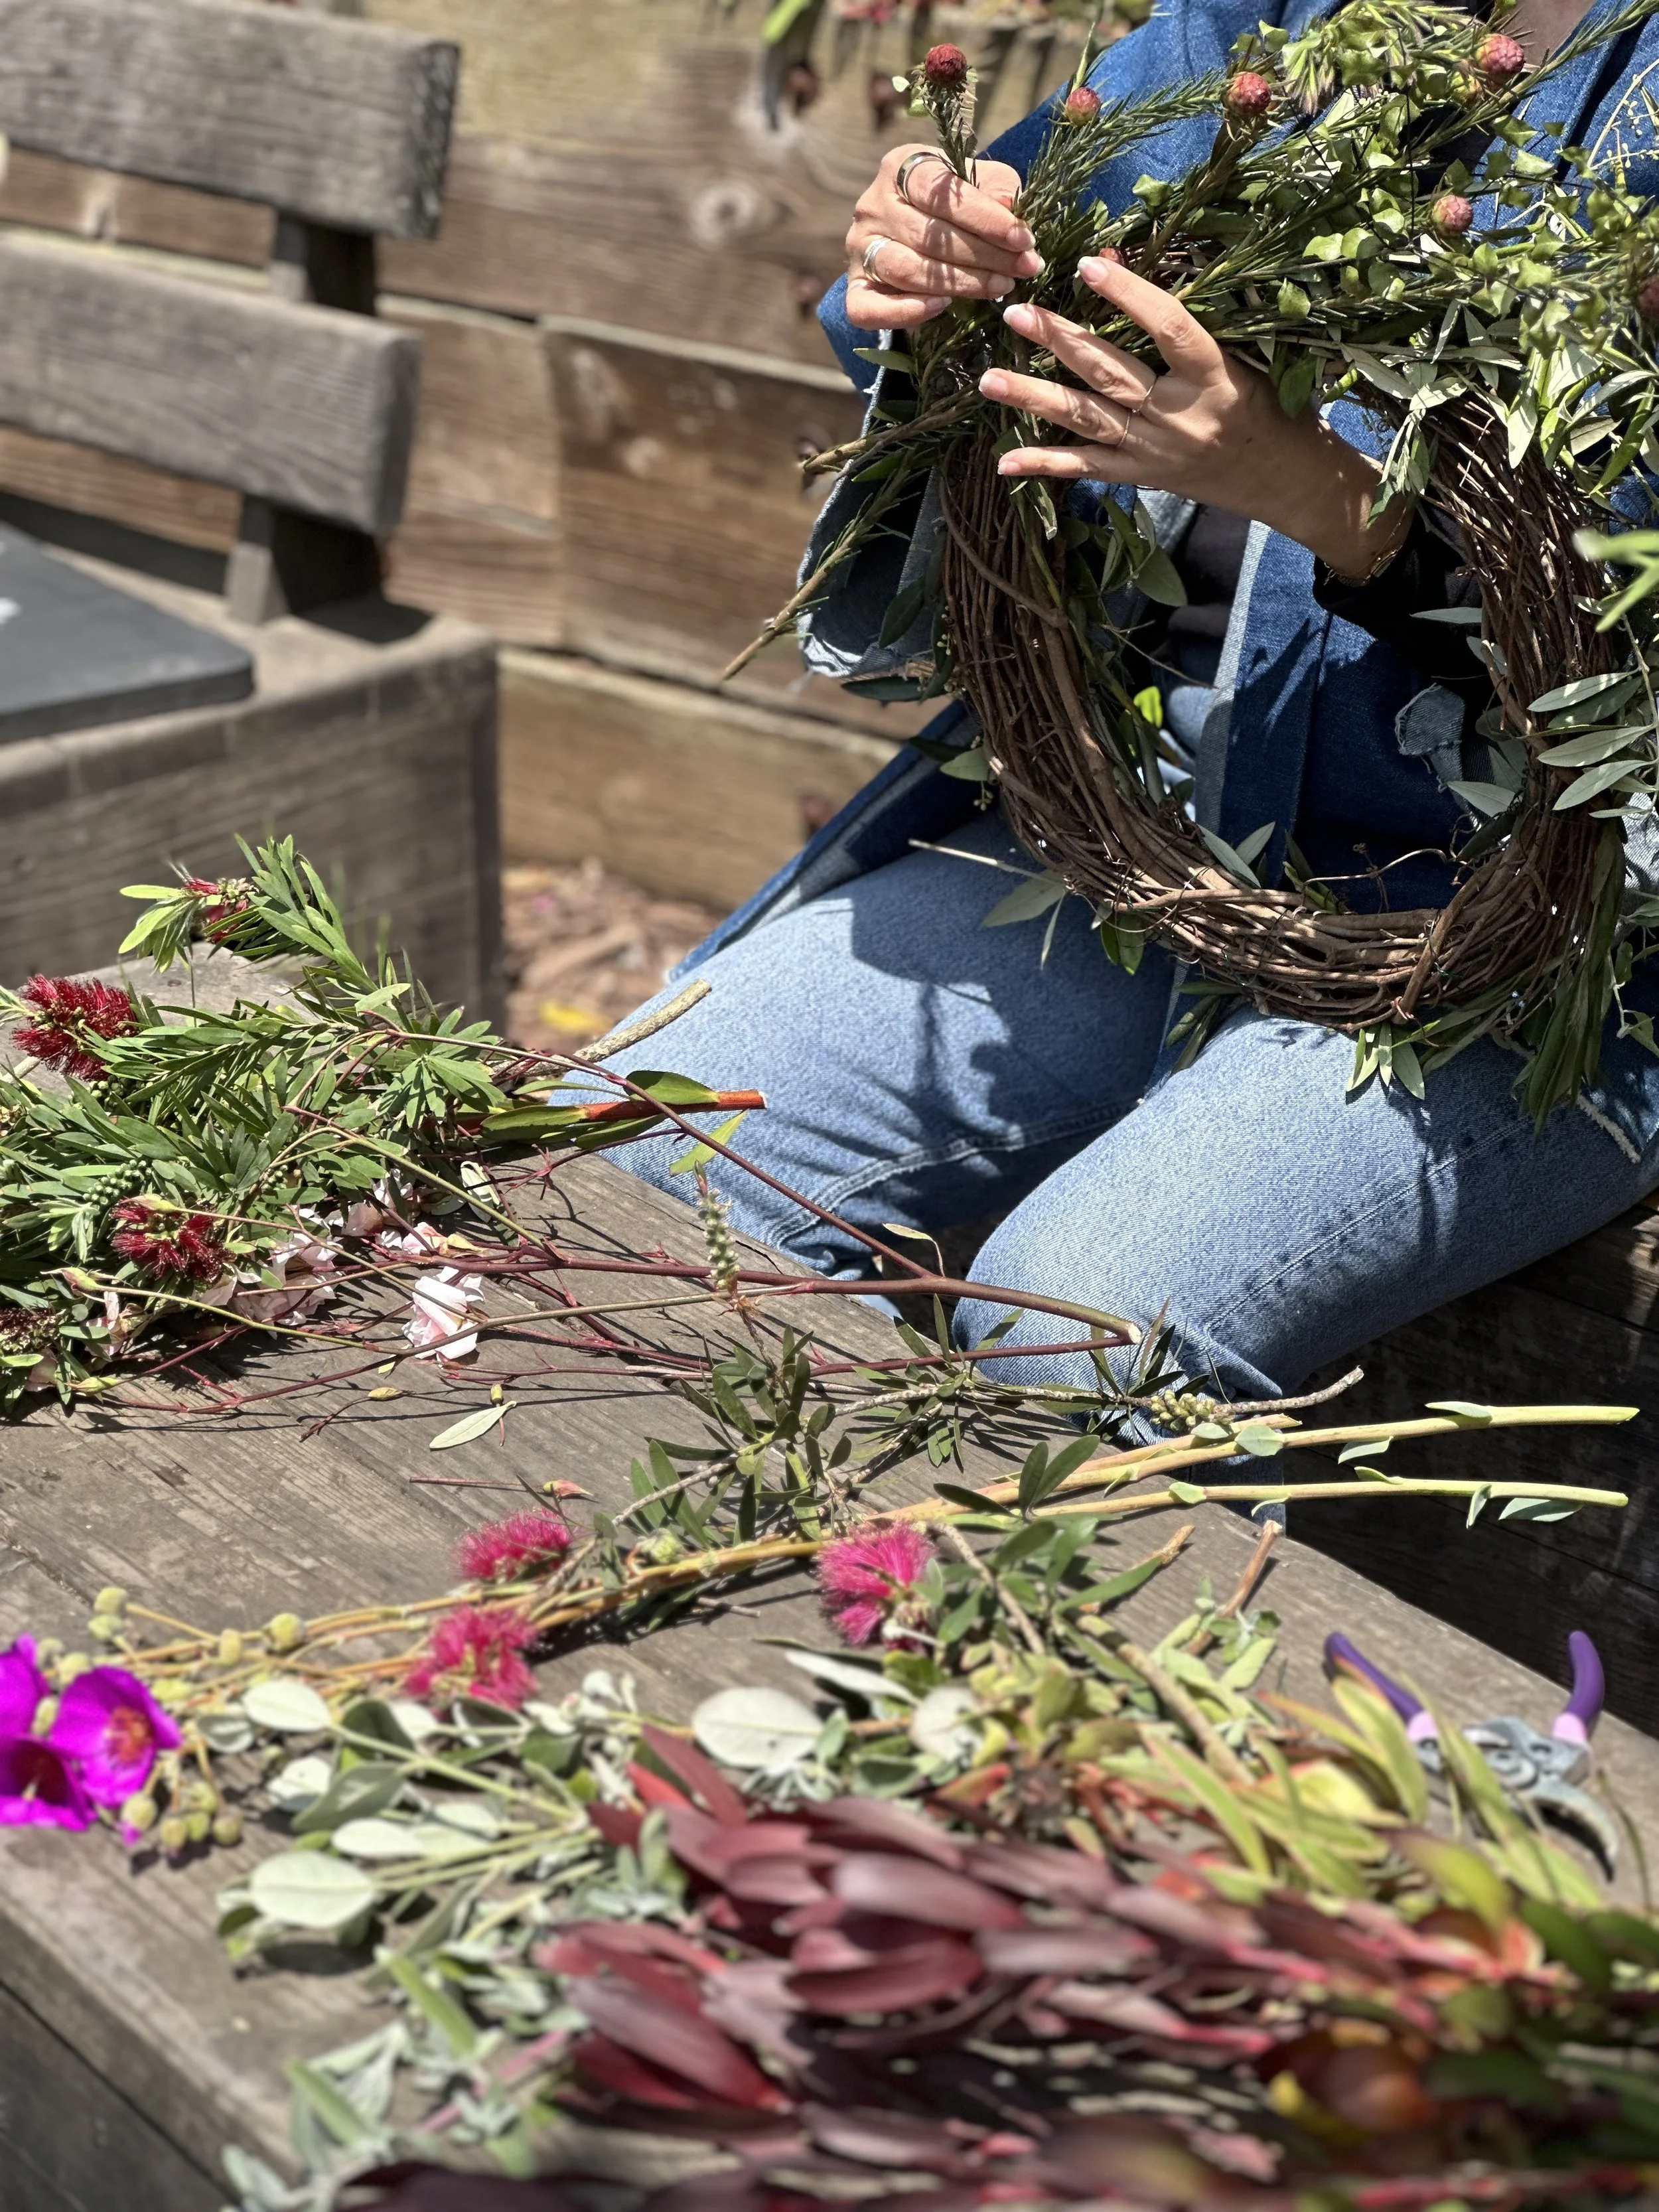
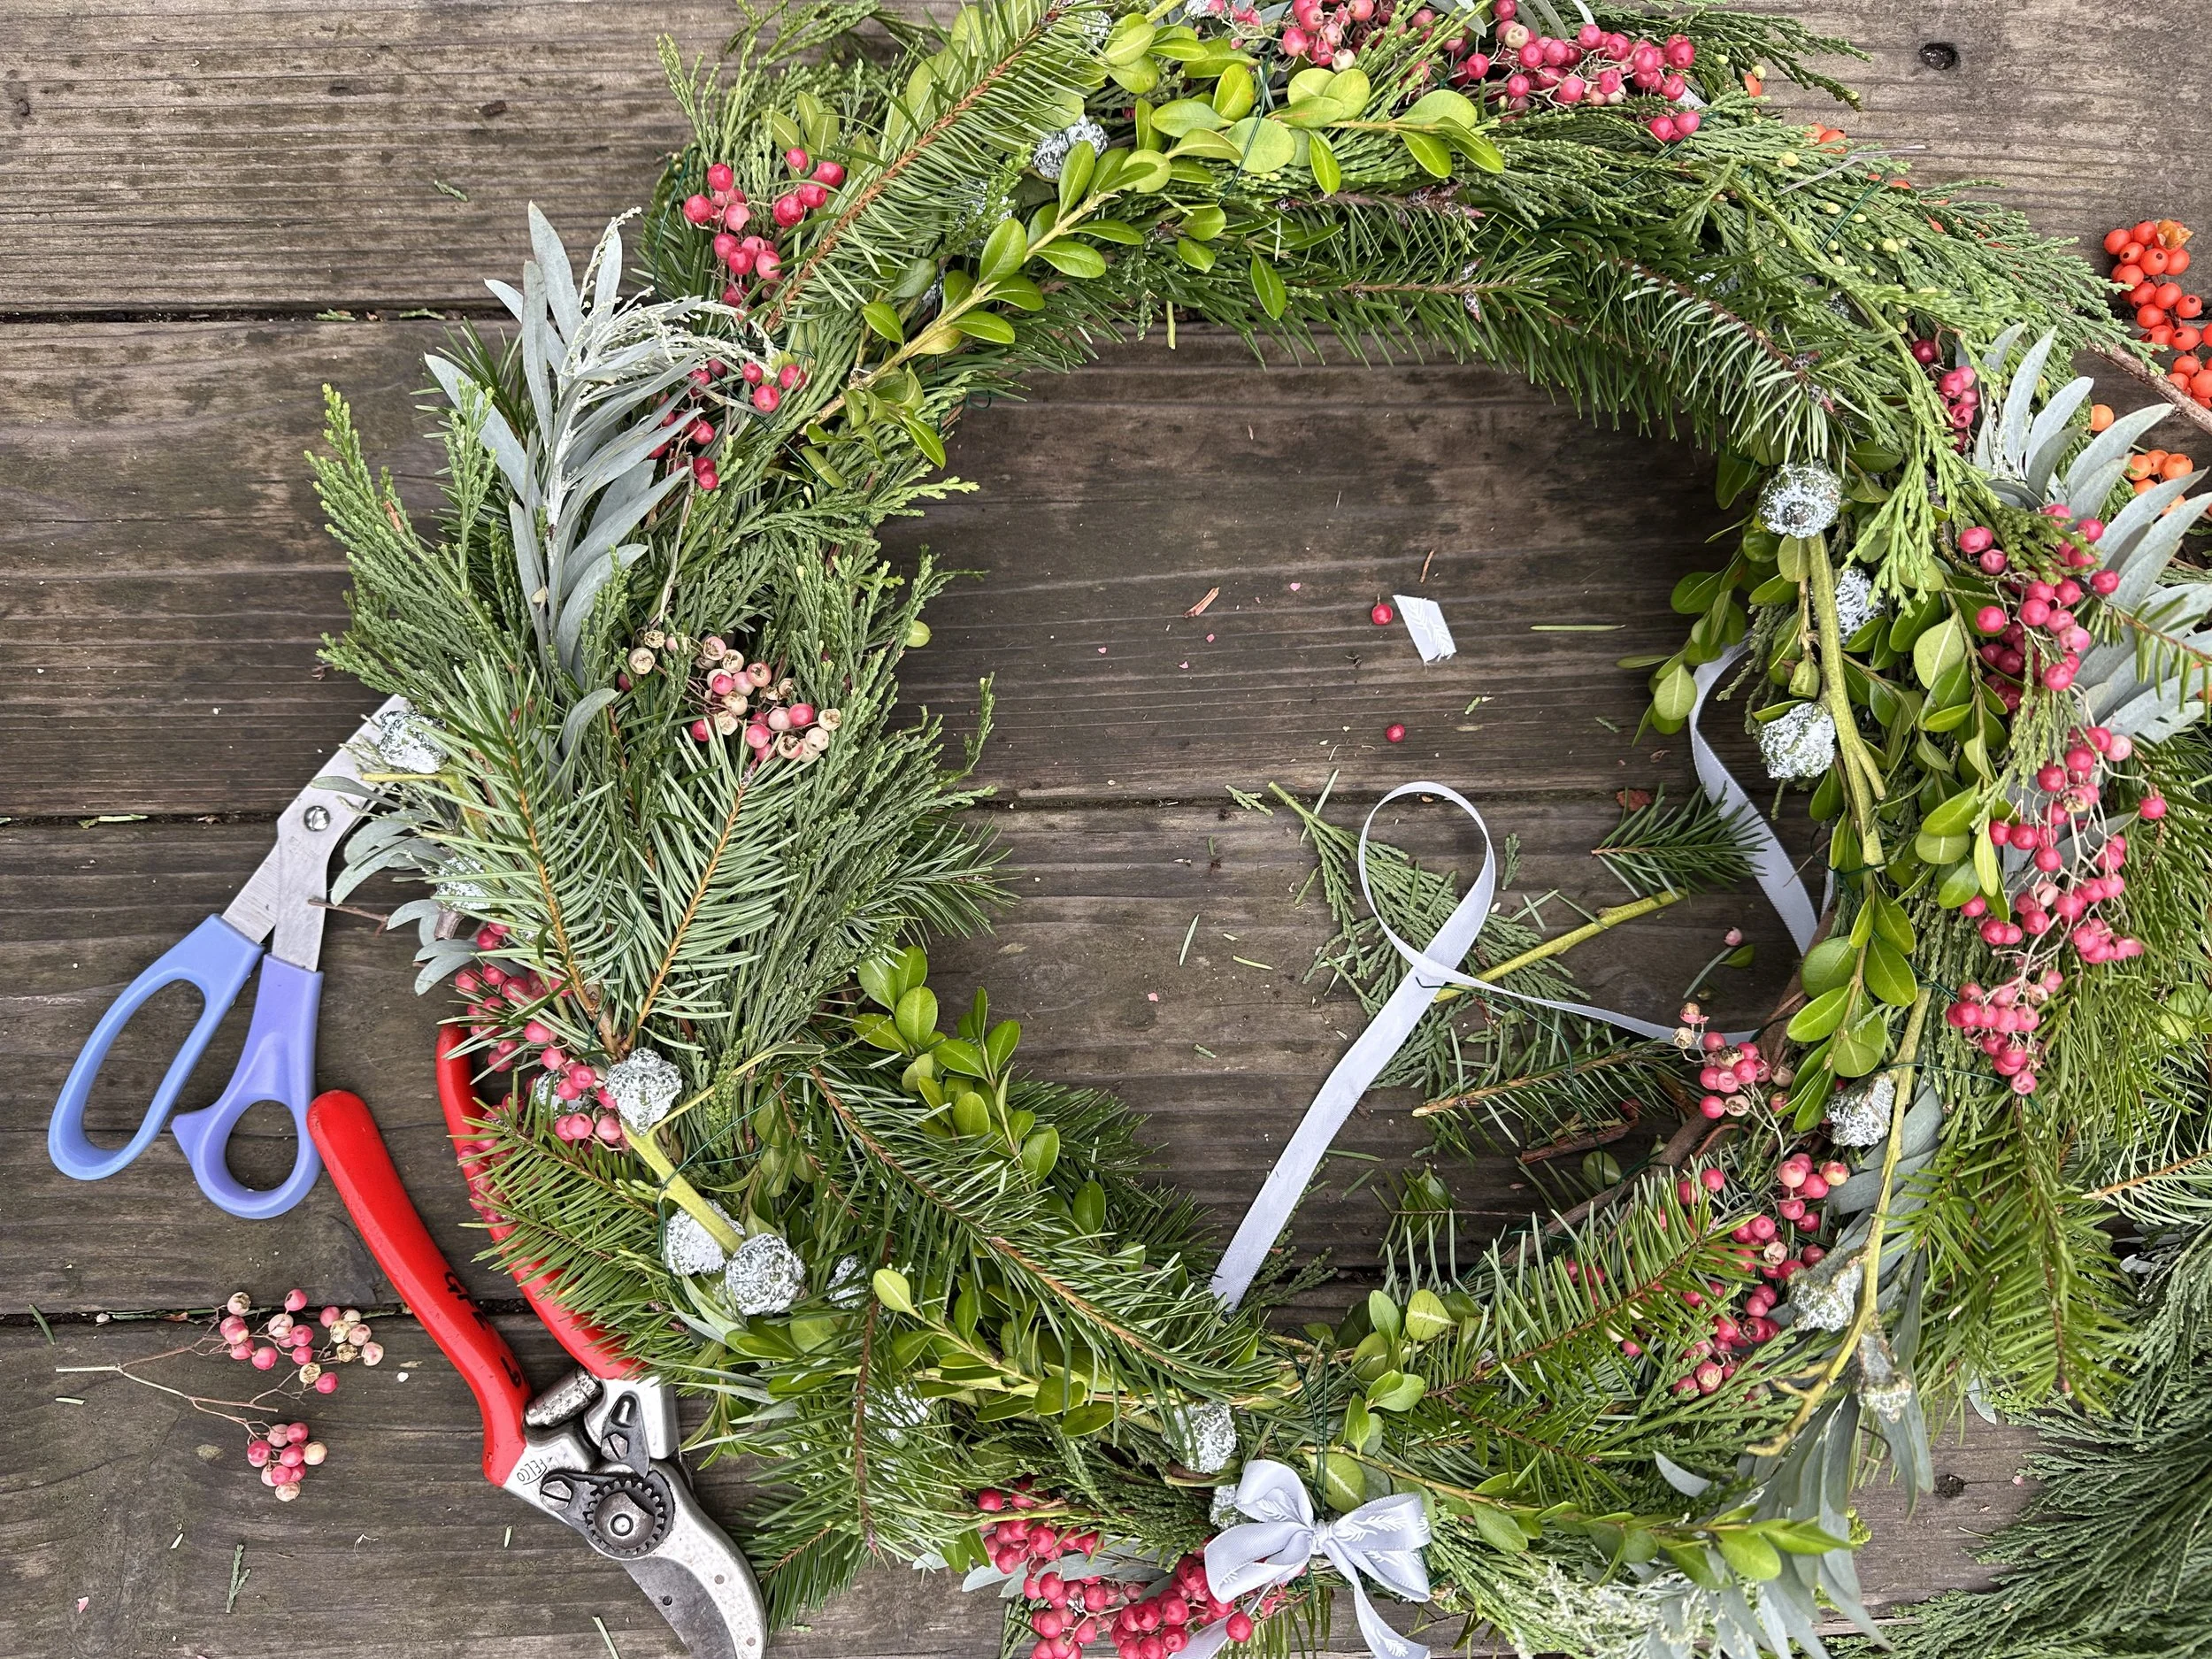
Wreaths have a rep as festive winter decor, but they’re great projects for any time of year. Gather what you can from grocery stores, garden centers, or your own backyard and go for it!! These beauts are ephemeral, and it’s always neat watch your piece change as it ages. Snip things and pop in some new sprigs to keep it going, or pull everything off and save the base for a brand new wreath. Experiment with bundles or freestyle your own technique!
COLLECTBelow are recommendations, but a great maker motto is: Use what you’ve got! Get hands on, get started, and try not to get caught up in whether you’ve sourced the “right” things.
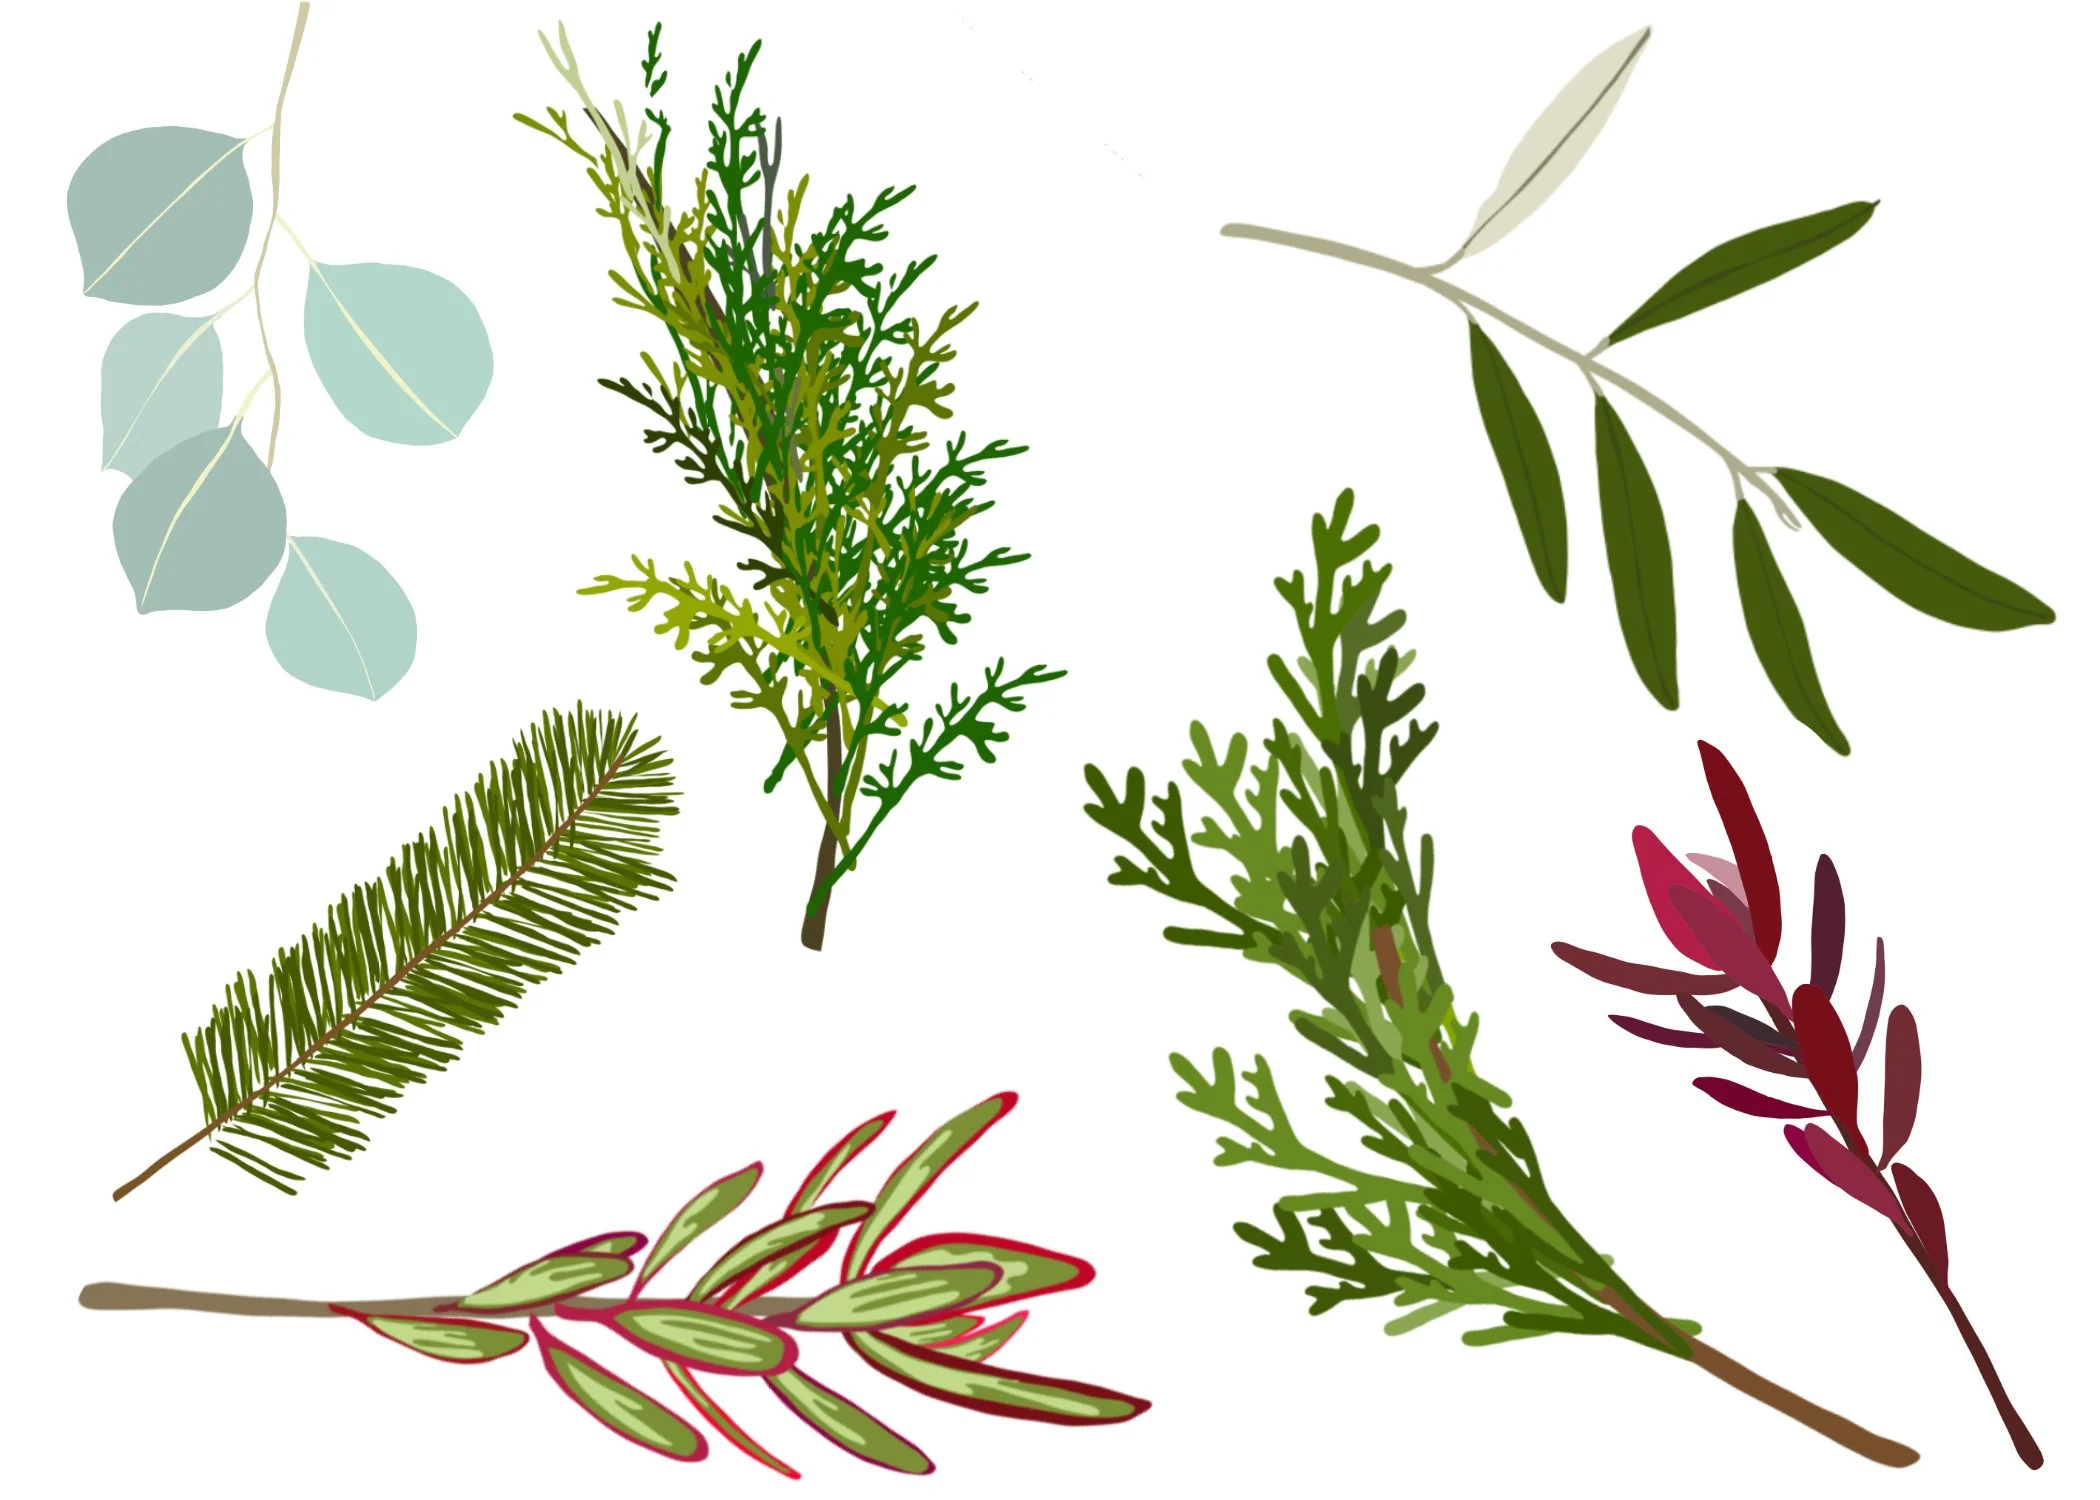
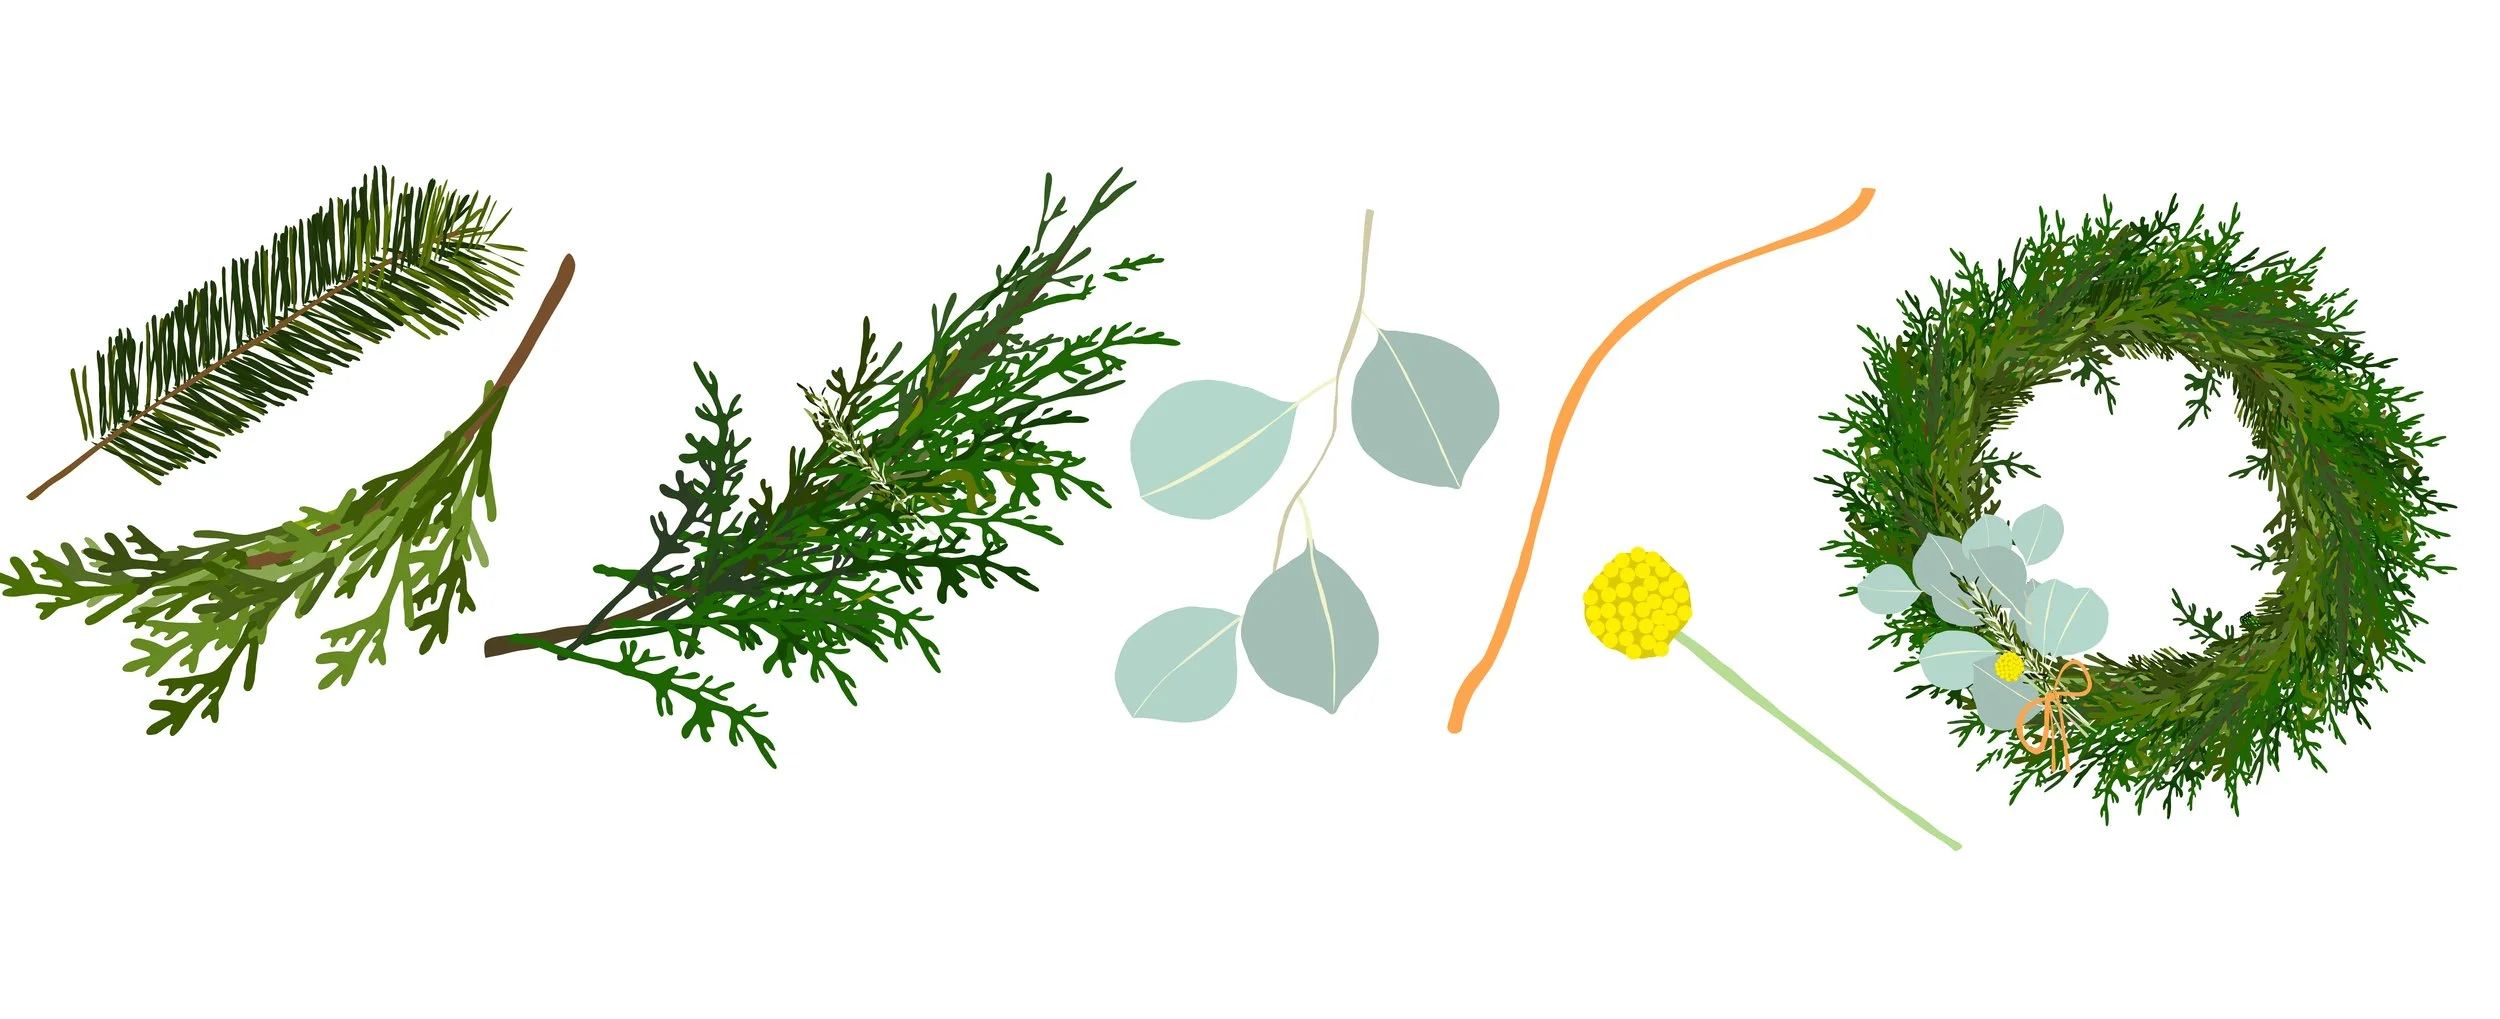
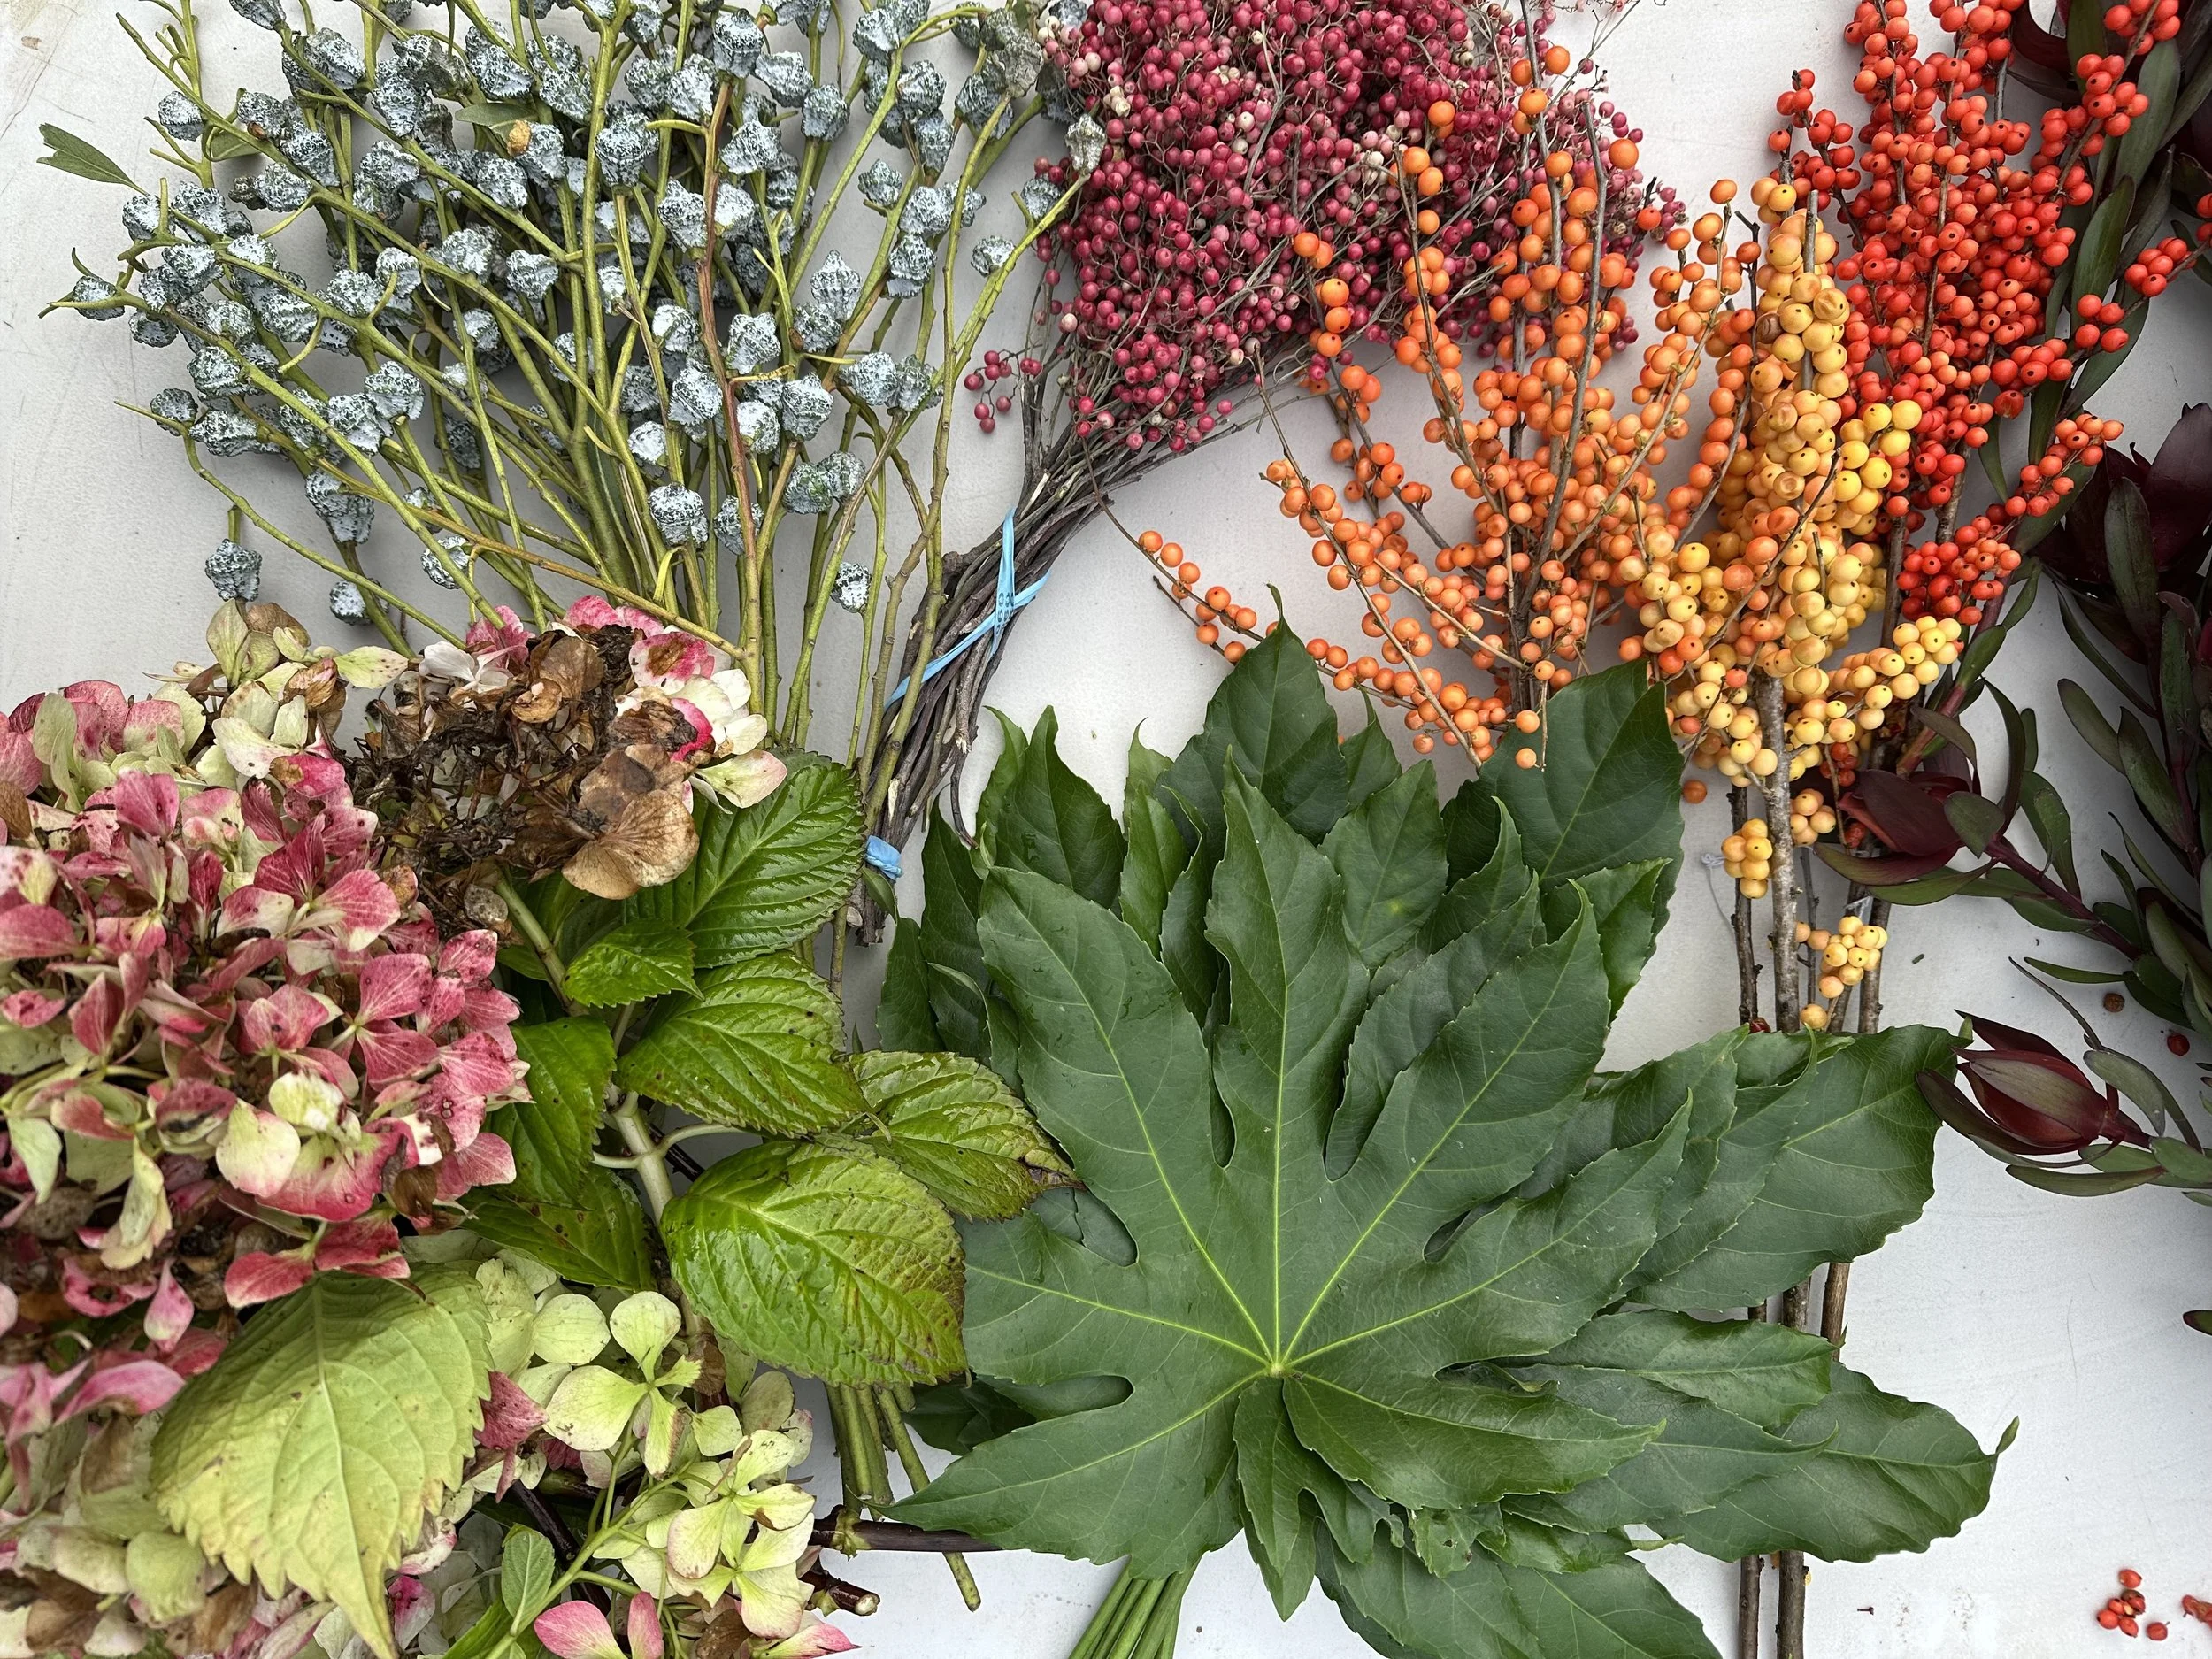
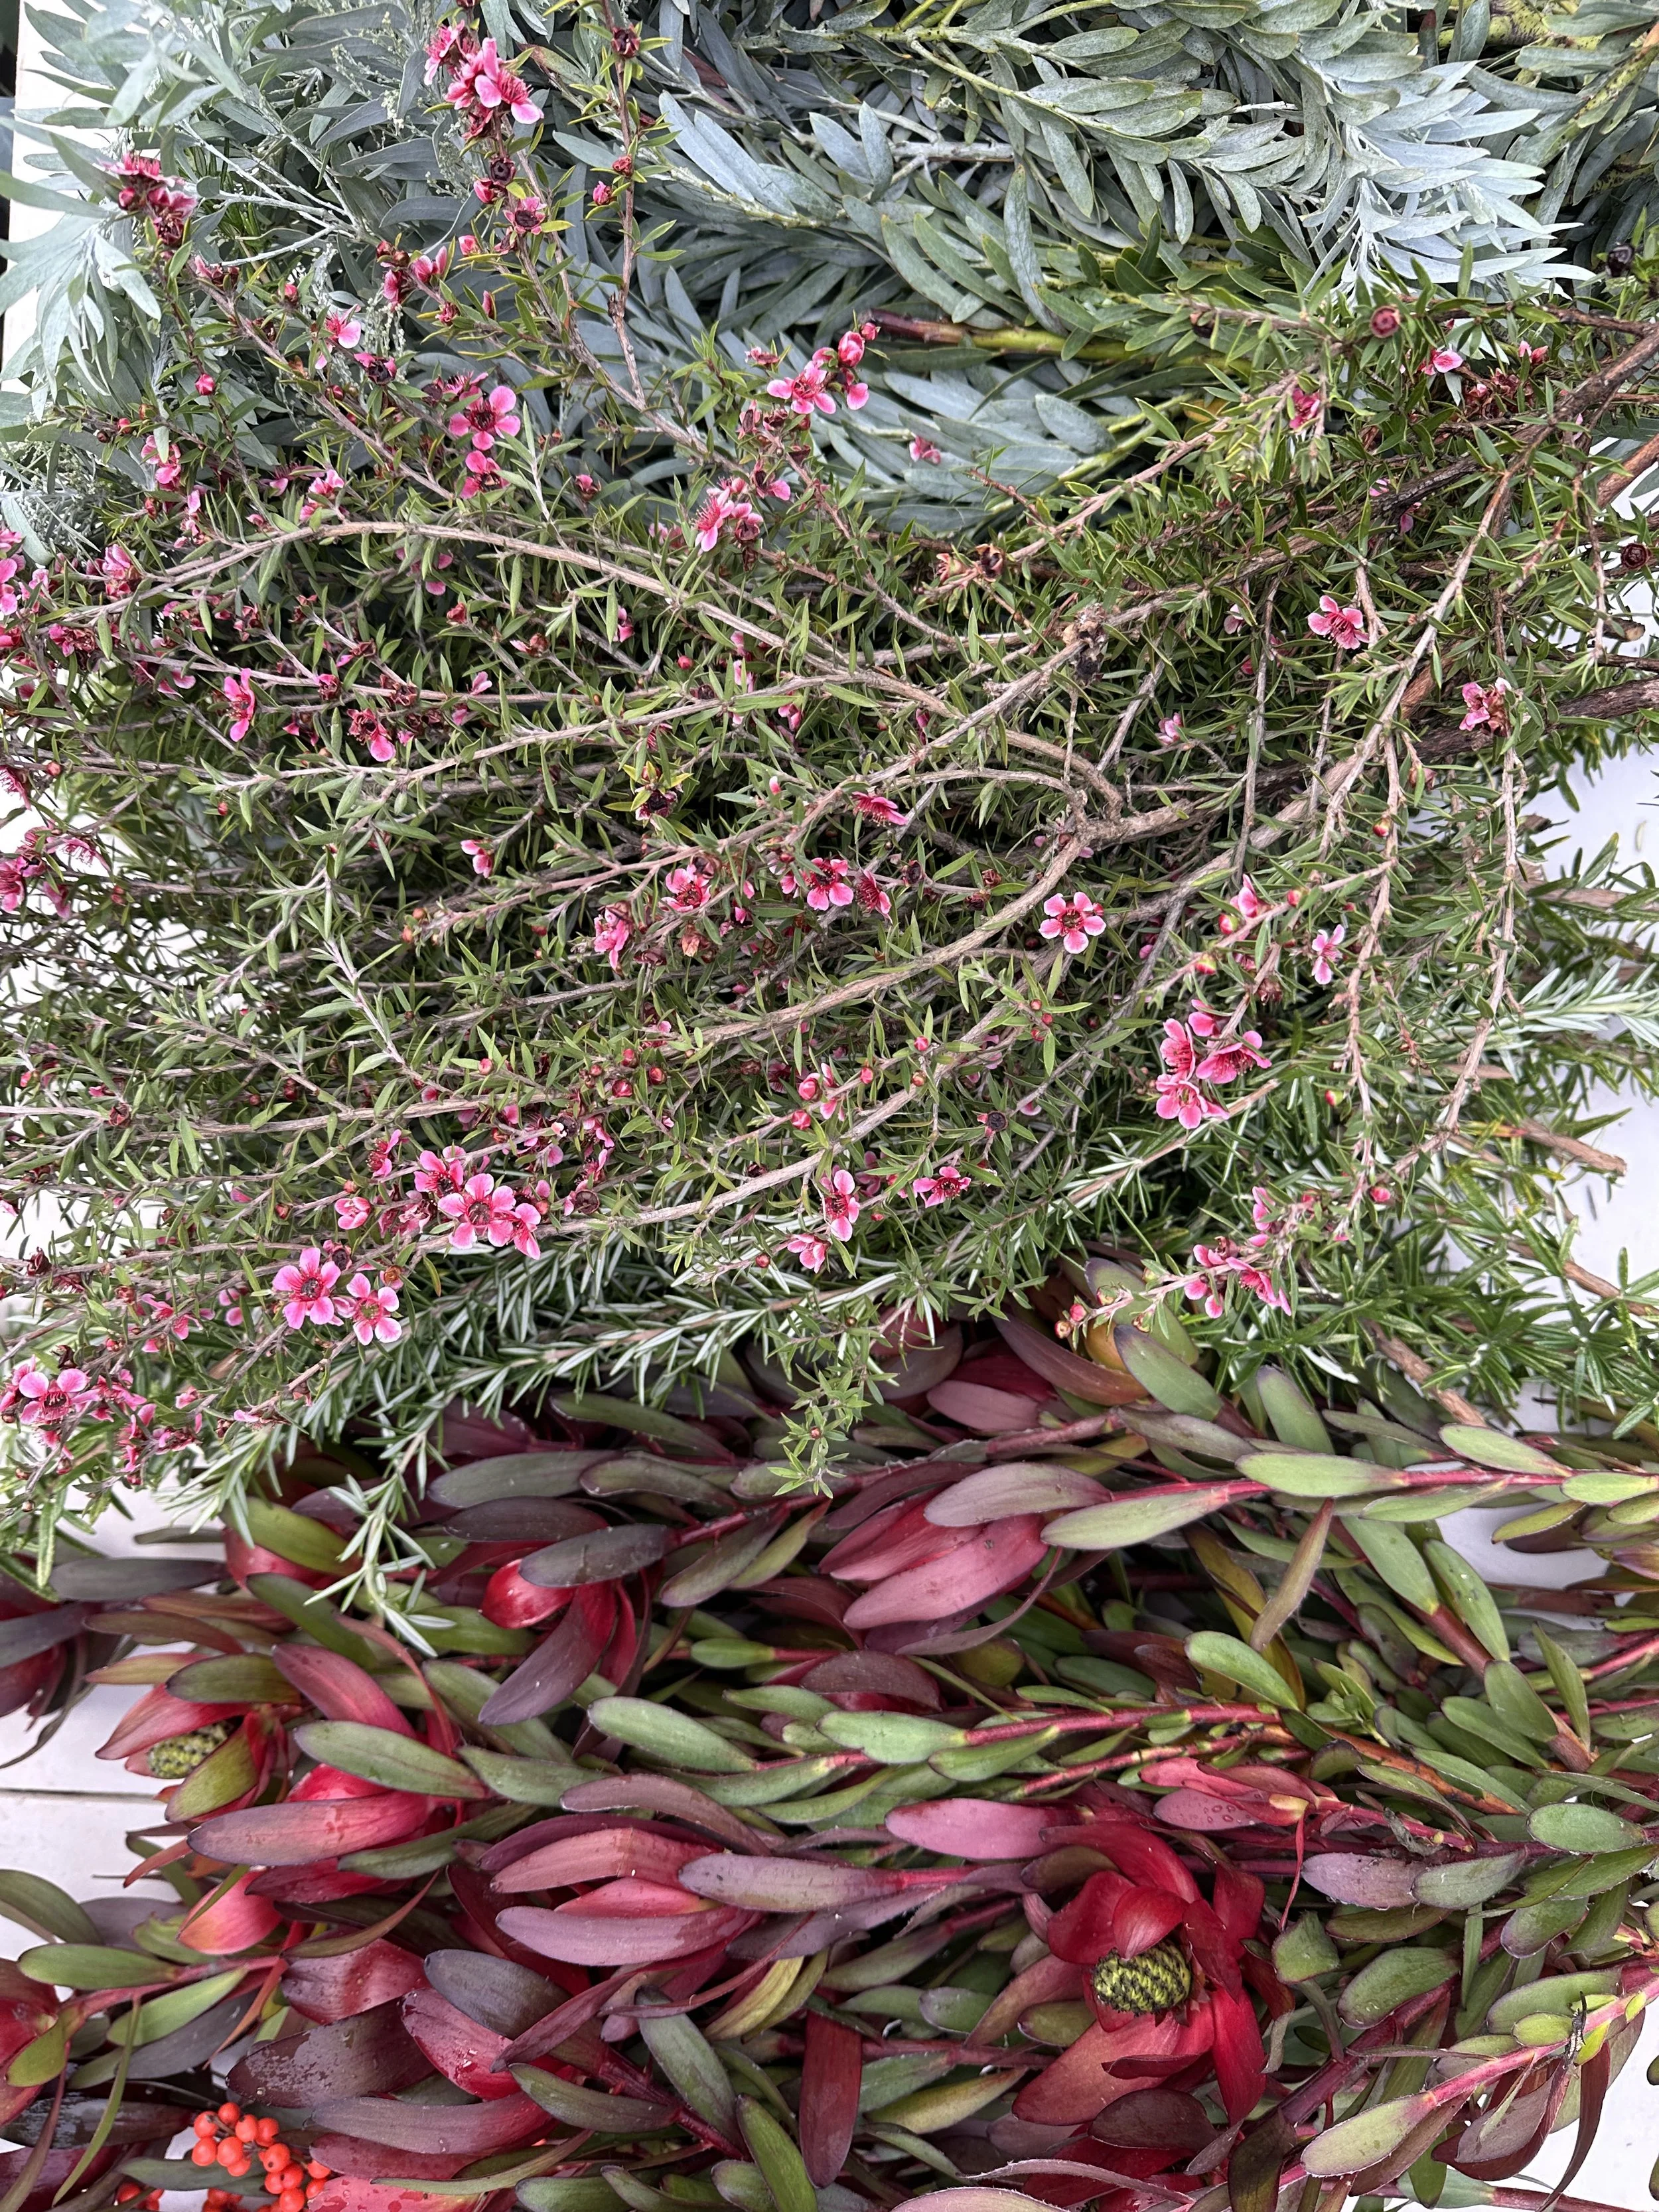
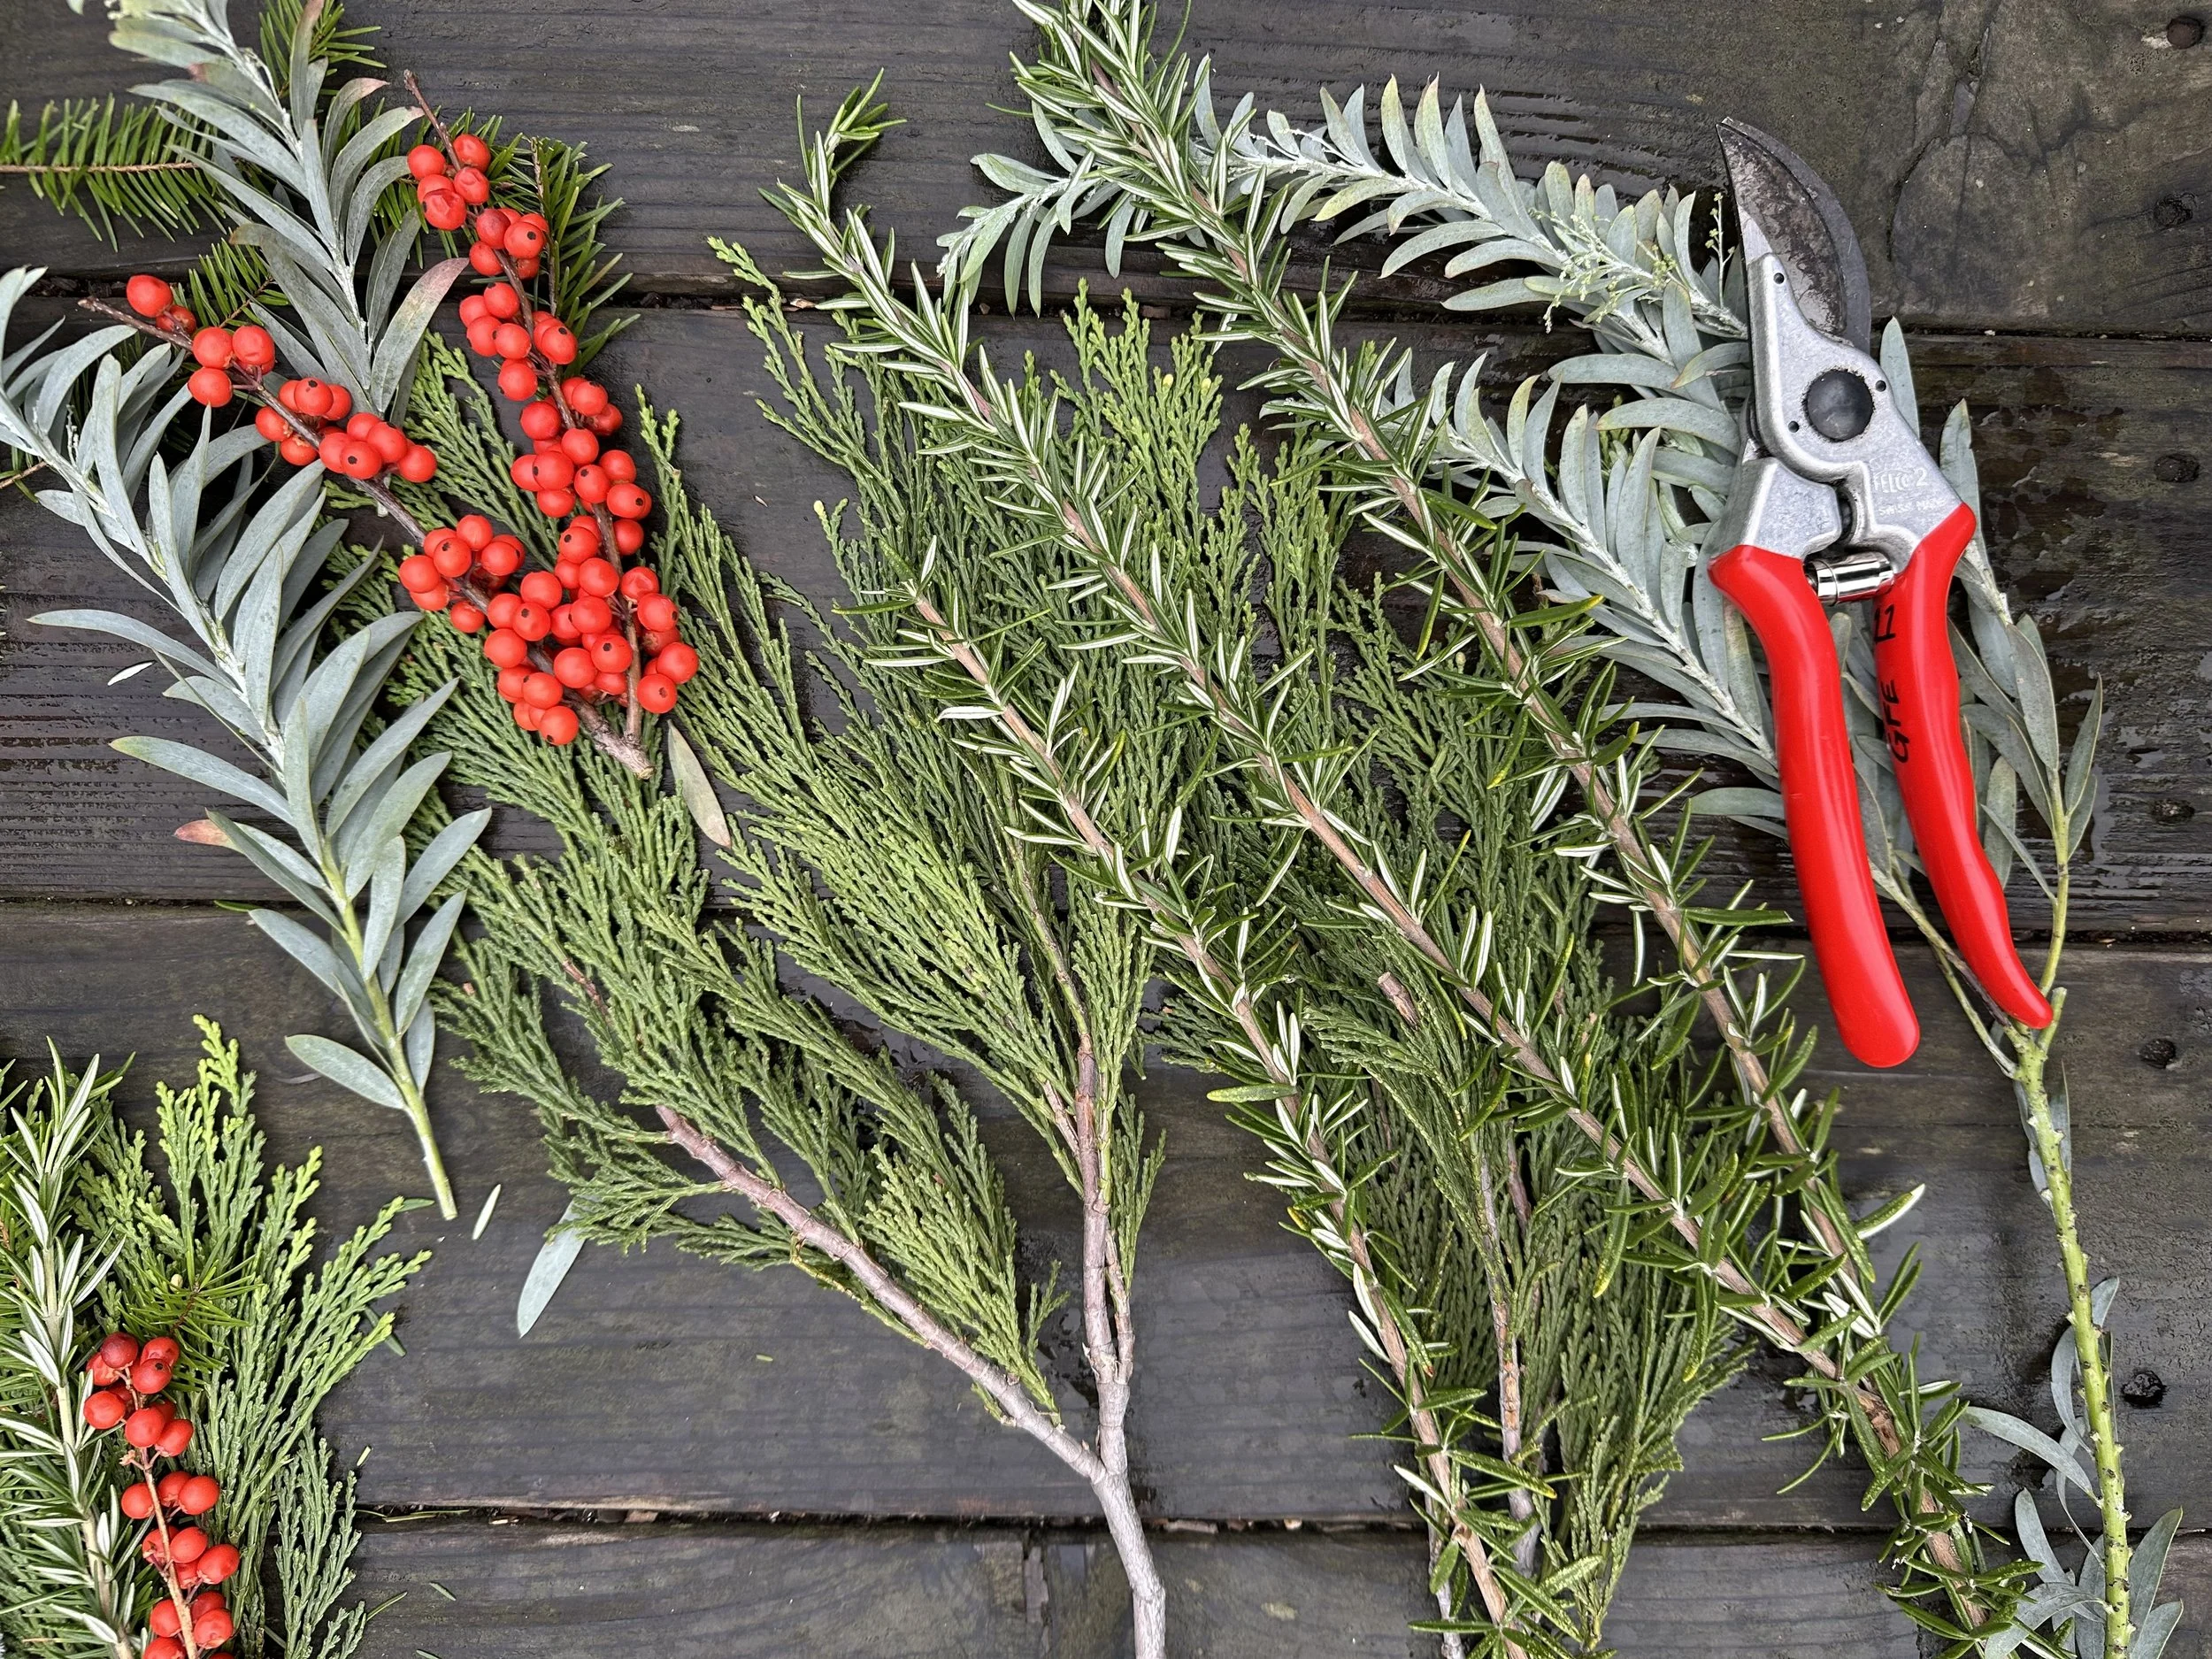
••• foundations
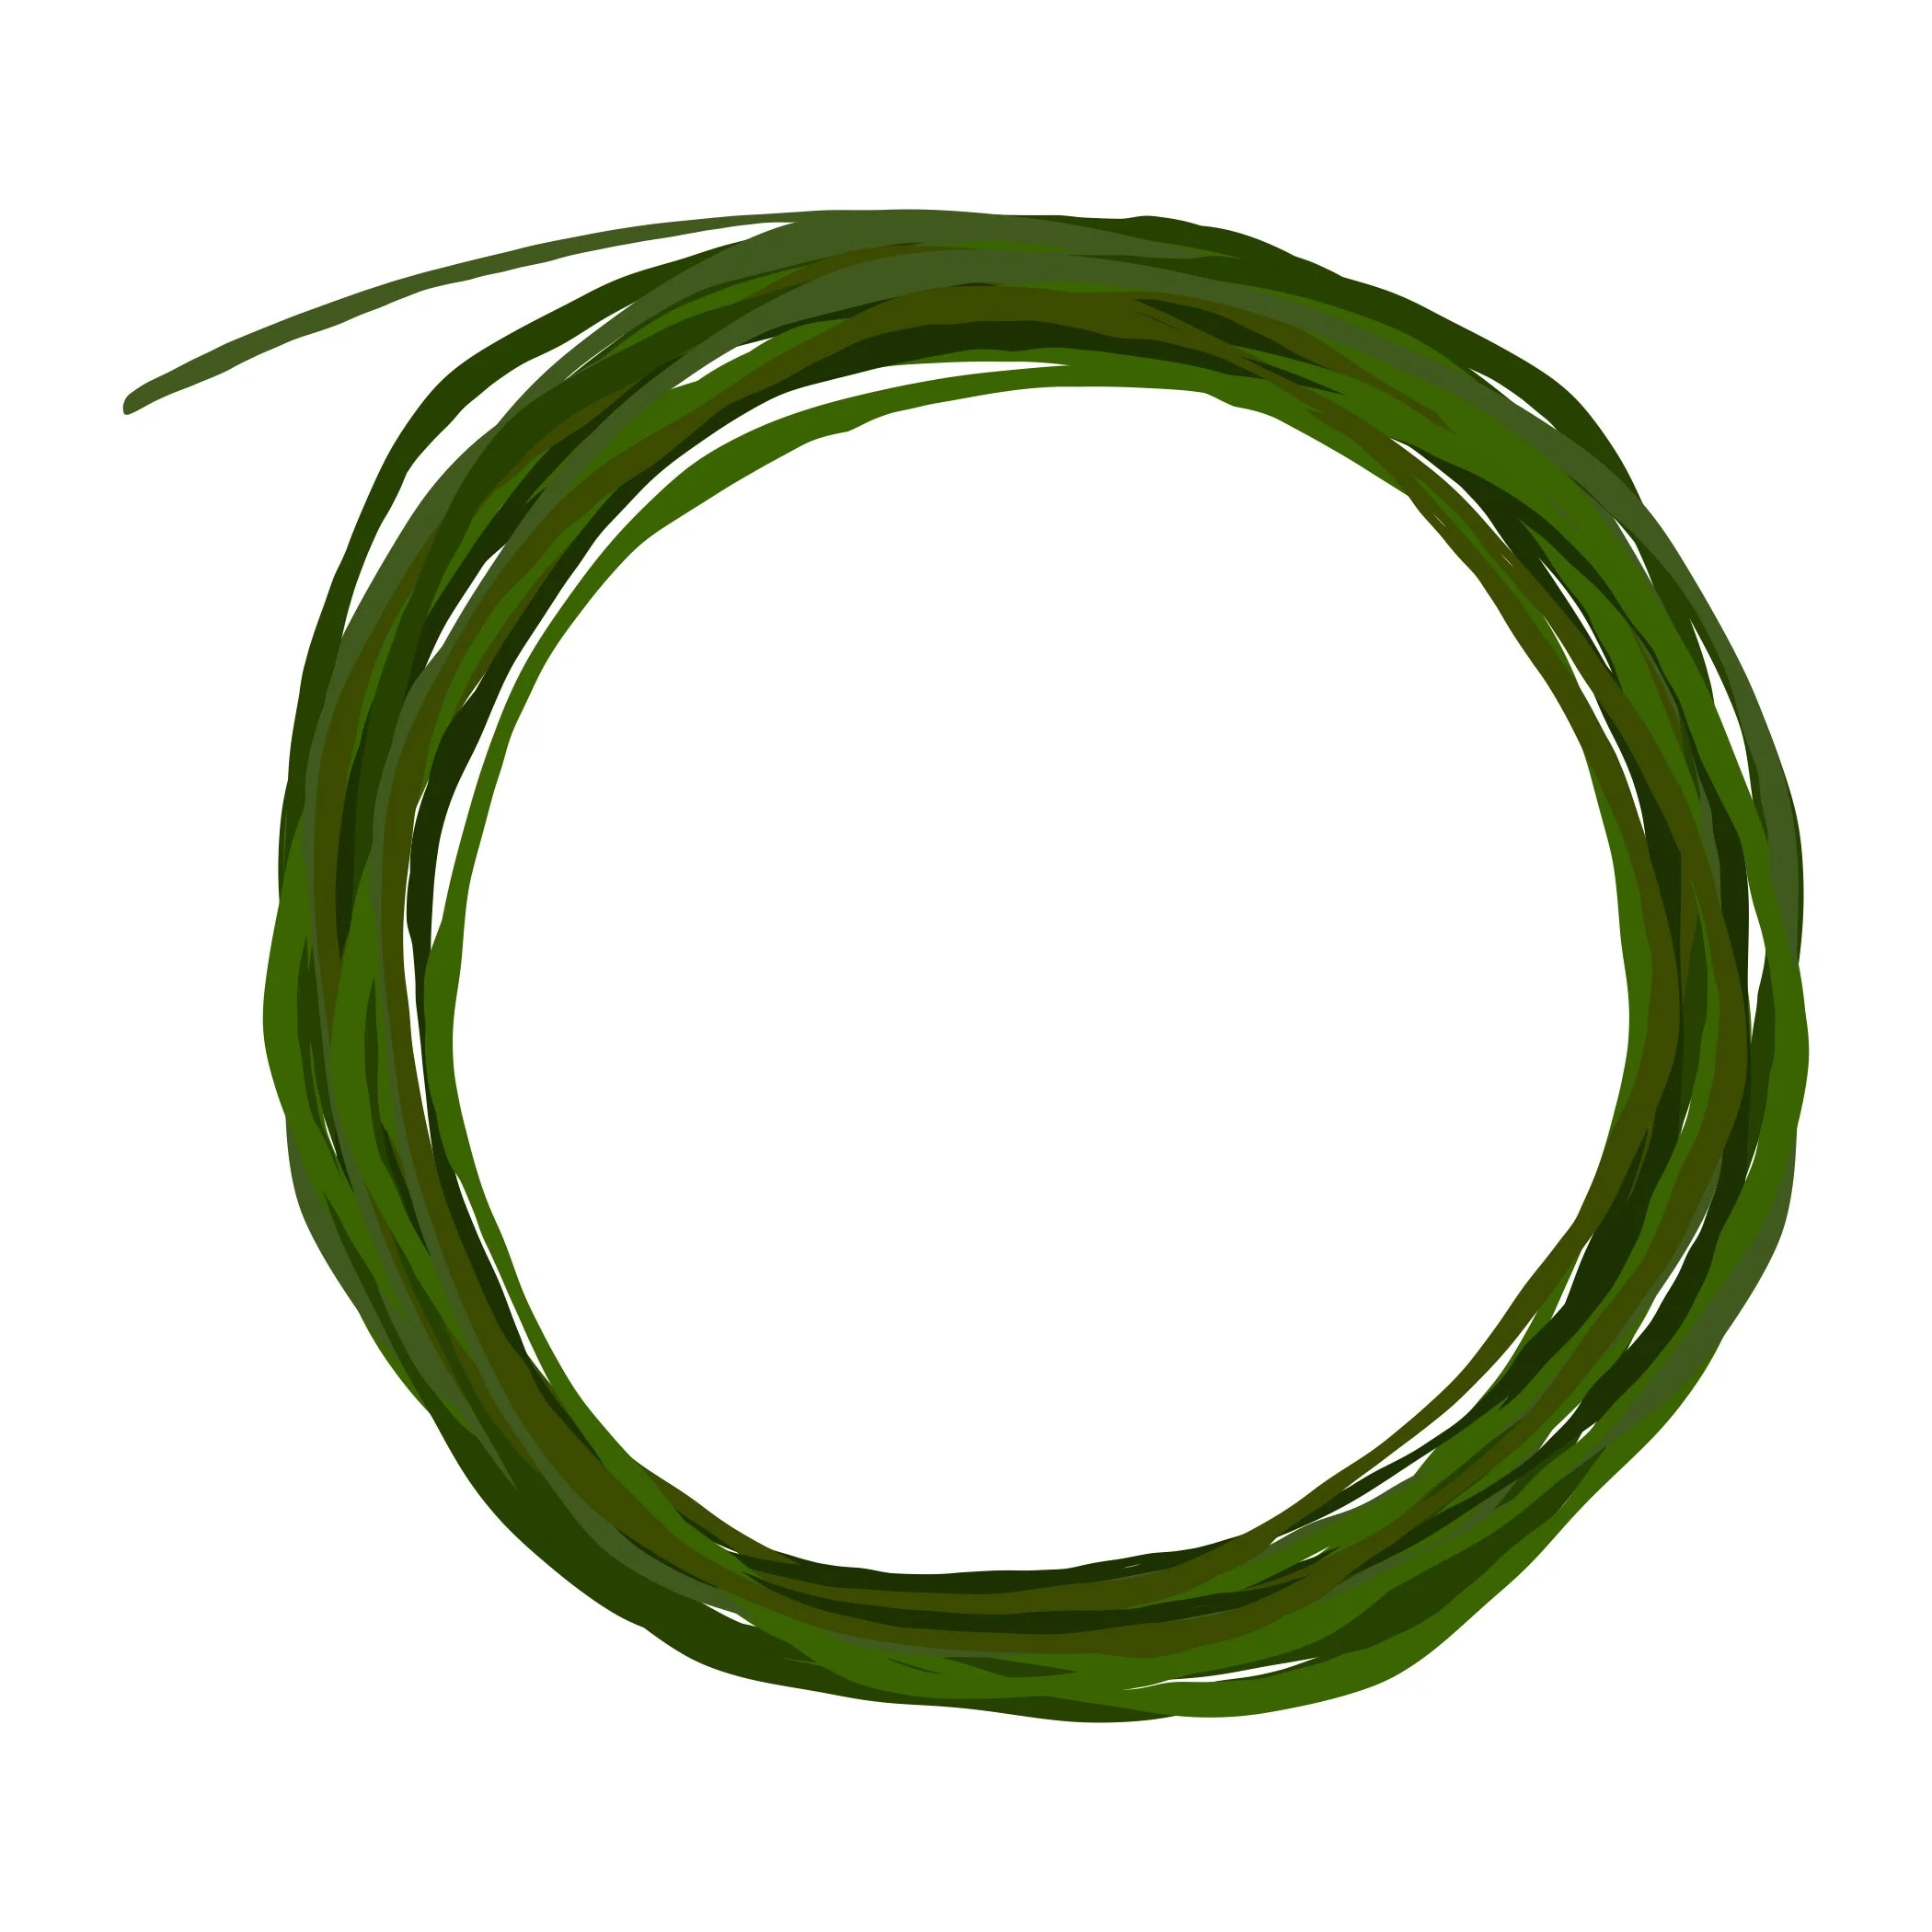
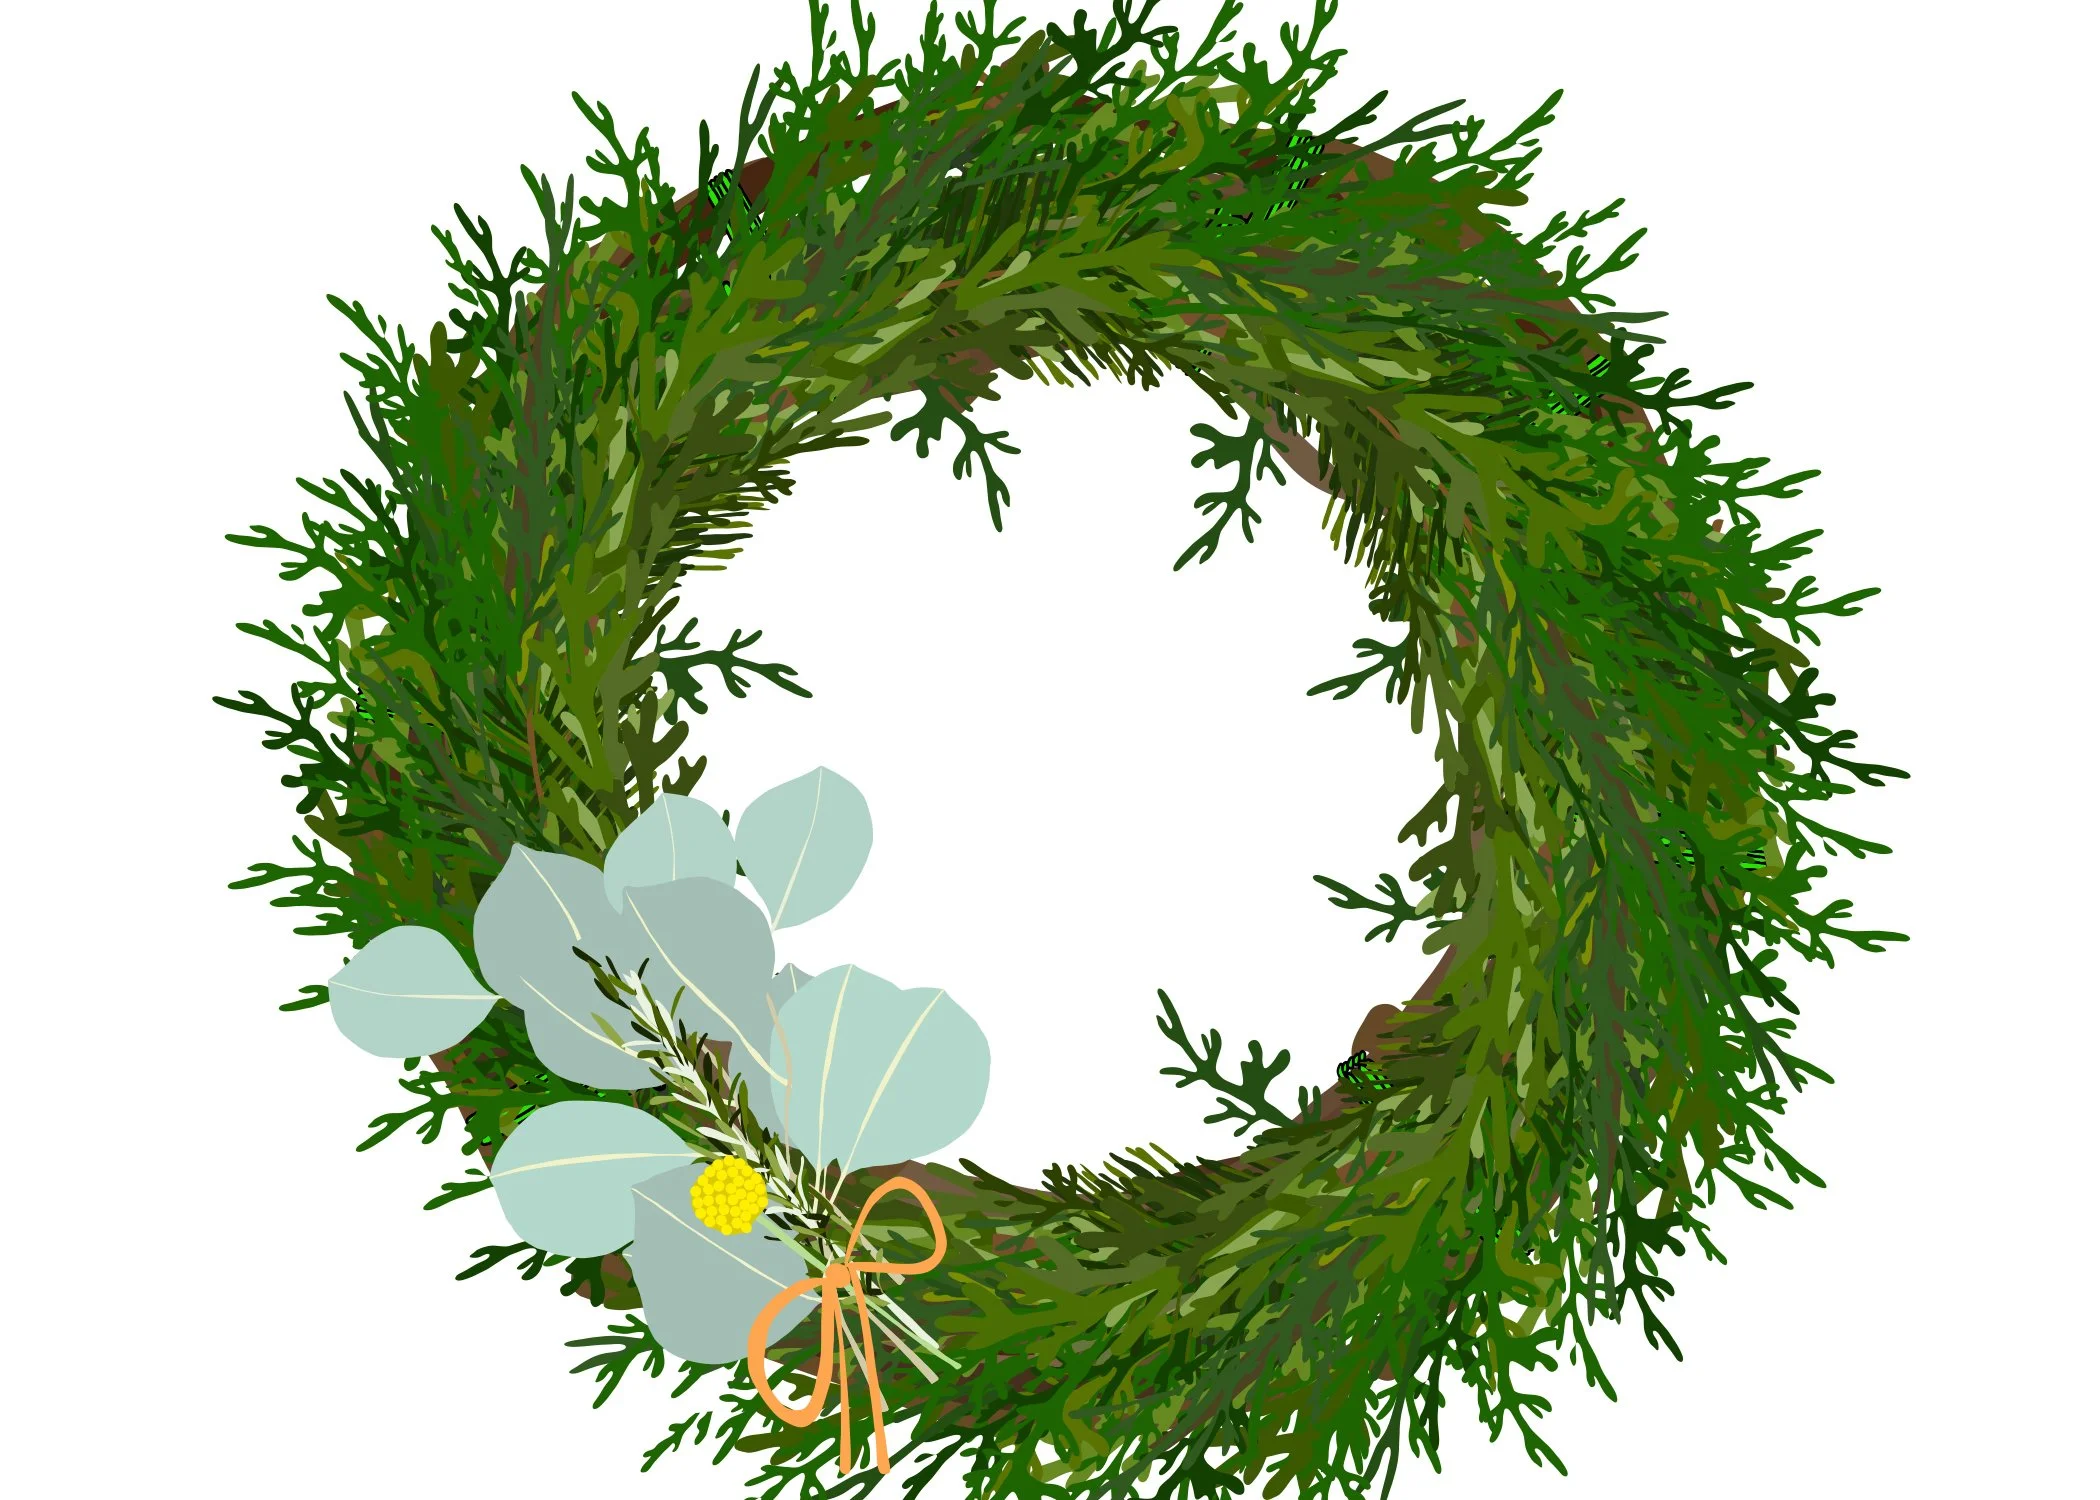
The main color and texture in your wreath.
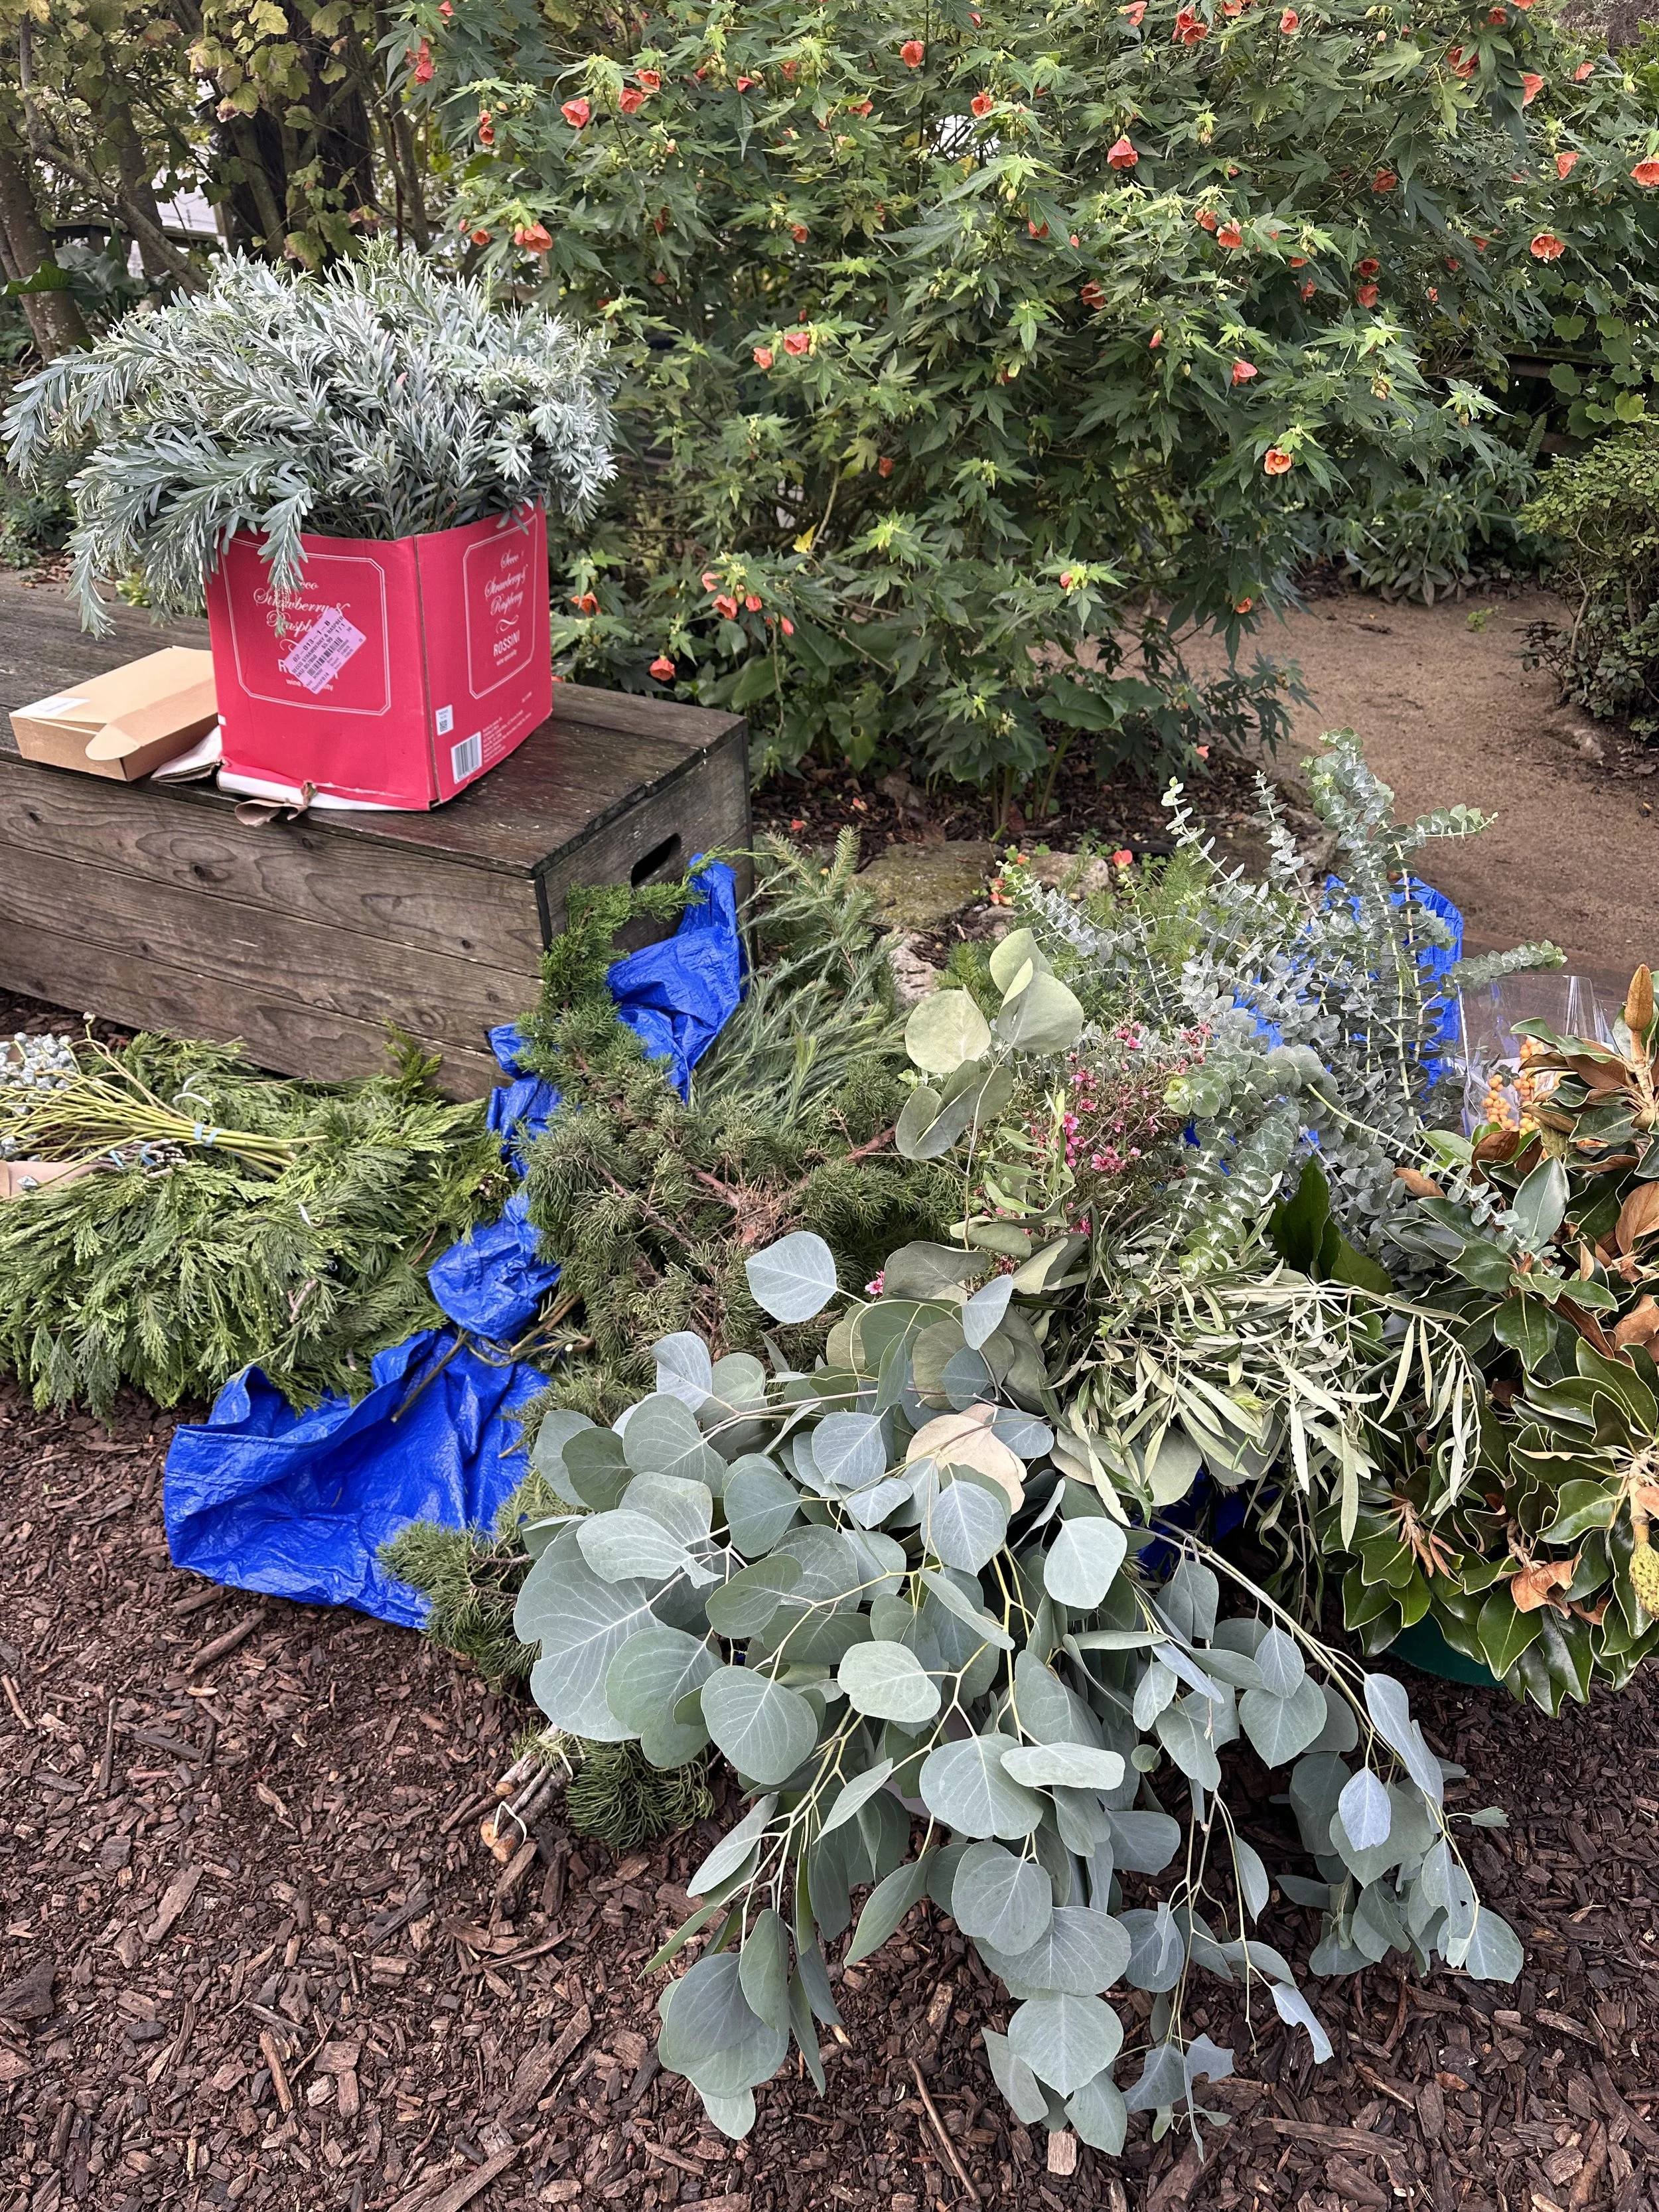
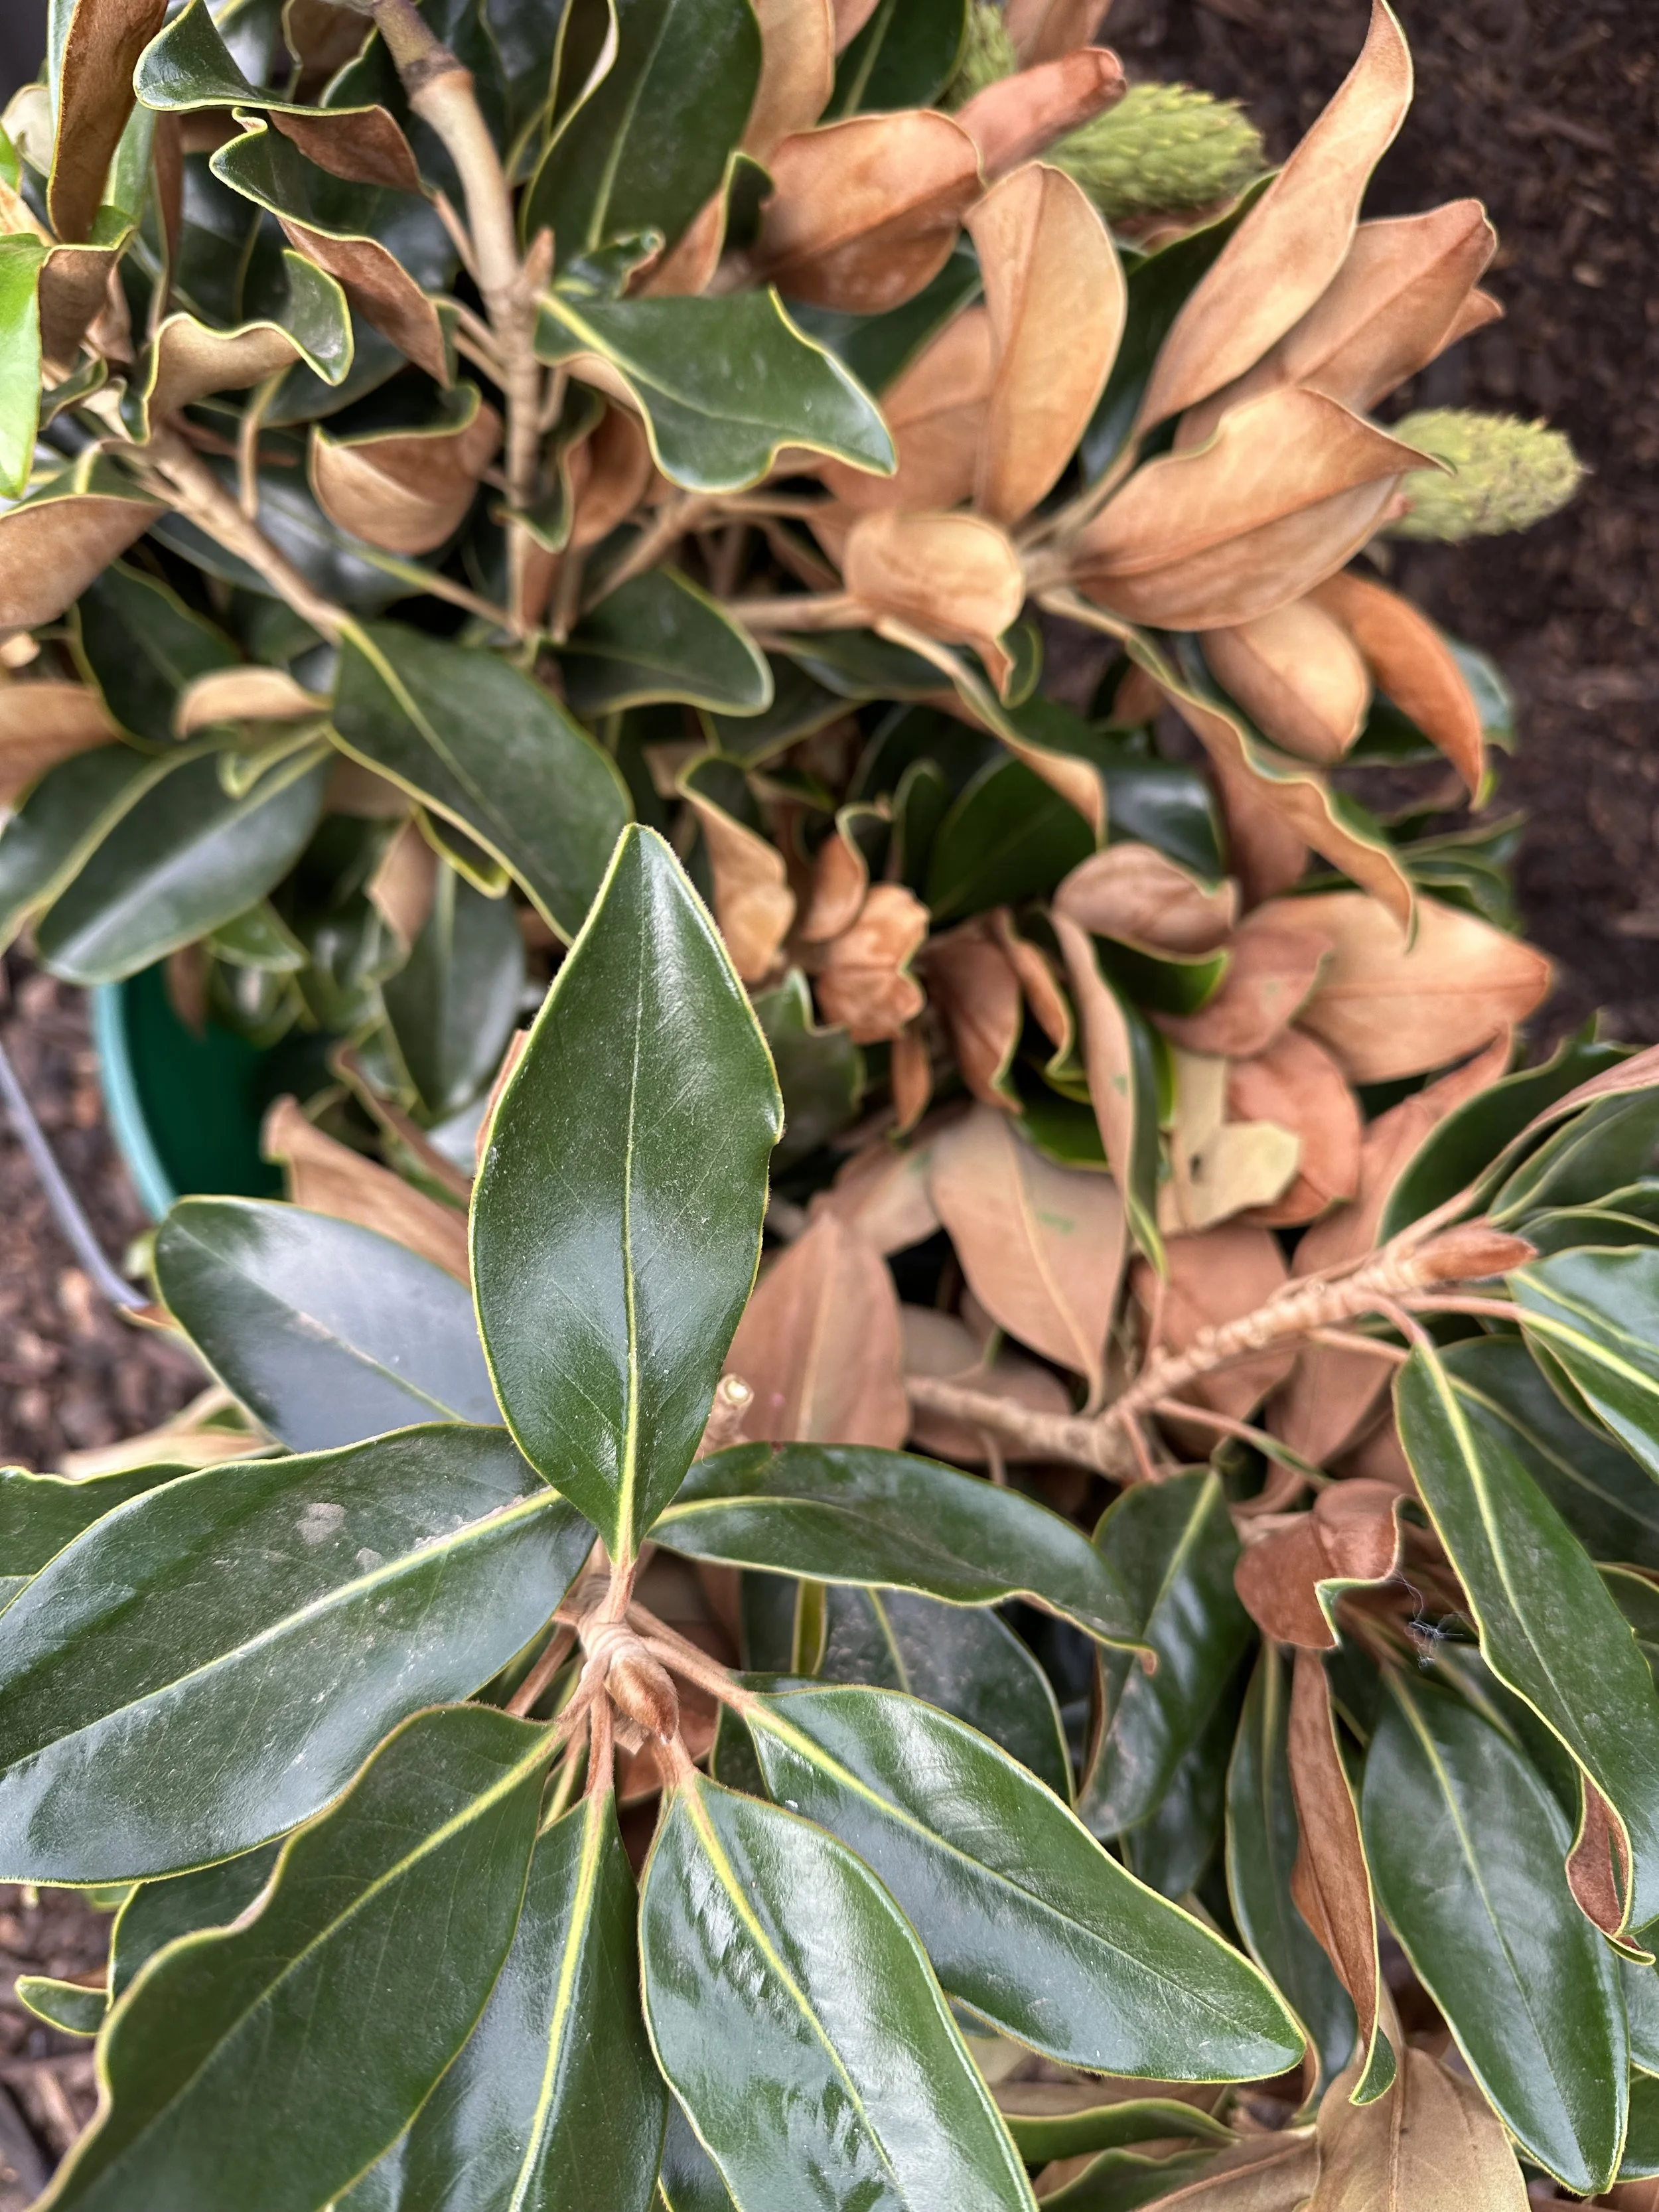
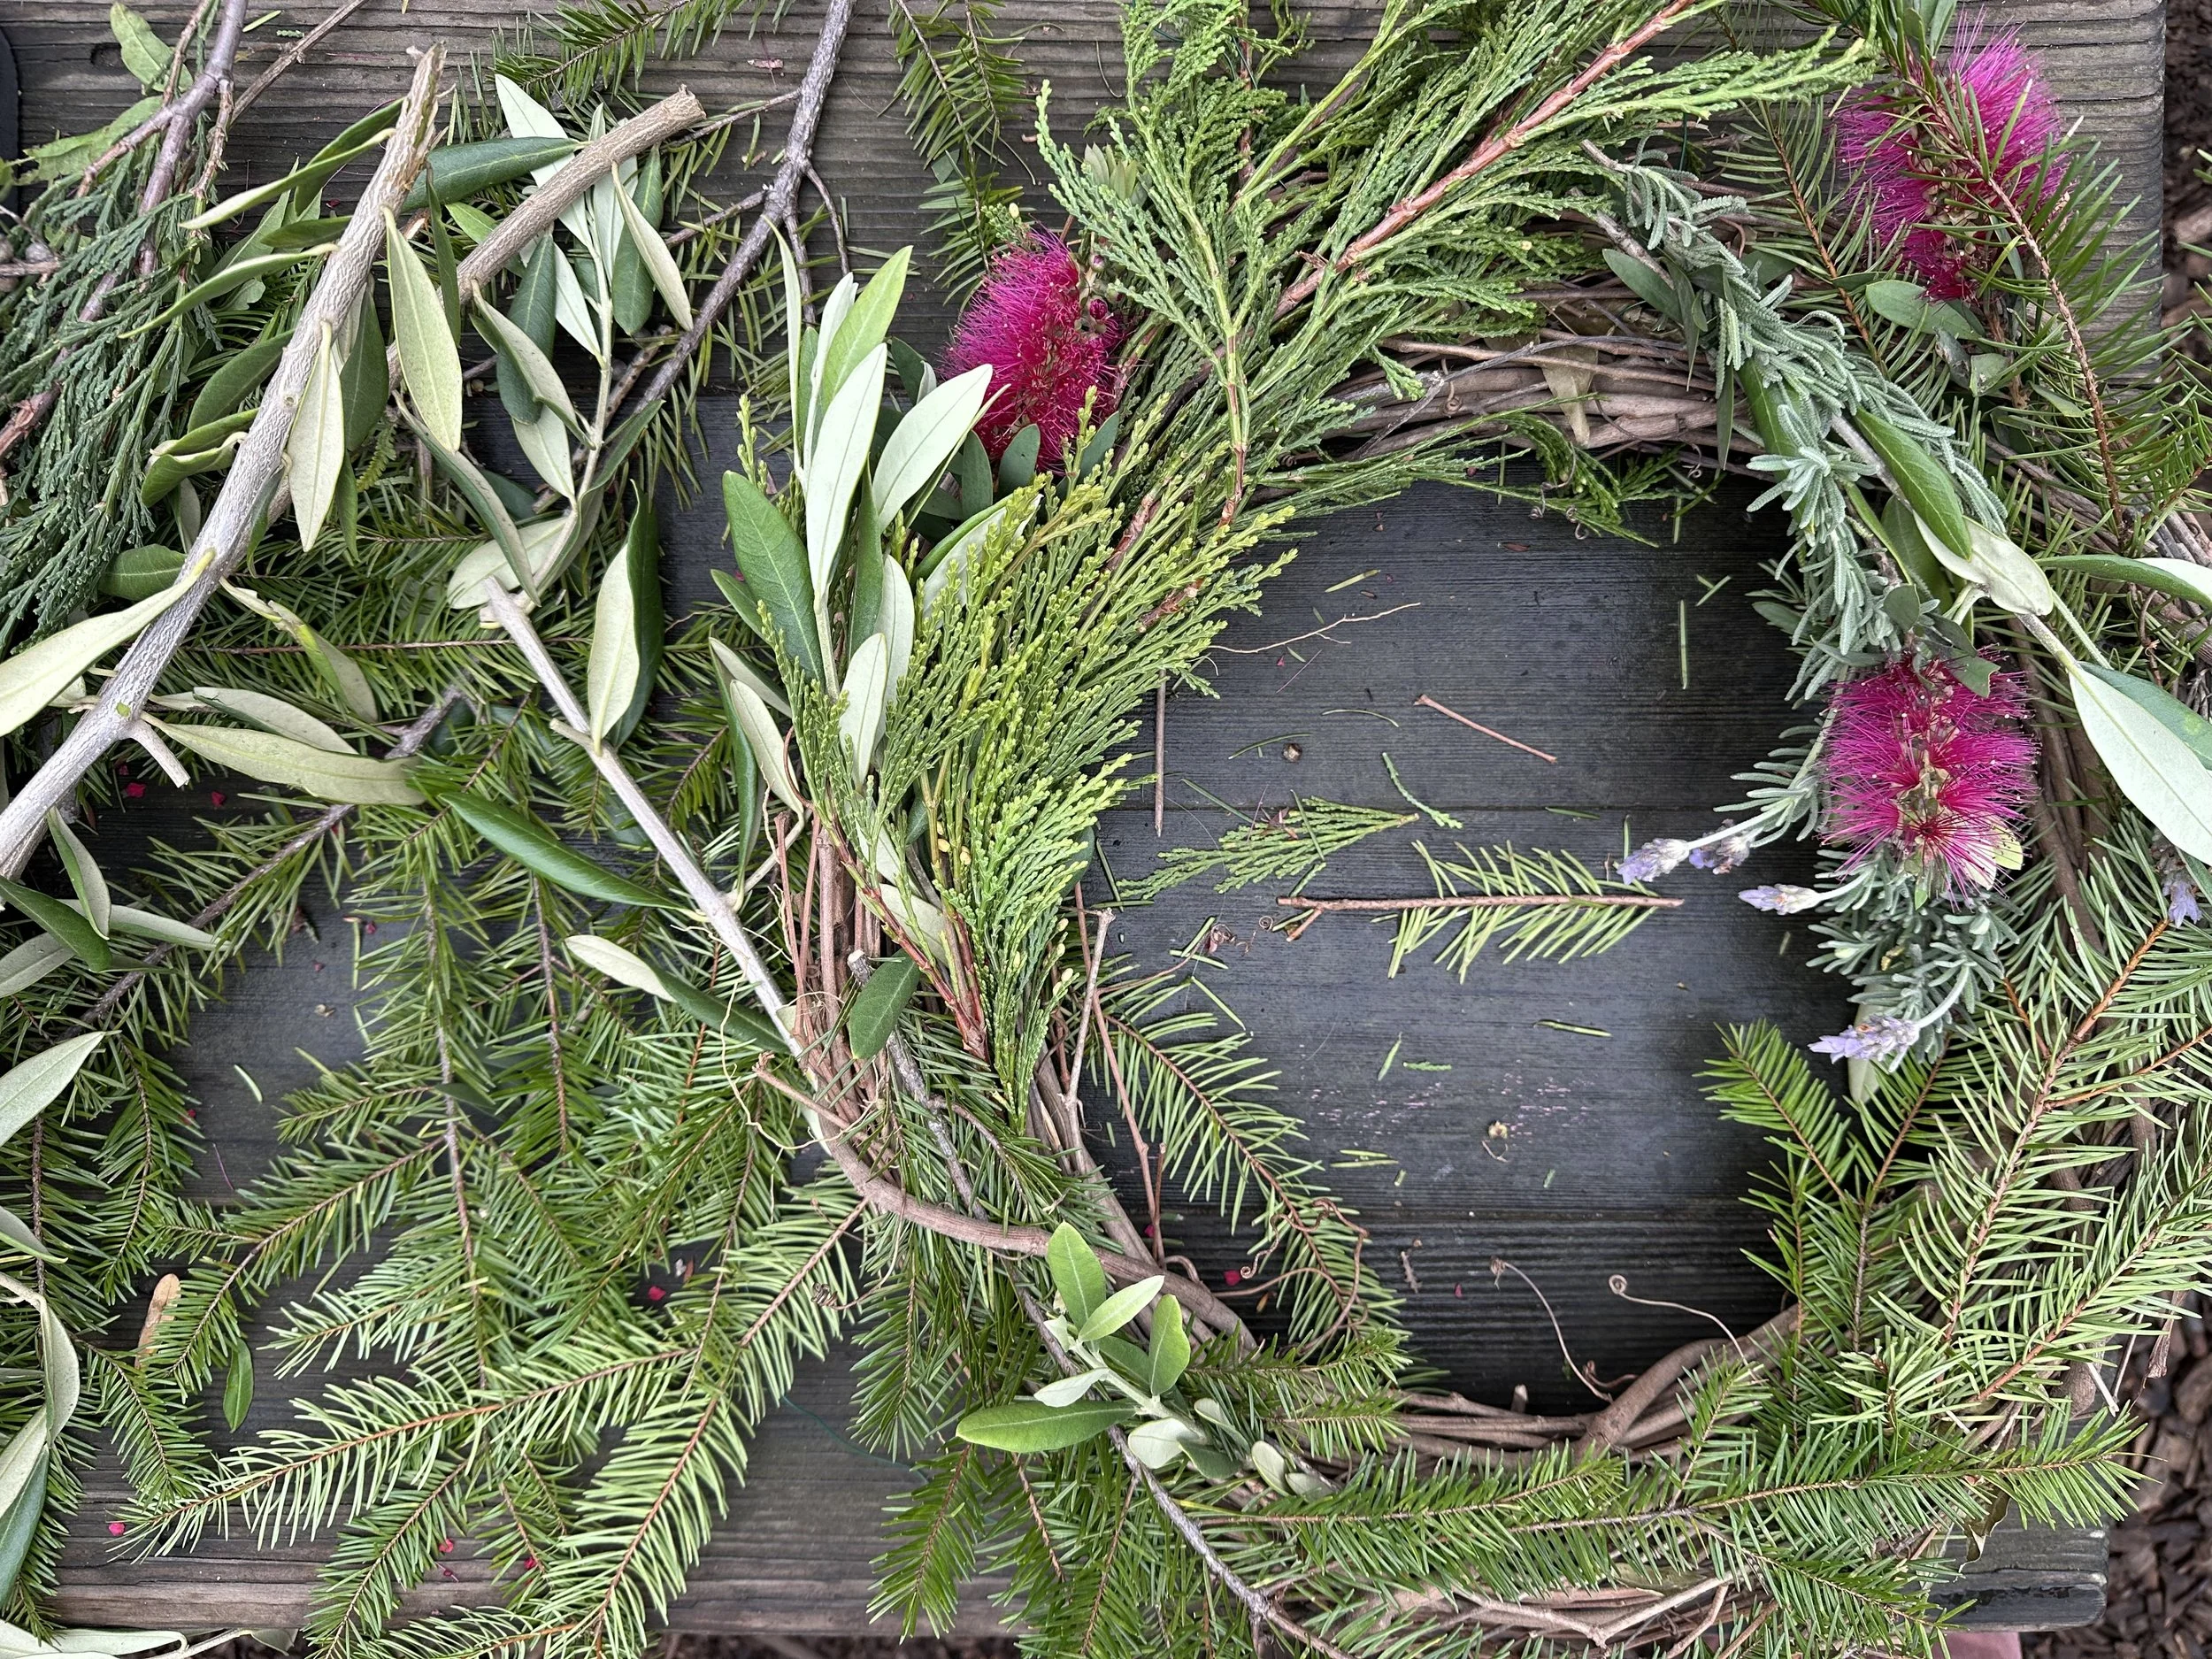
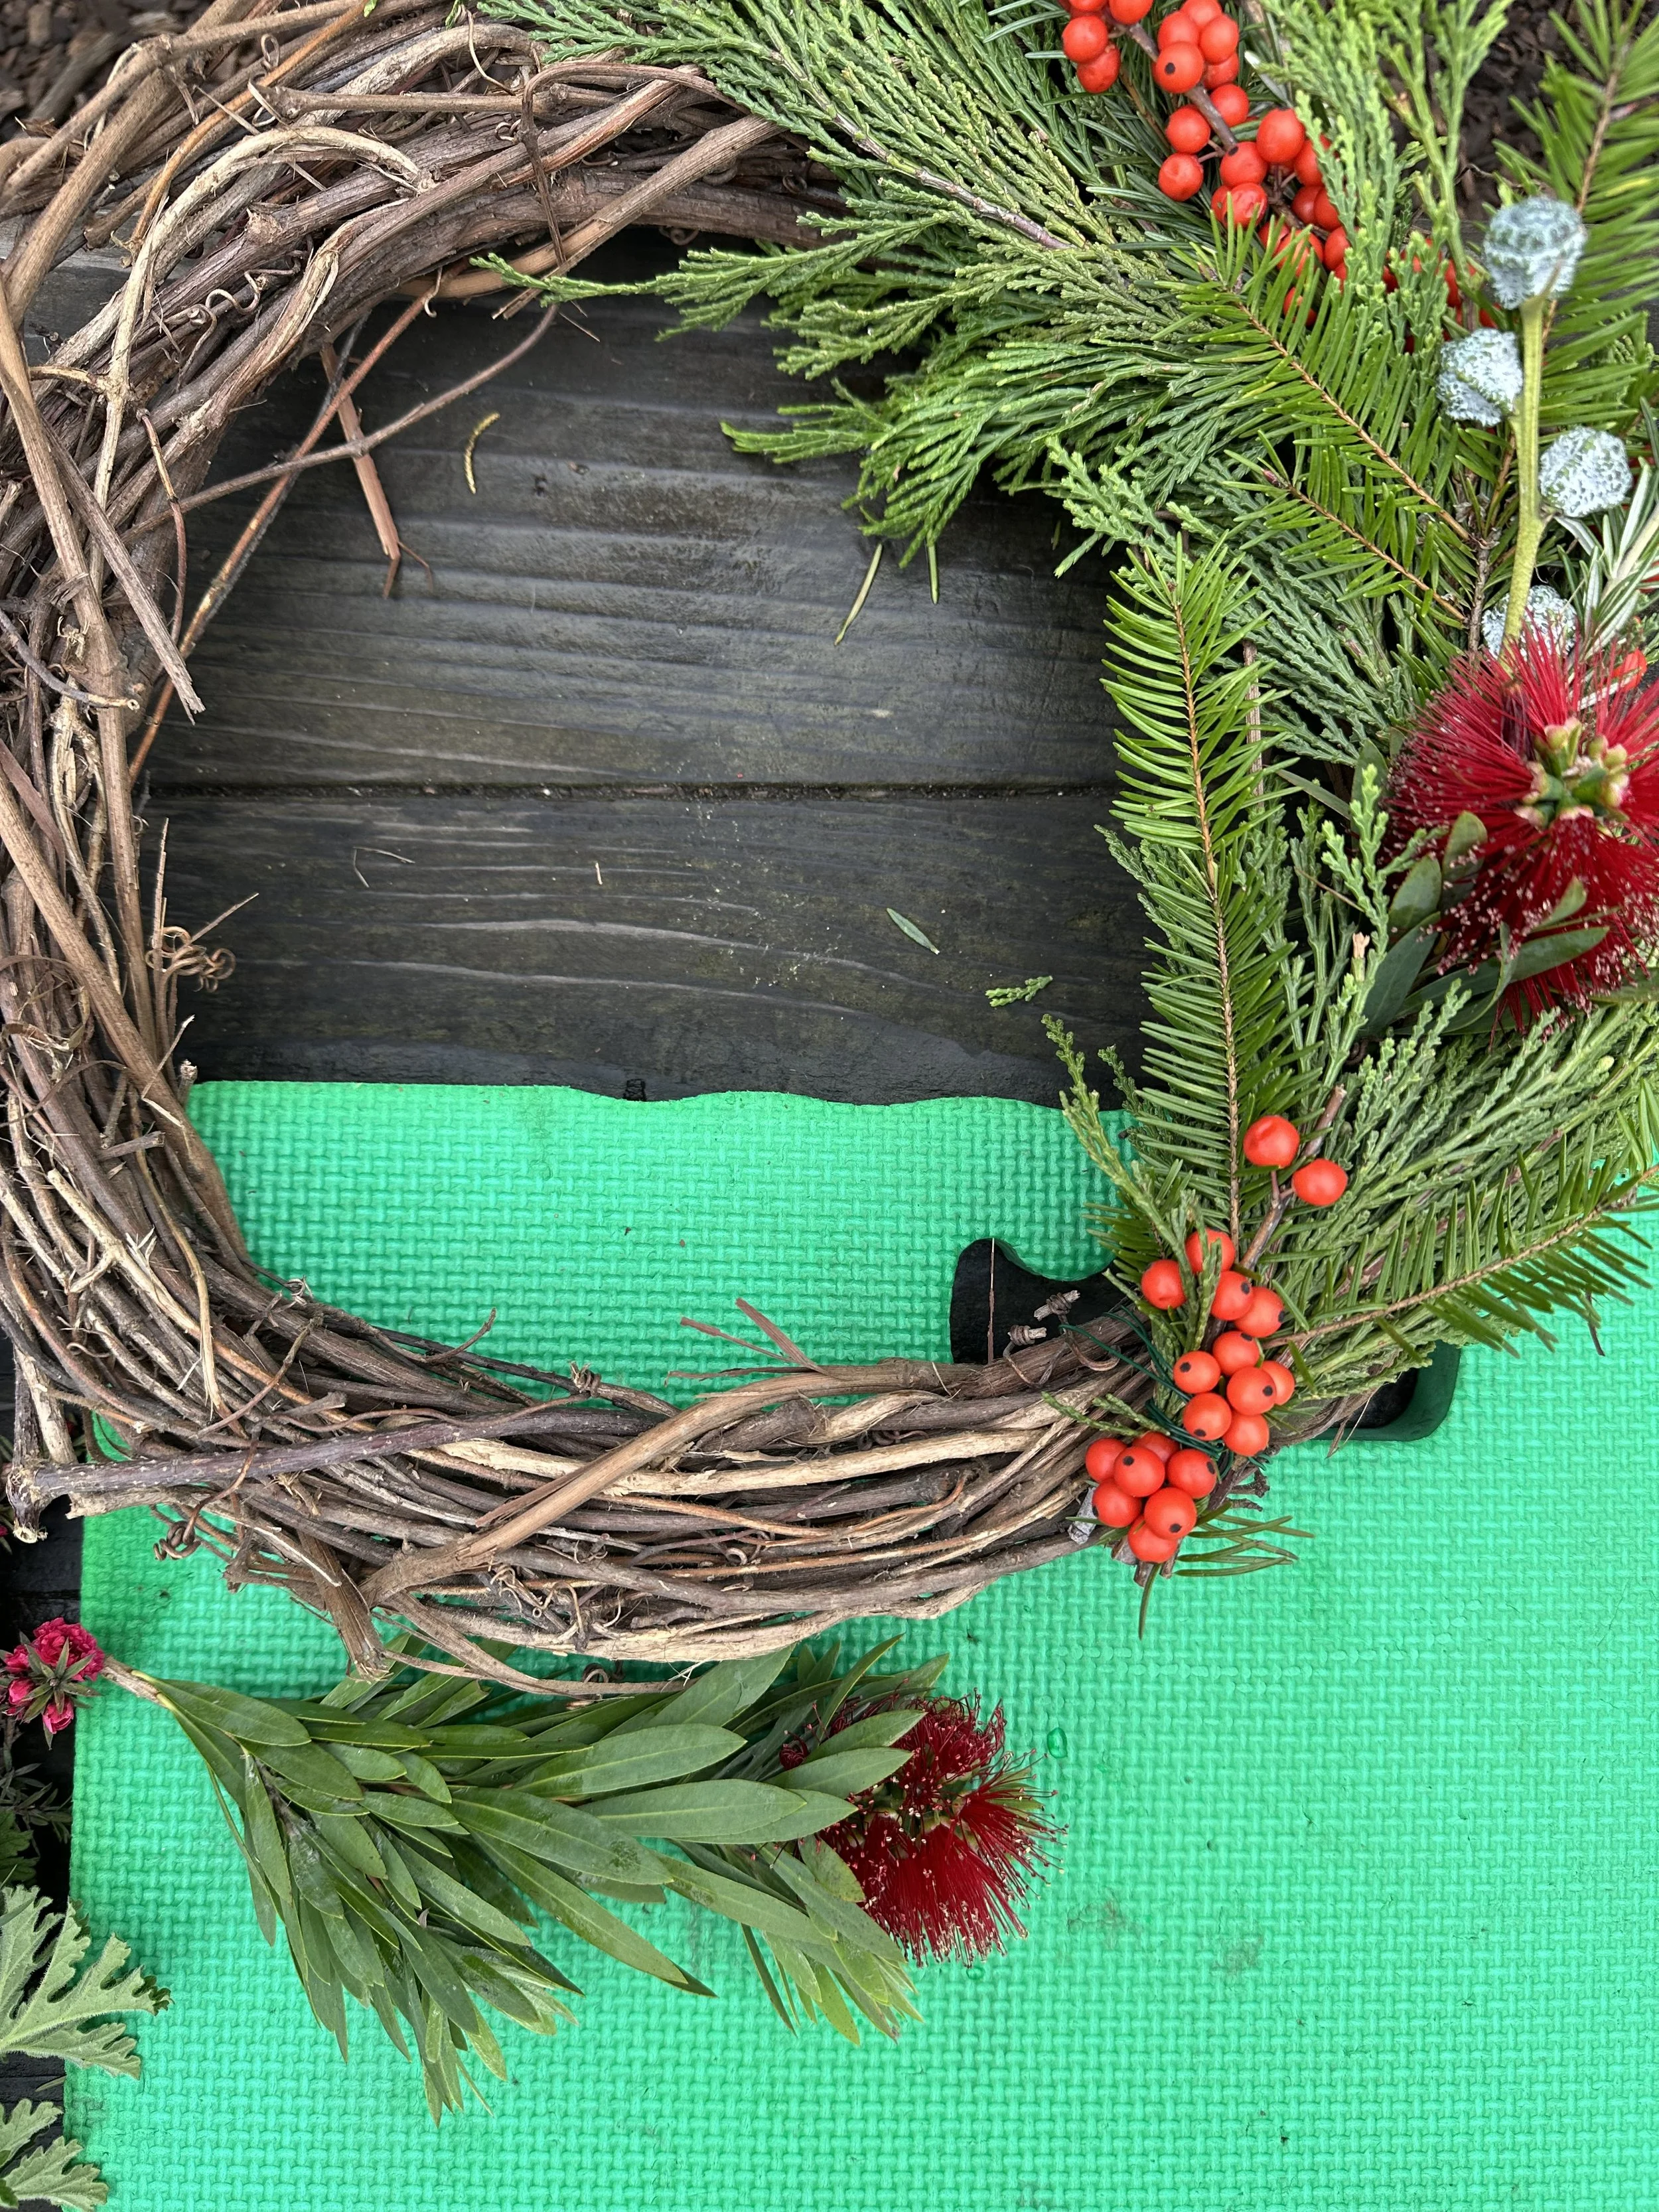
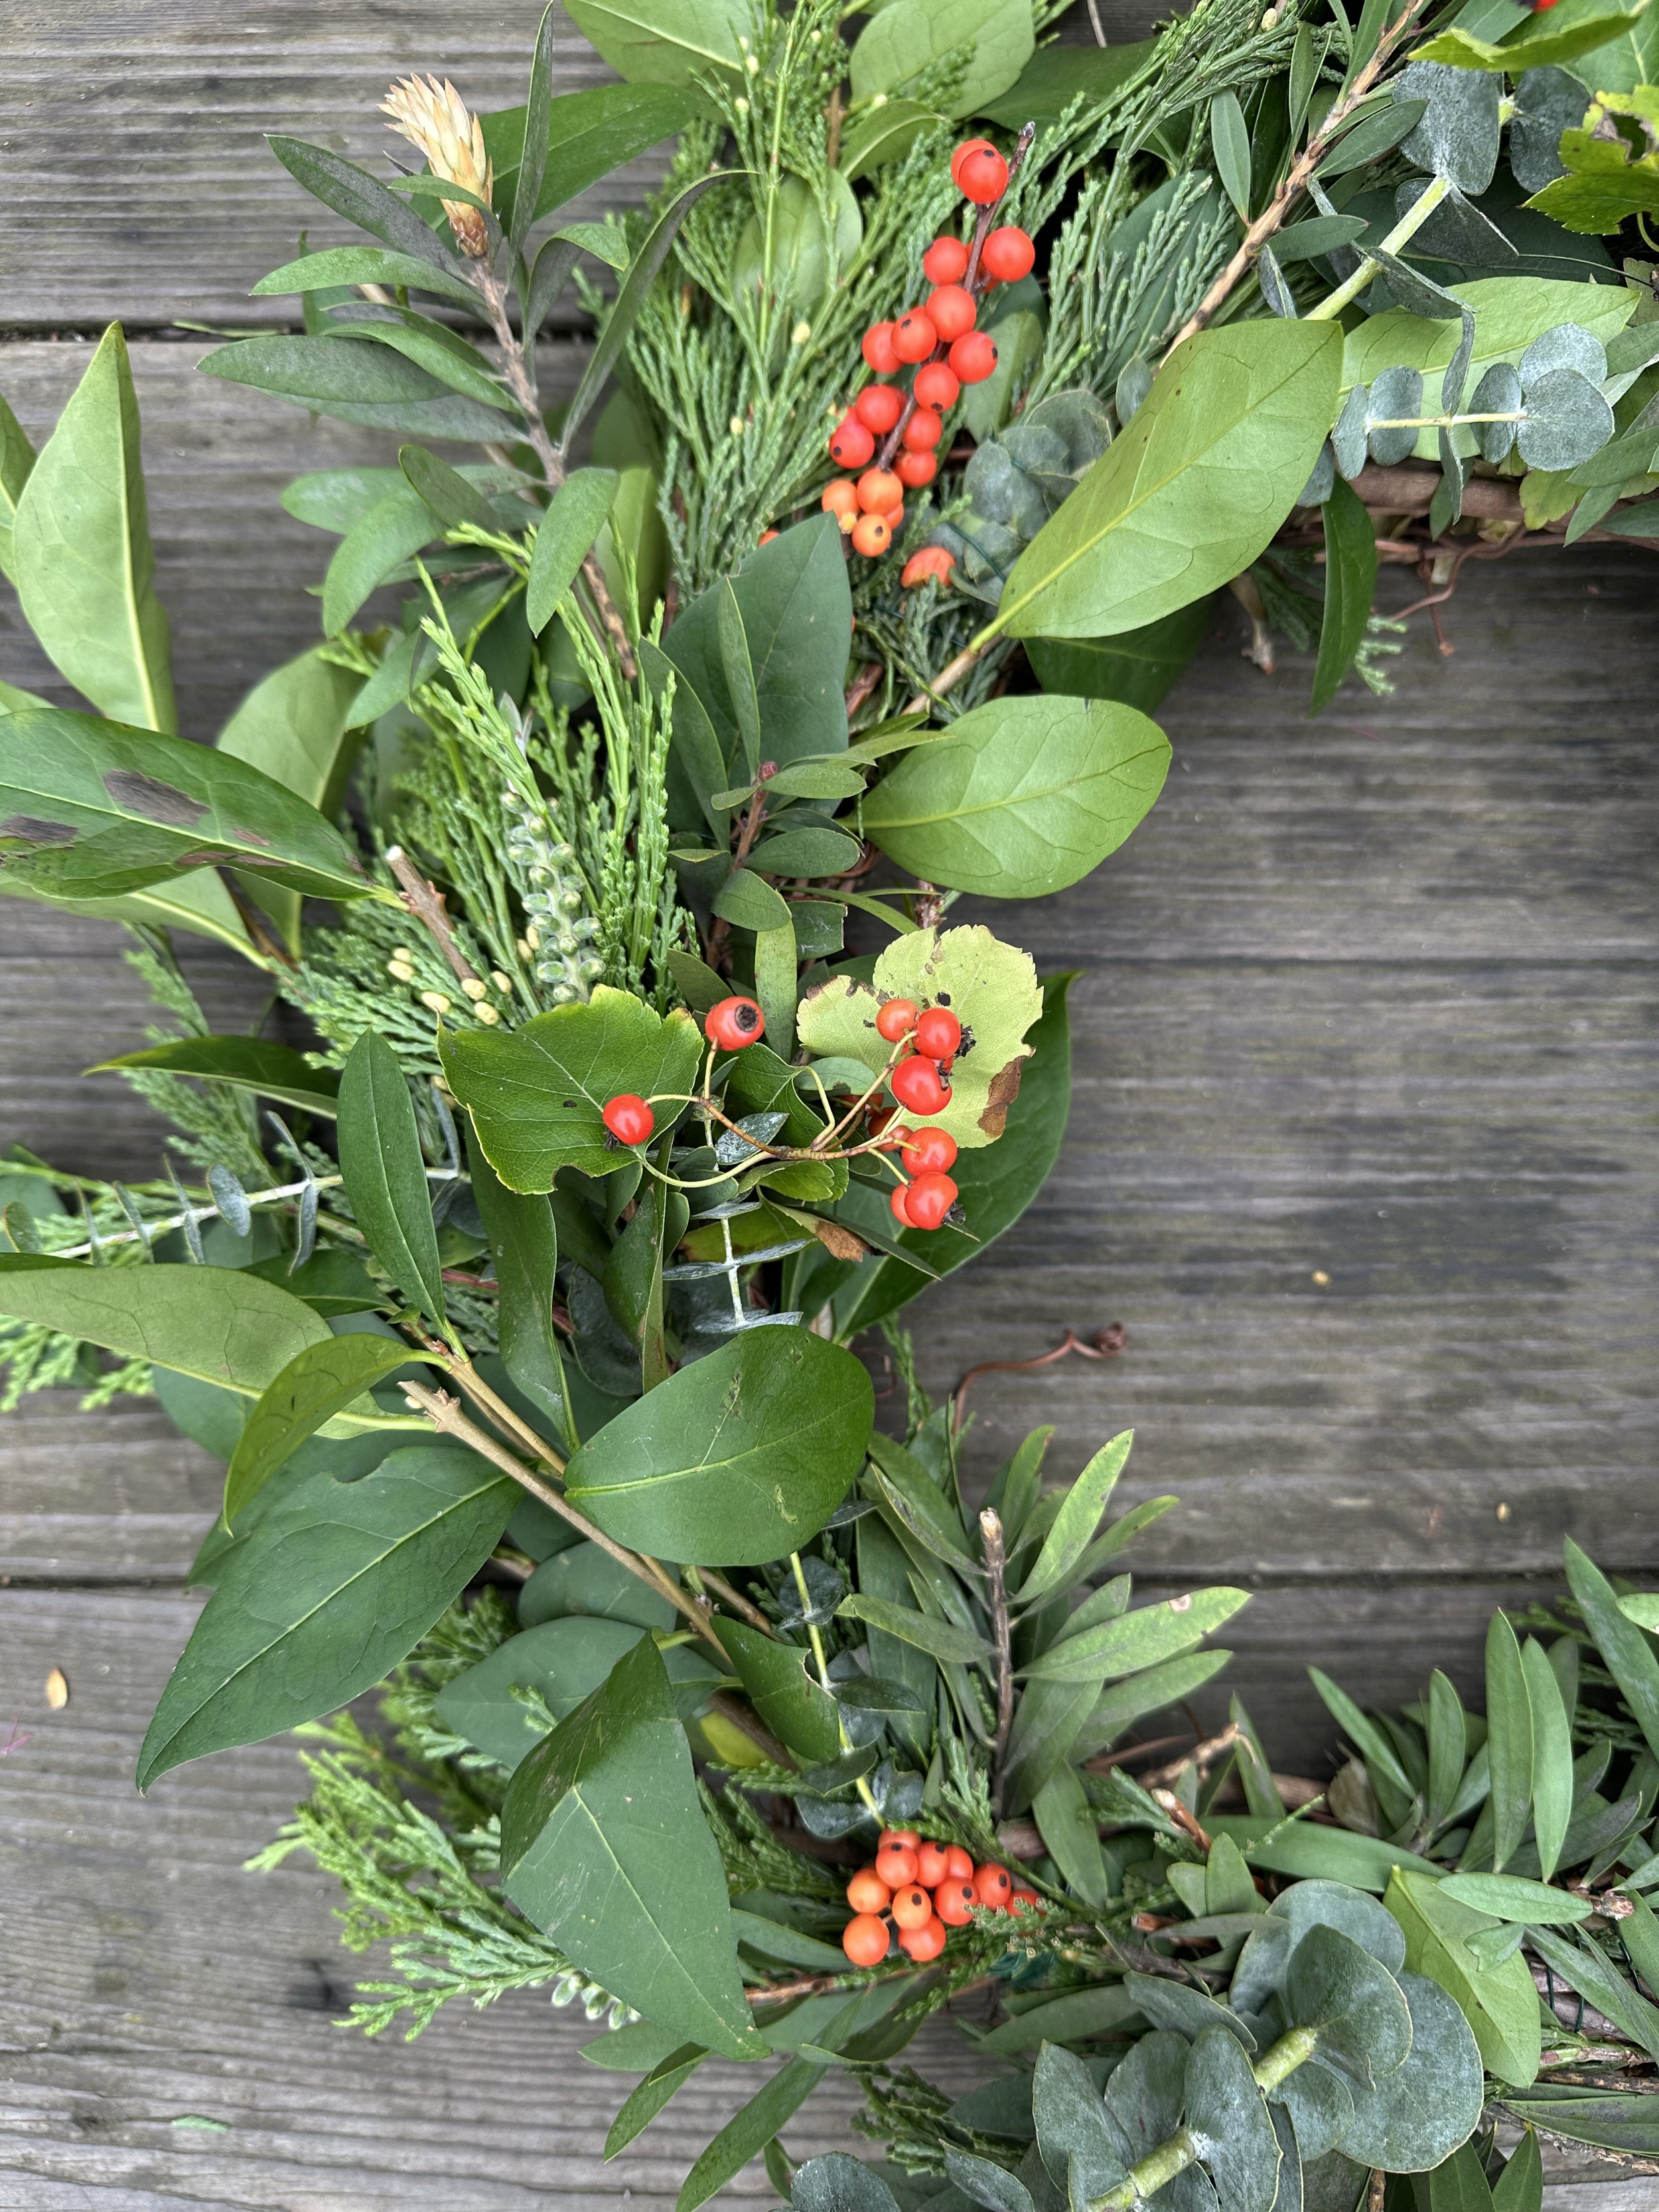
Try*: cedar, fir, eucalyptus, leucadendron, olive, juniper, magnolia, acacia, bay, melaleuca.
*If you don’t know them by name, feel the foliage — hardy plants with waxy, dry and leathery leaves will likely retain their color and texture once cut.
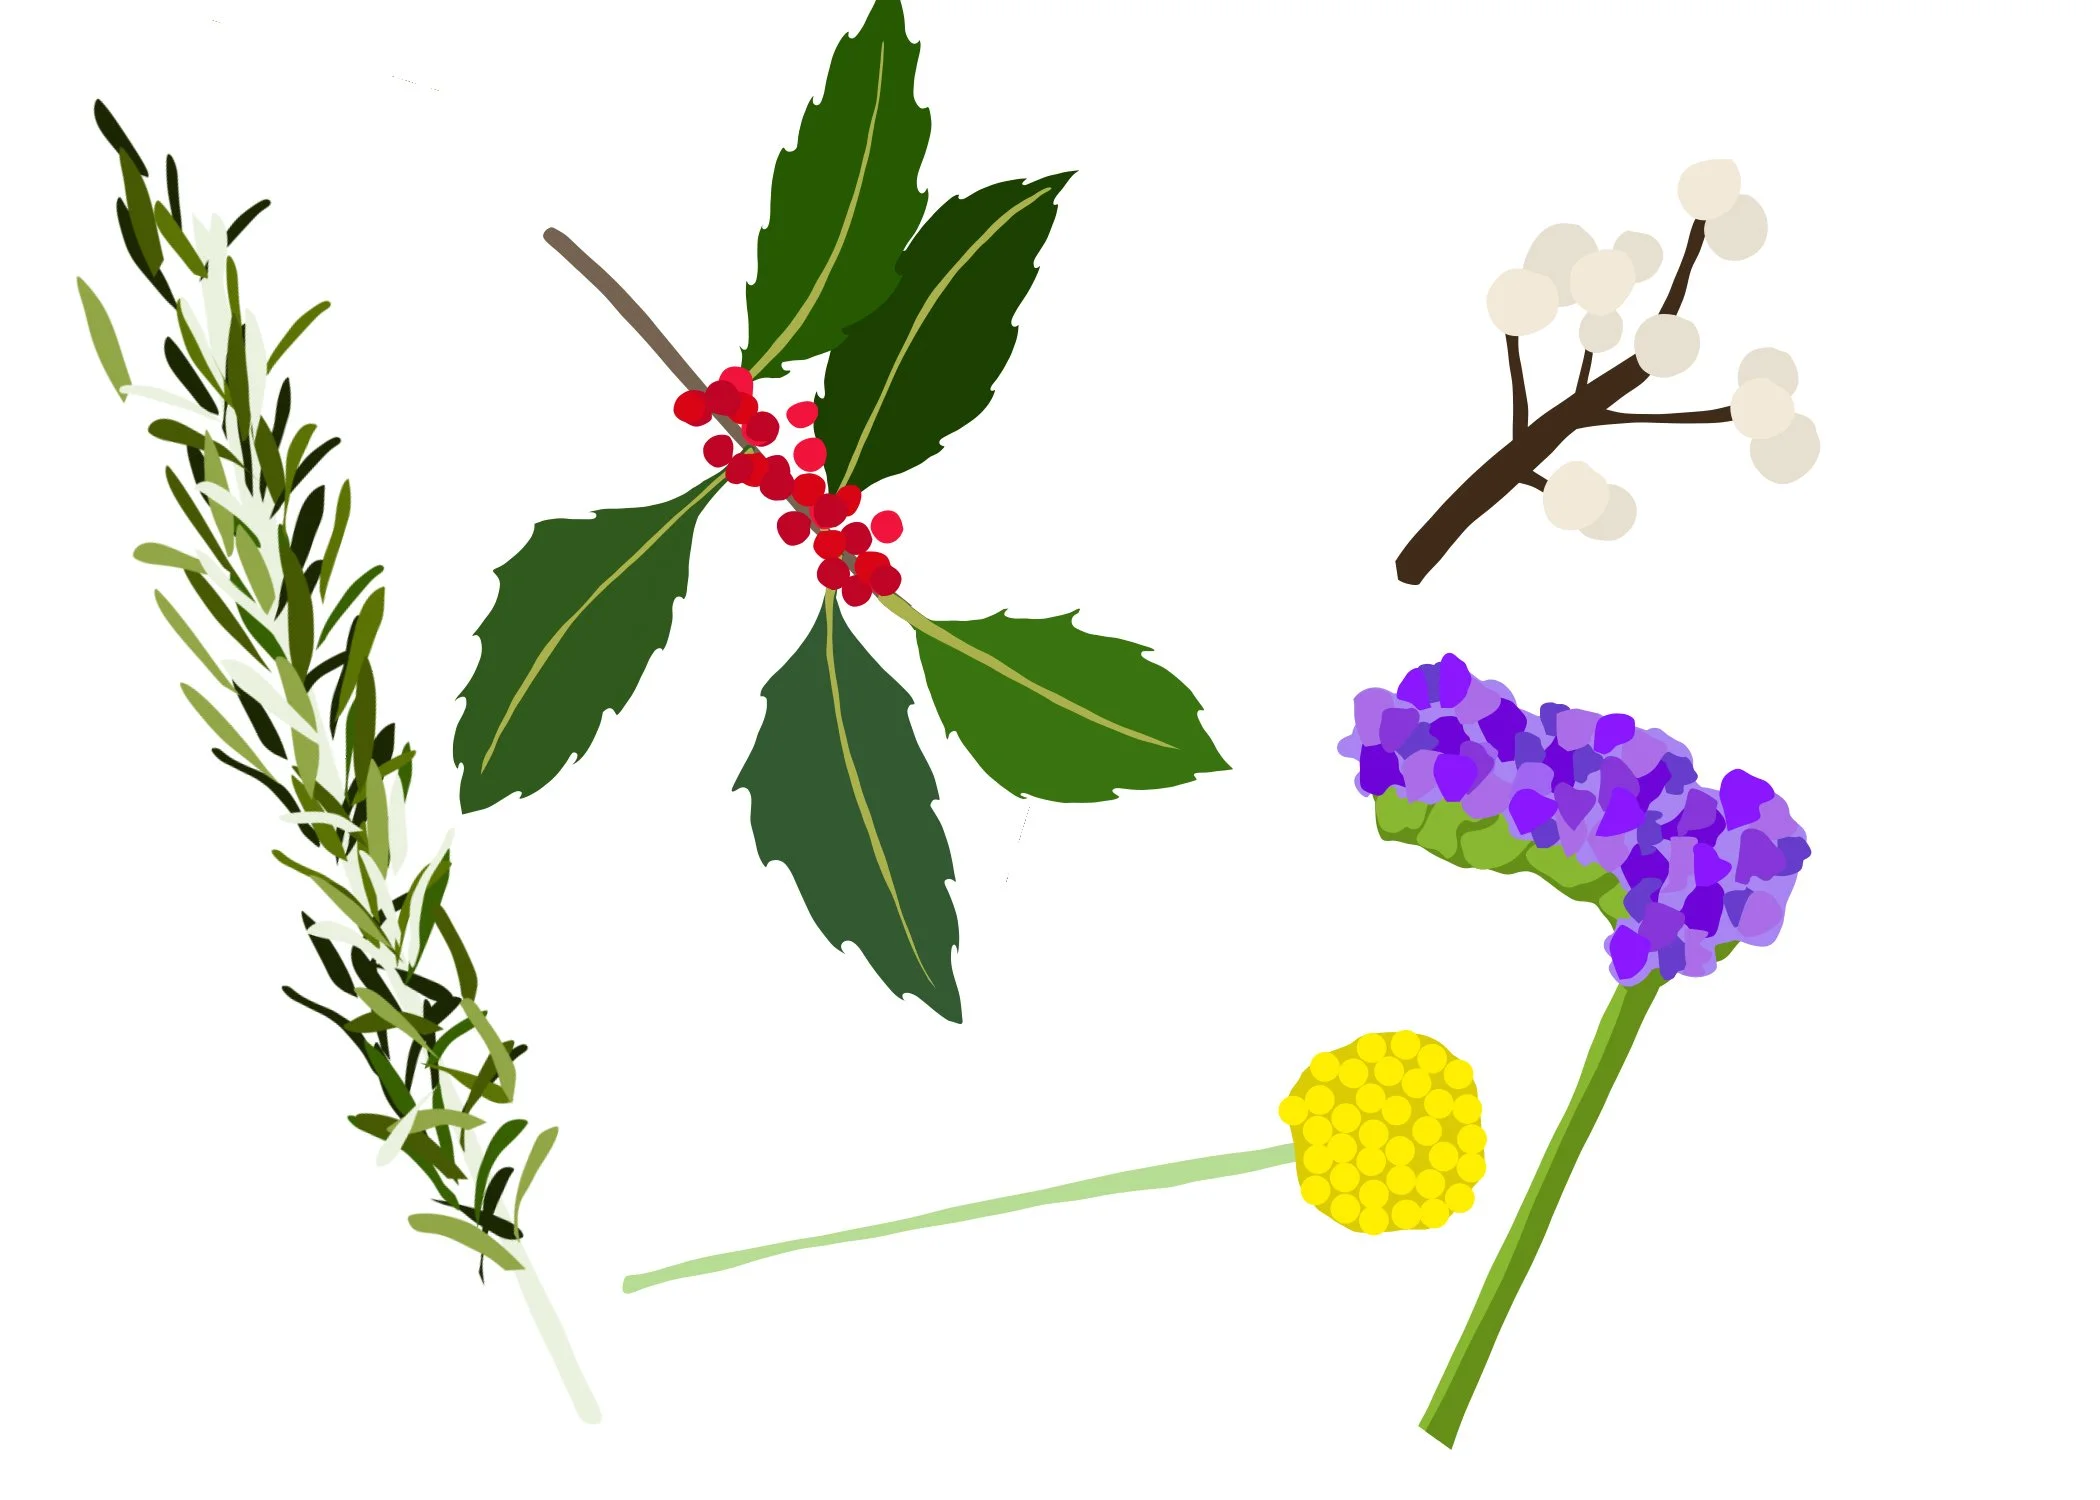
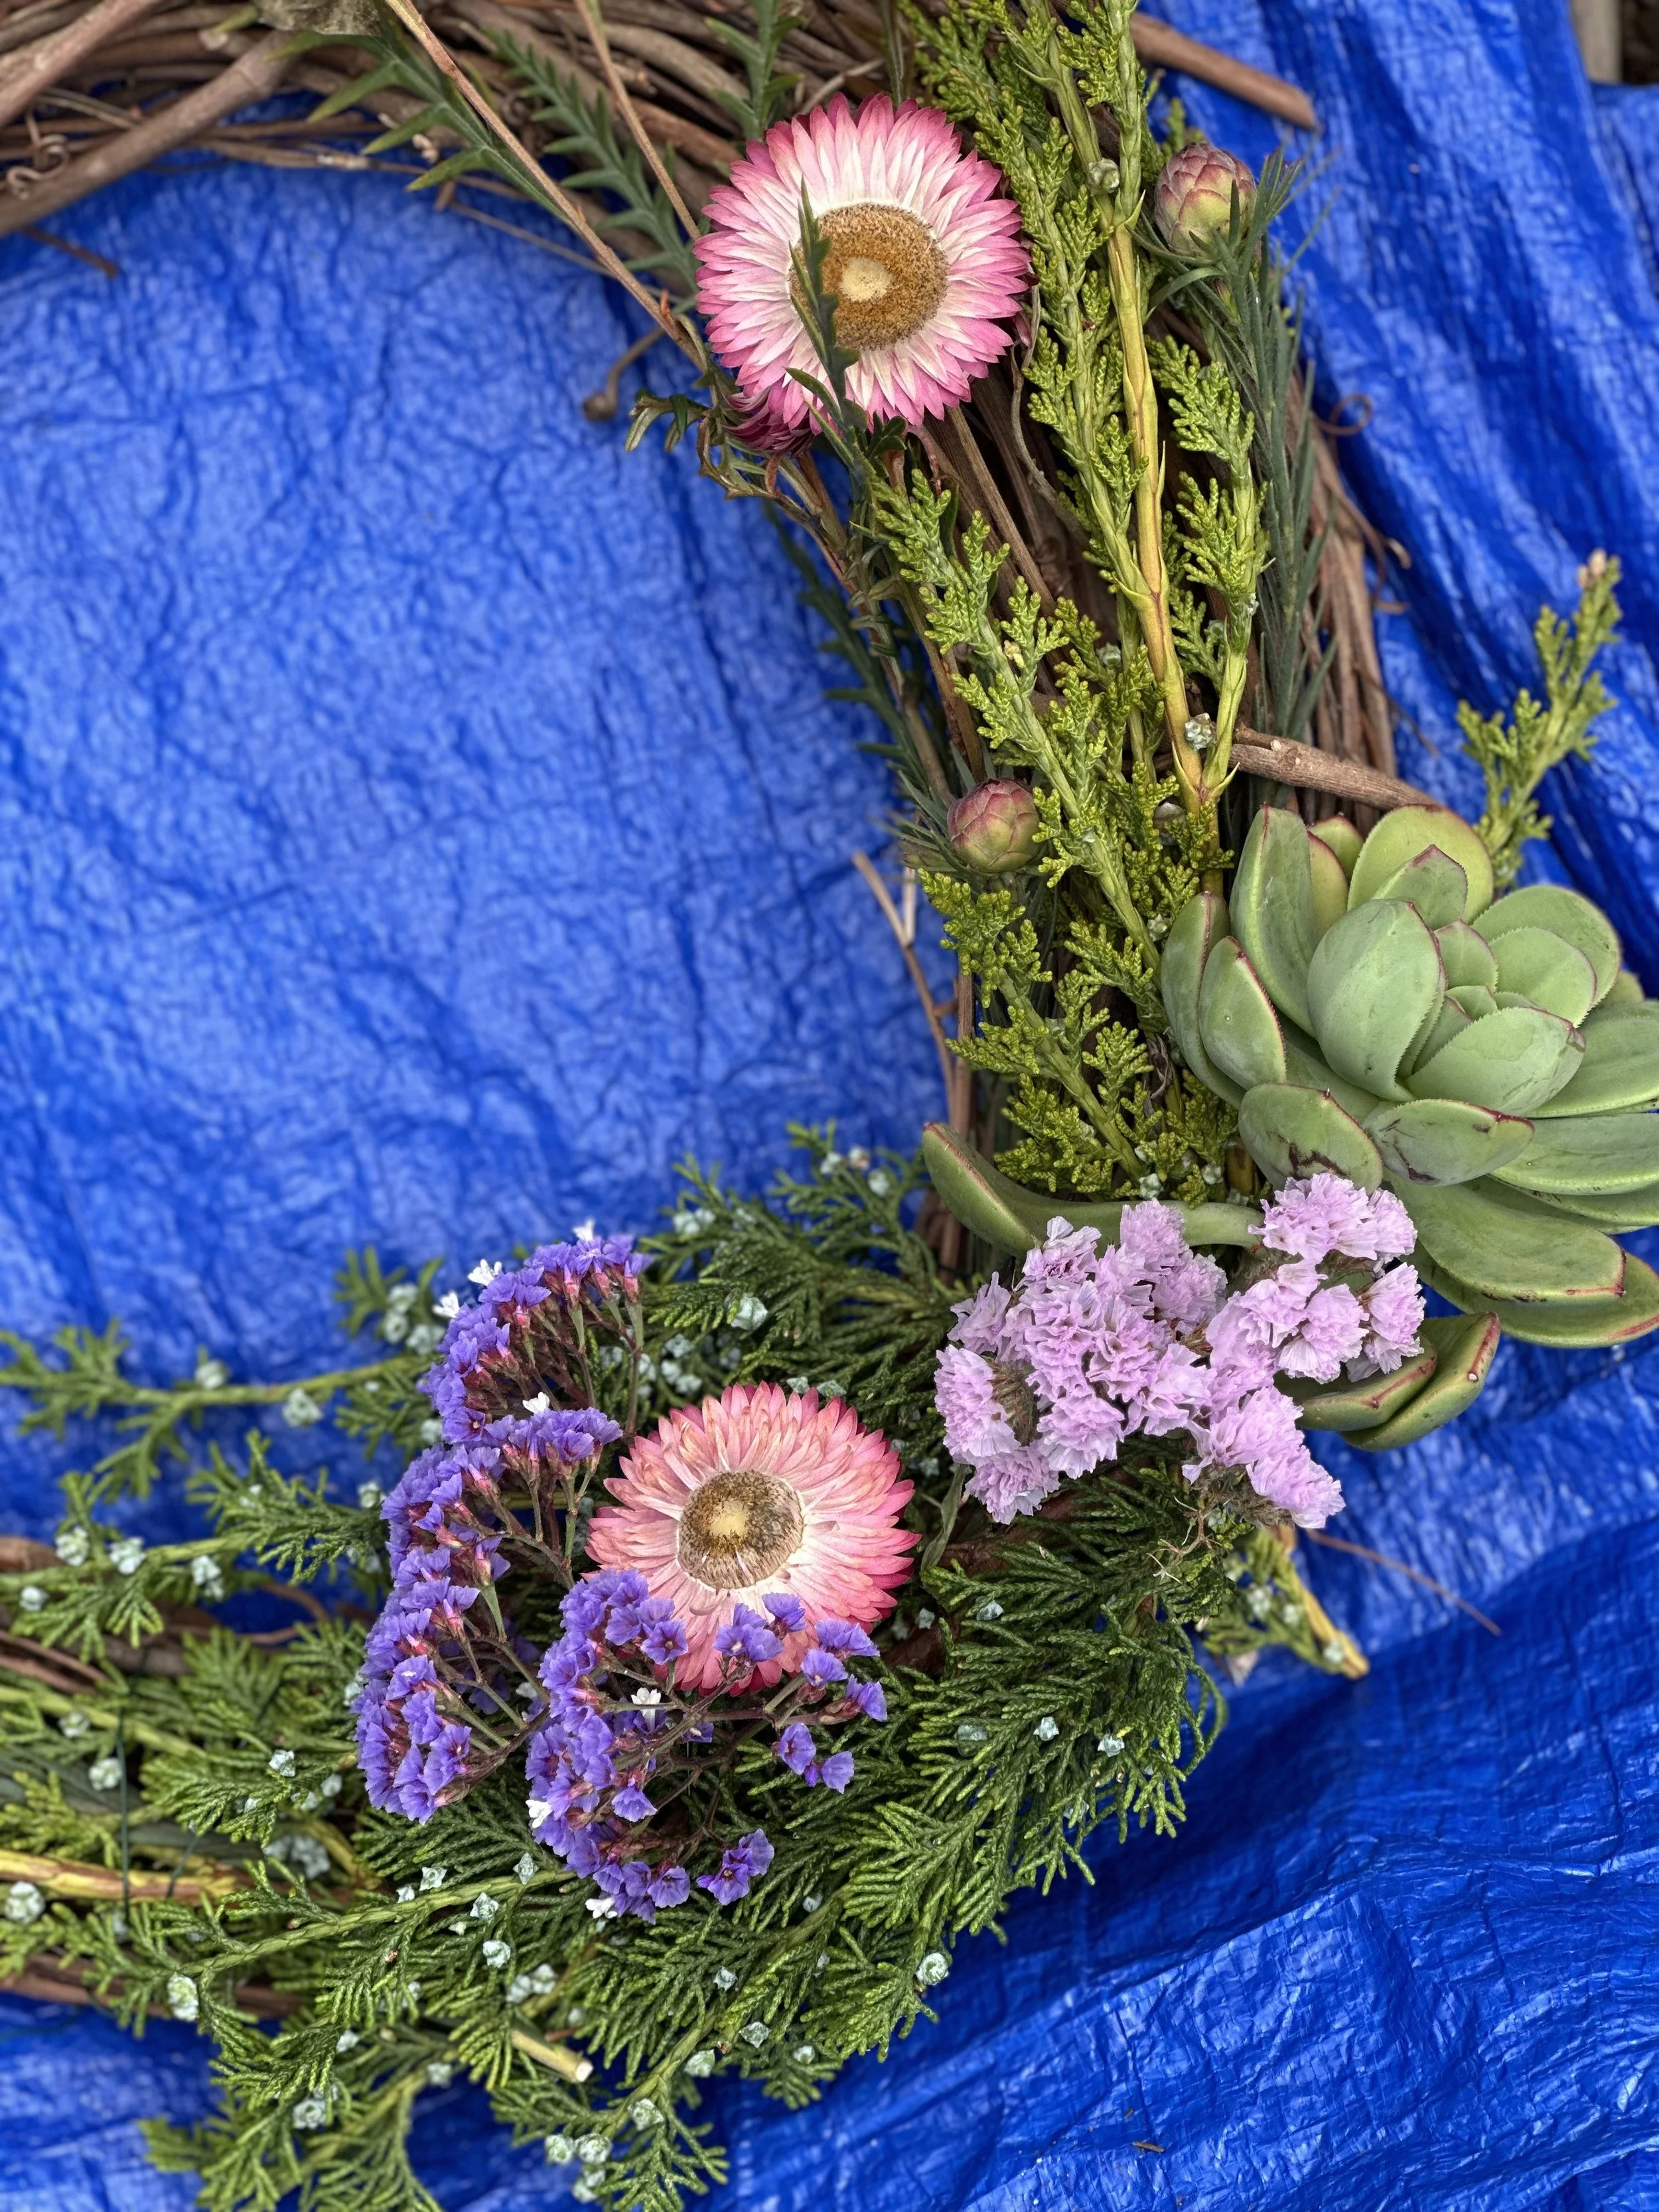
••• accents
Pops of color, a bit of pizazz.
Try*: rosemary, azara berries, rosehips, strawflower, craspedia, statice, holly.
*Experiment with both fresh and dried flowers and ephemera!

Where to source your foundations and accents!
Florists, flower markets, grocery stores, garden centers — or your own backyard! Around the winter holidays, lots of spots will stock garlands that you can take apart and reassemble into a wreath, but it’s truly up to you to pick plants you’re drawn to and turn them into something spesh.
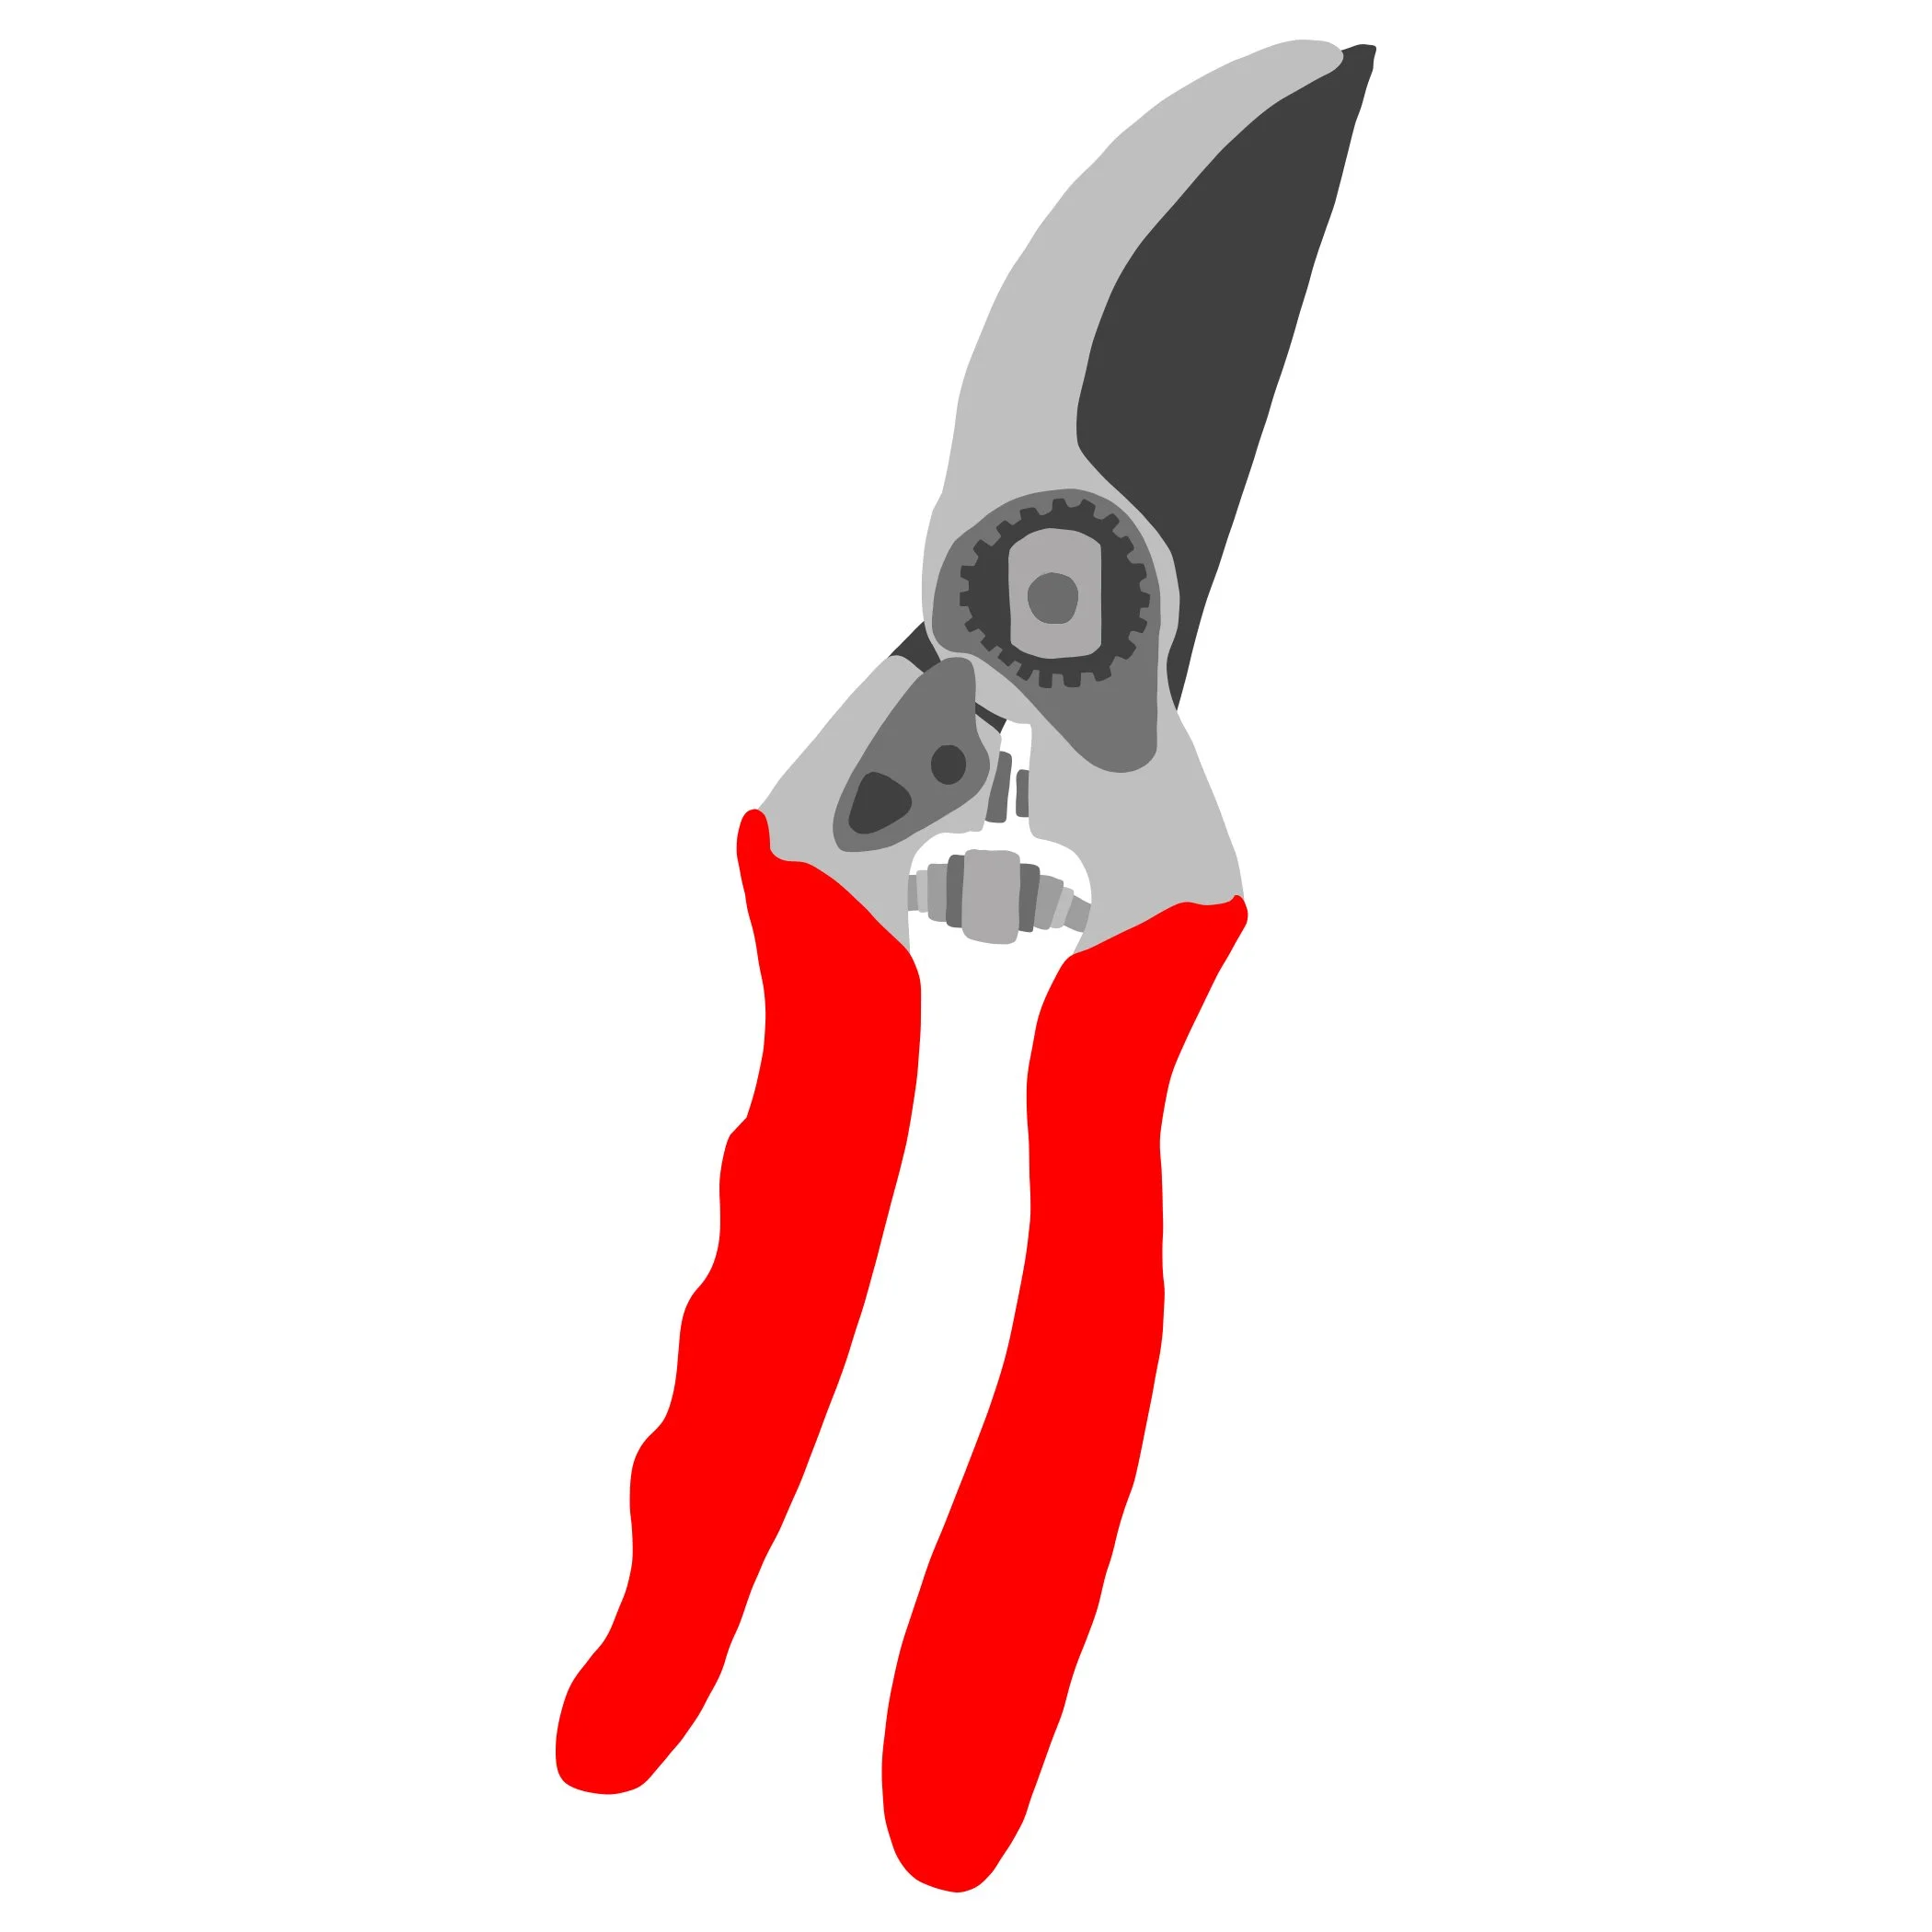
••• pruners
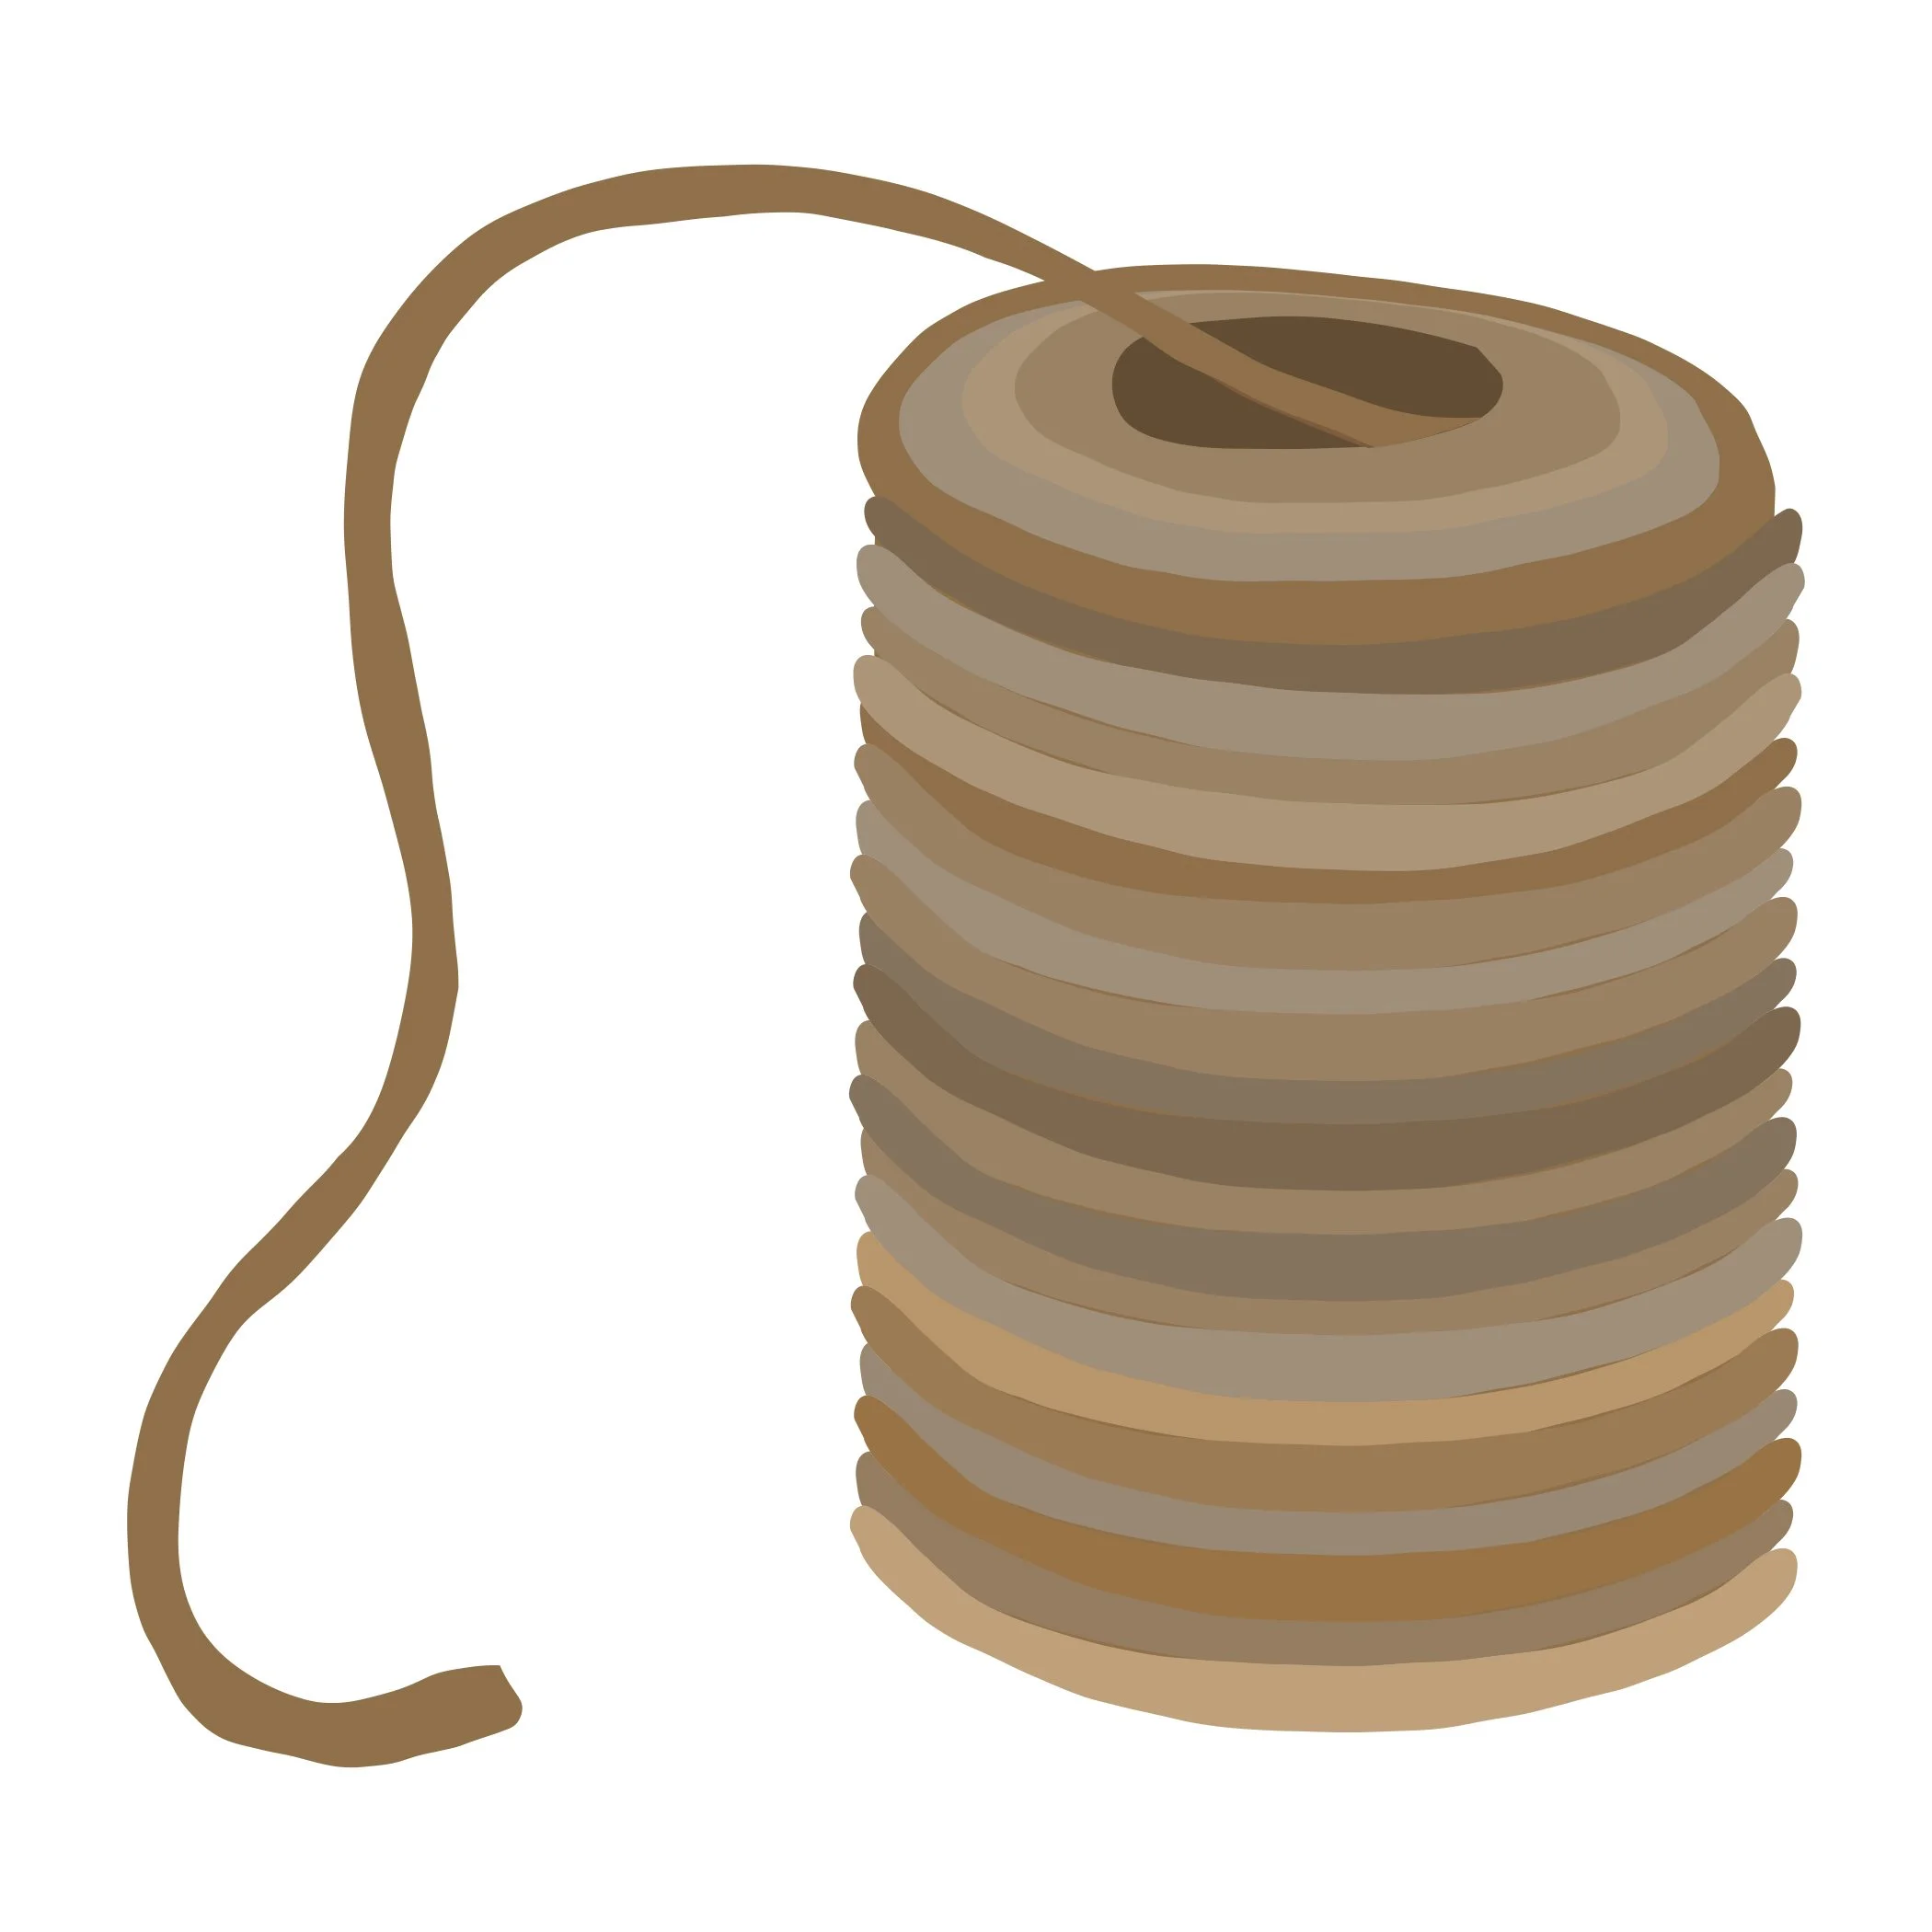
••• floral wire
try 22 gauge!

••• wire cutters

••• ribbon, twine, etc!
have fun with your flourishes!
••• scissors
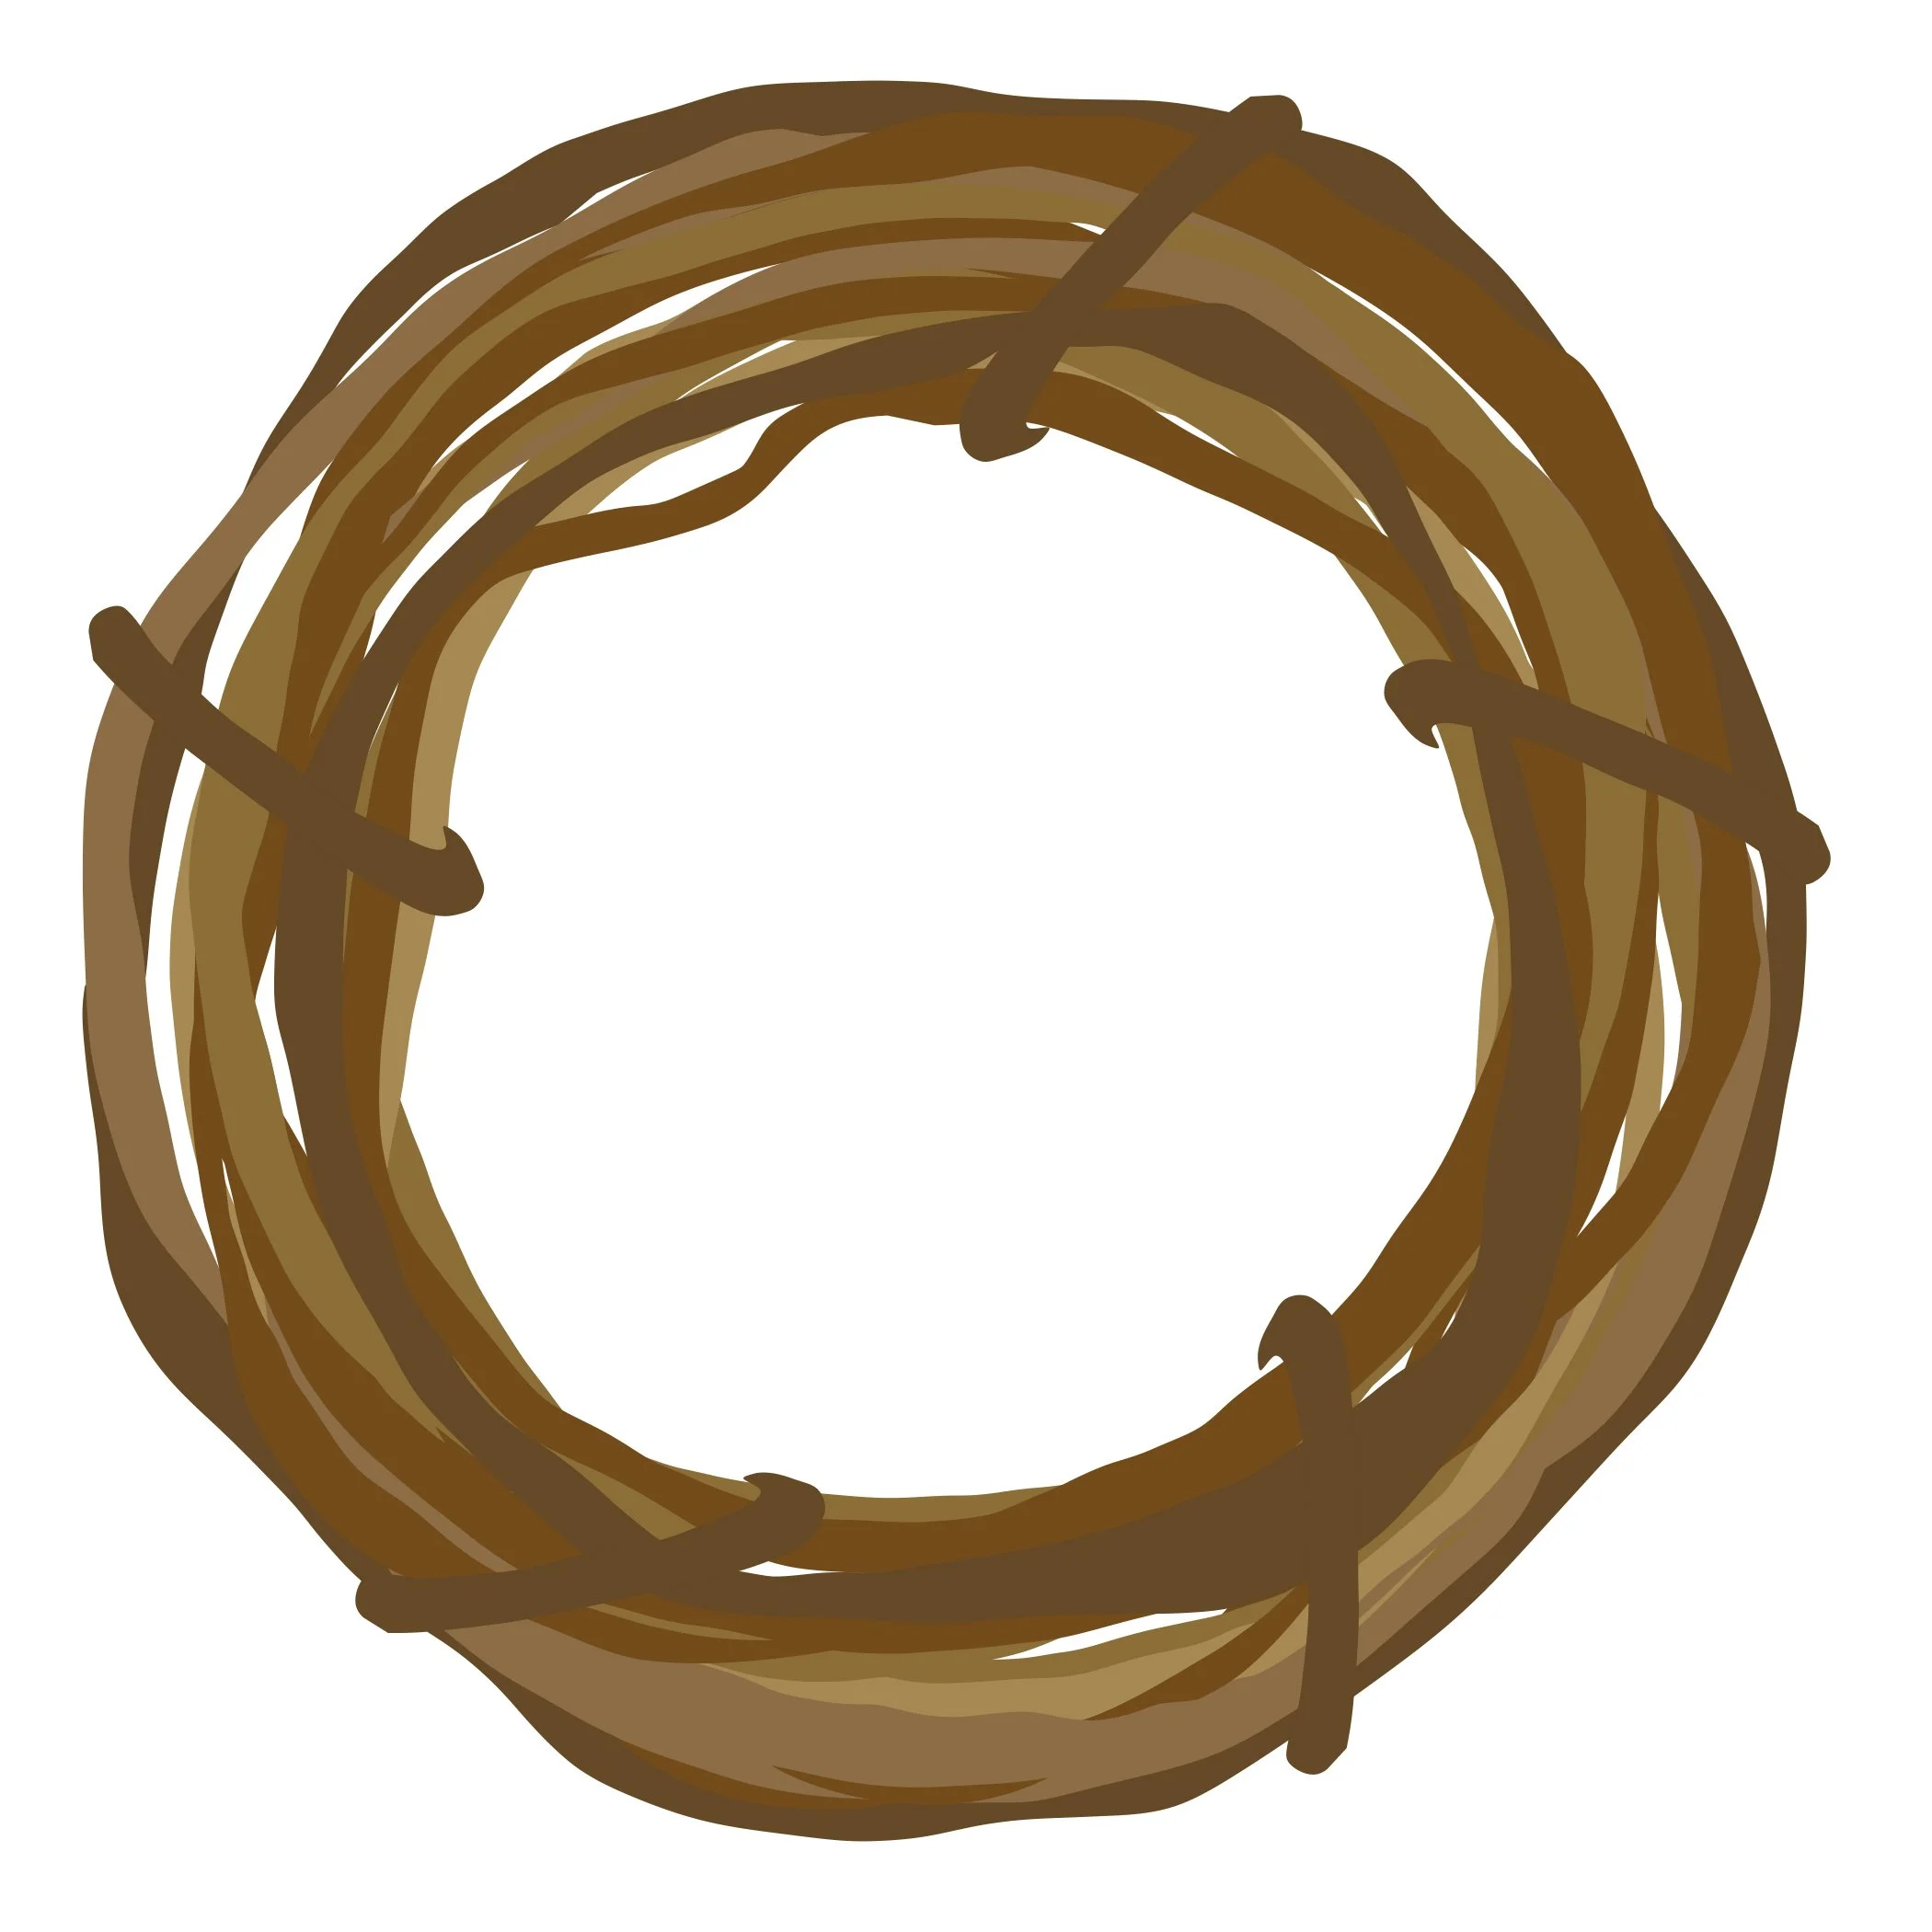
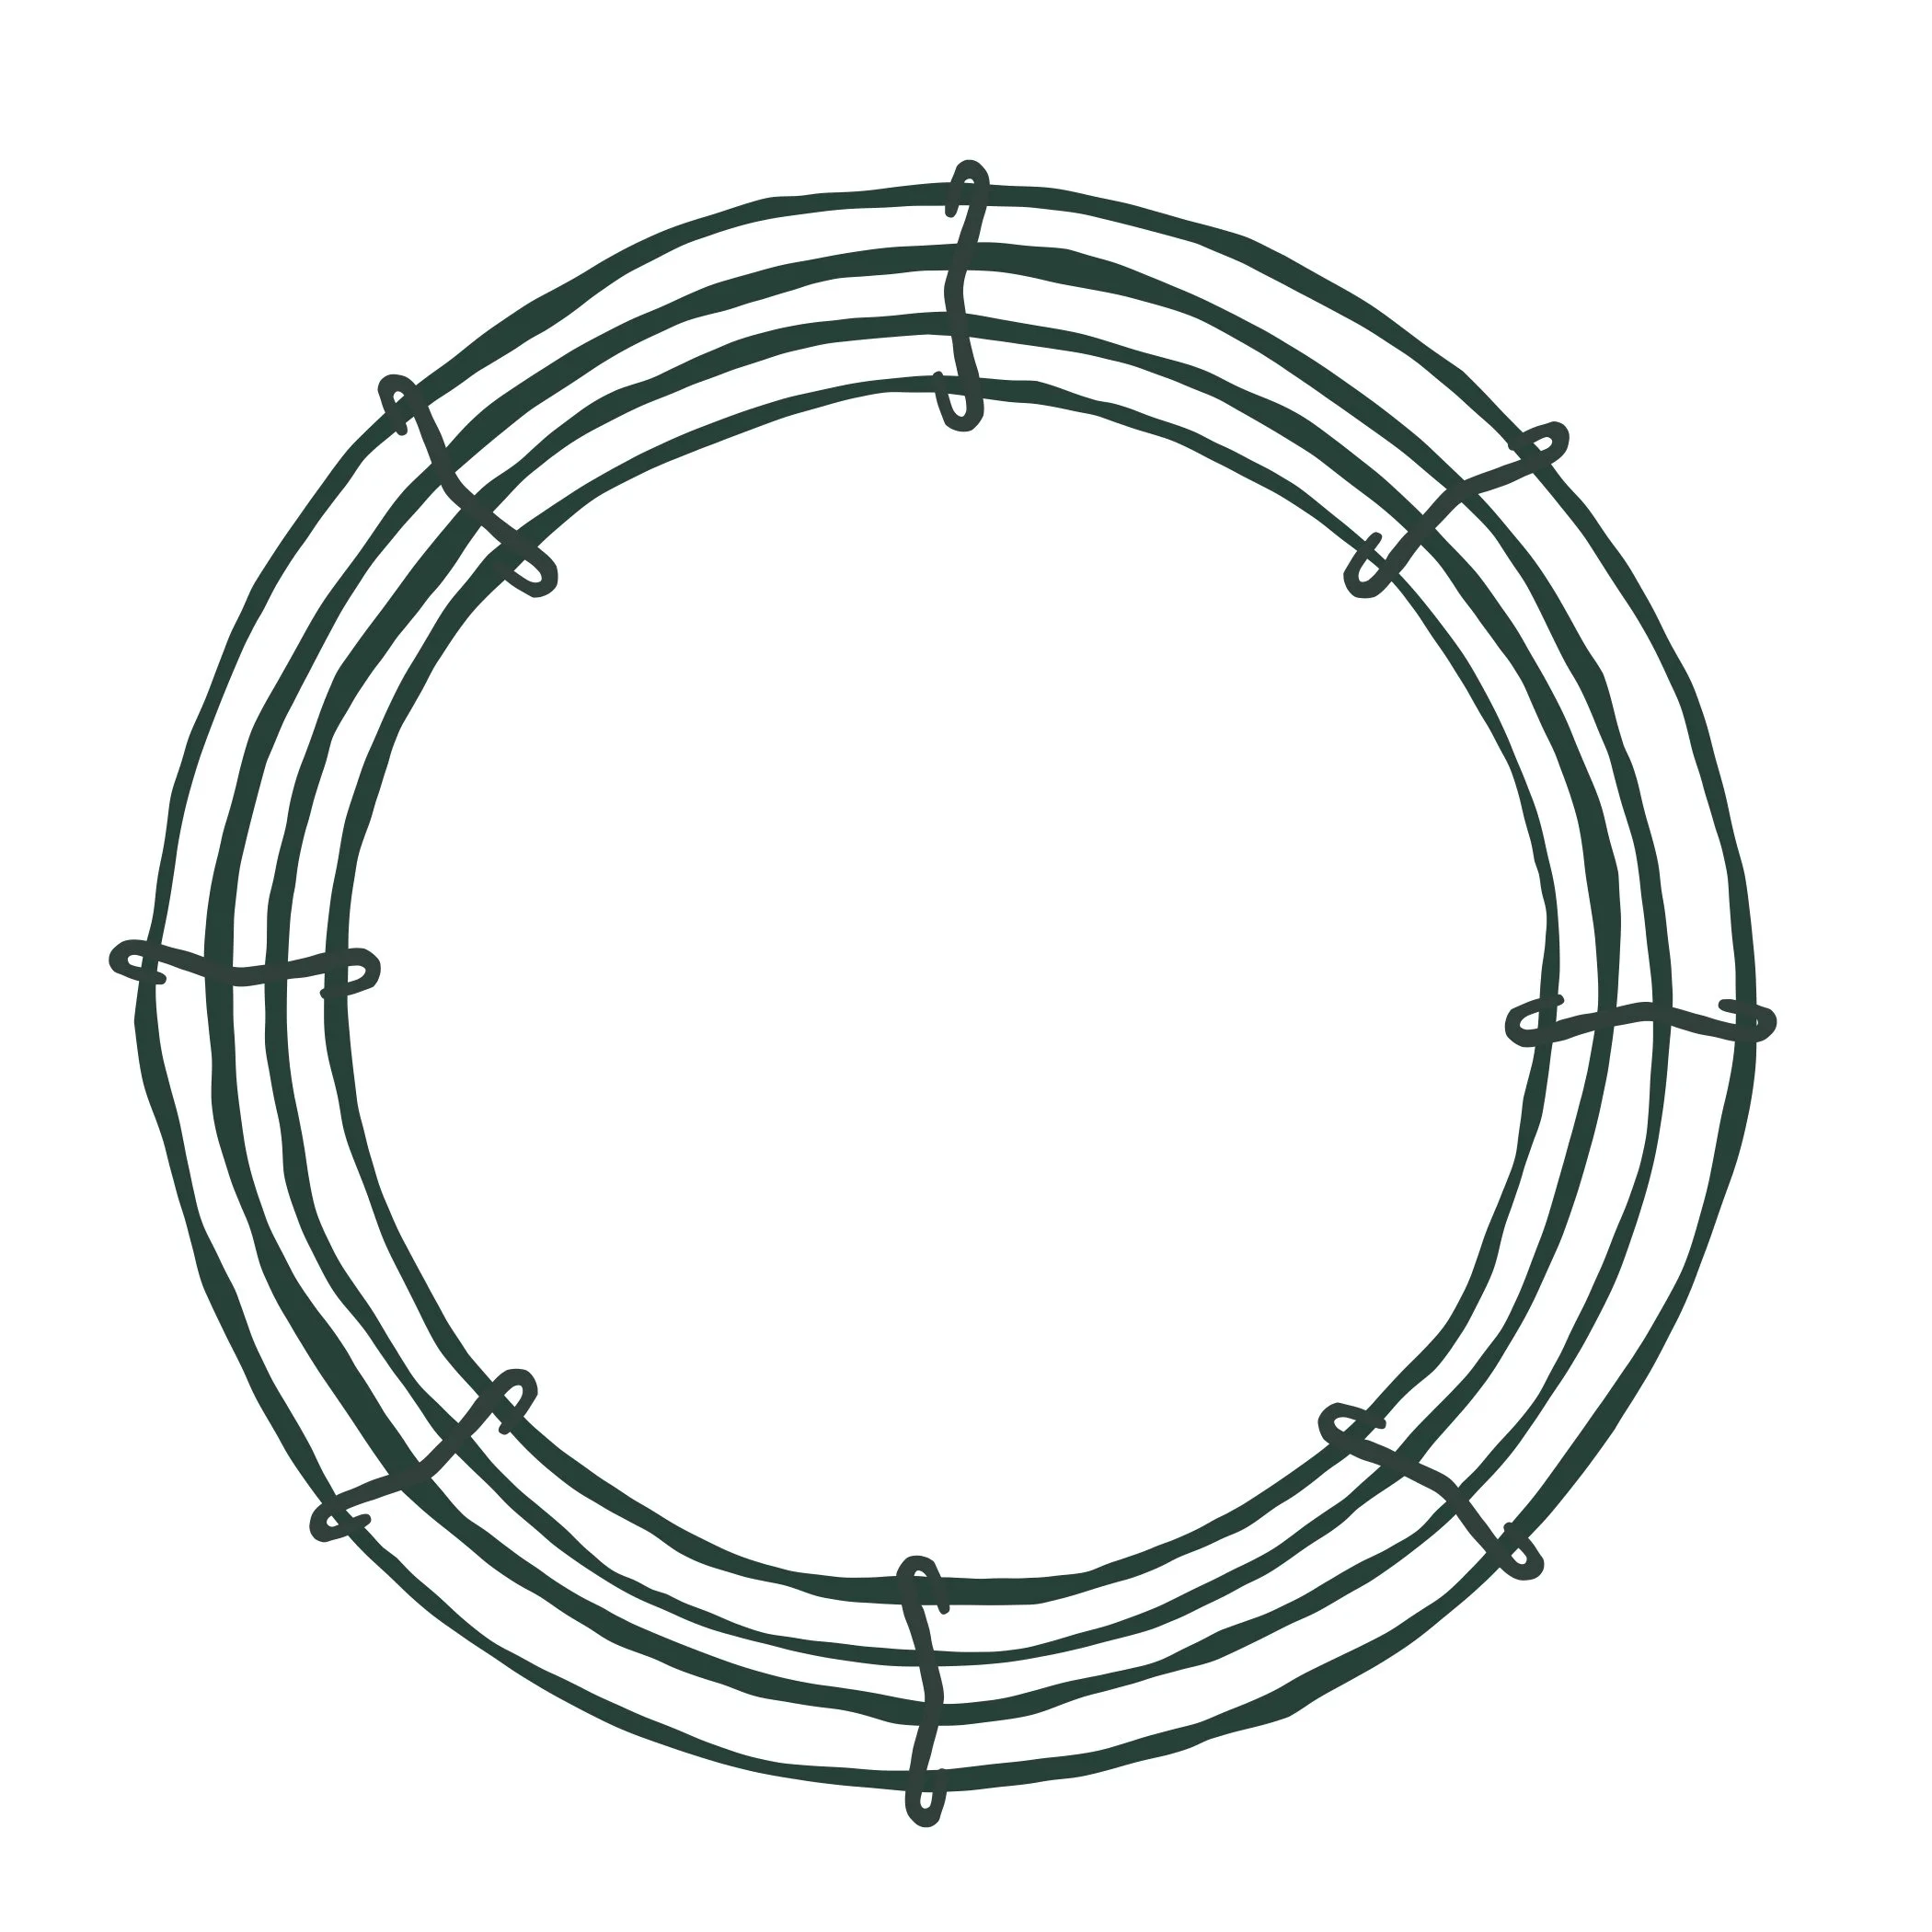
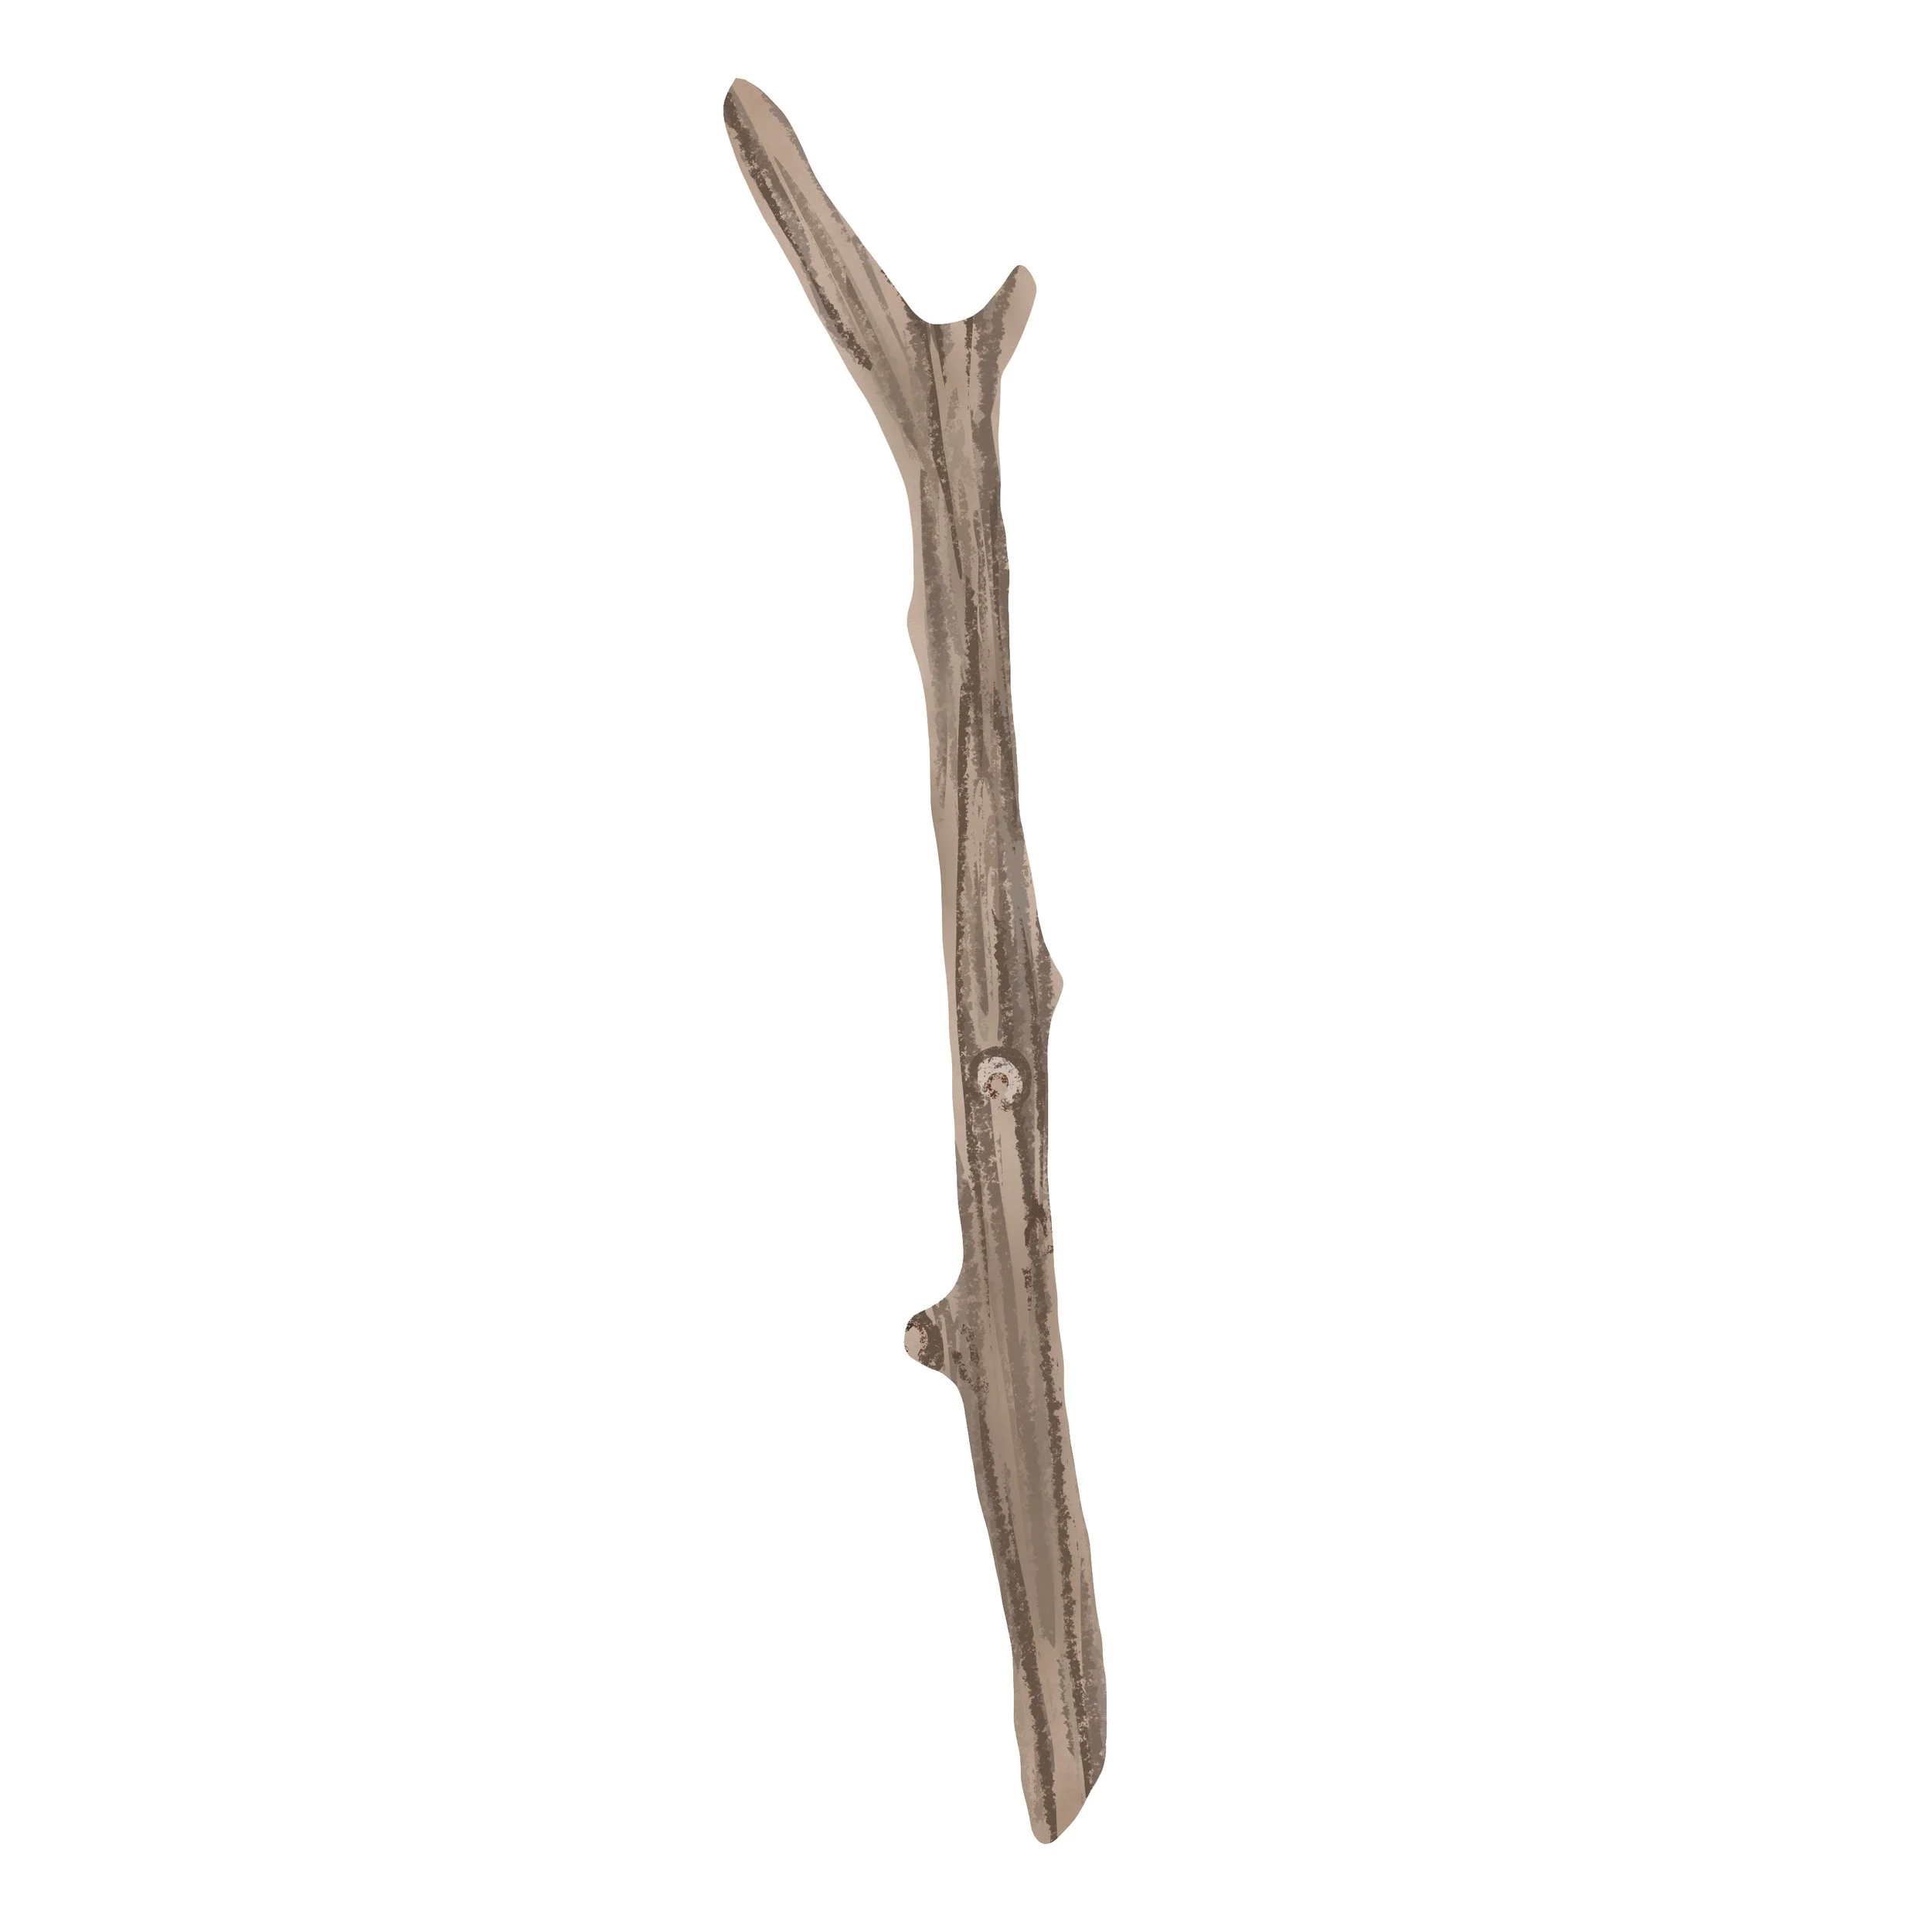
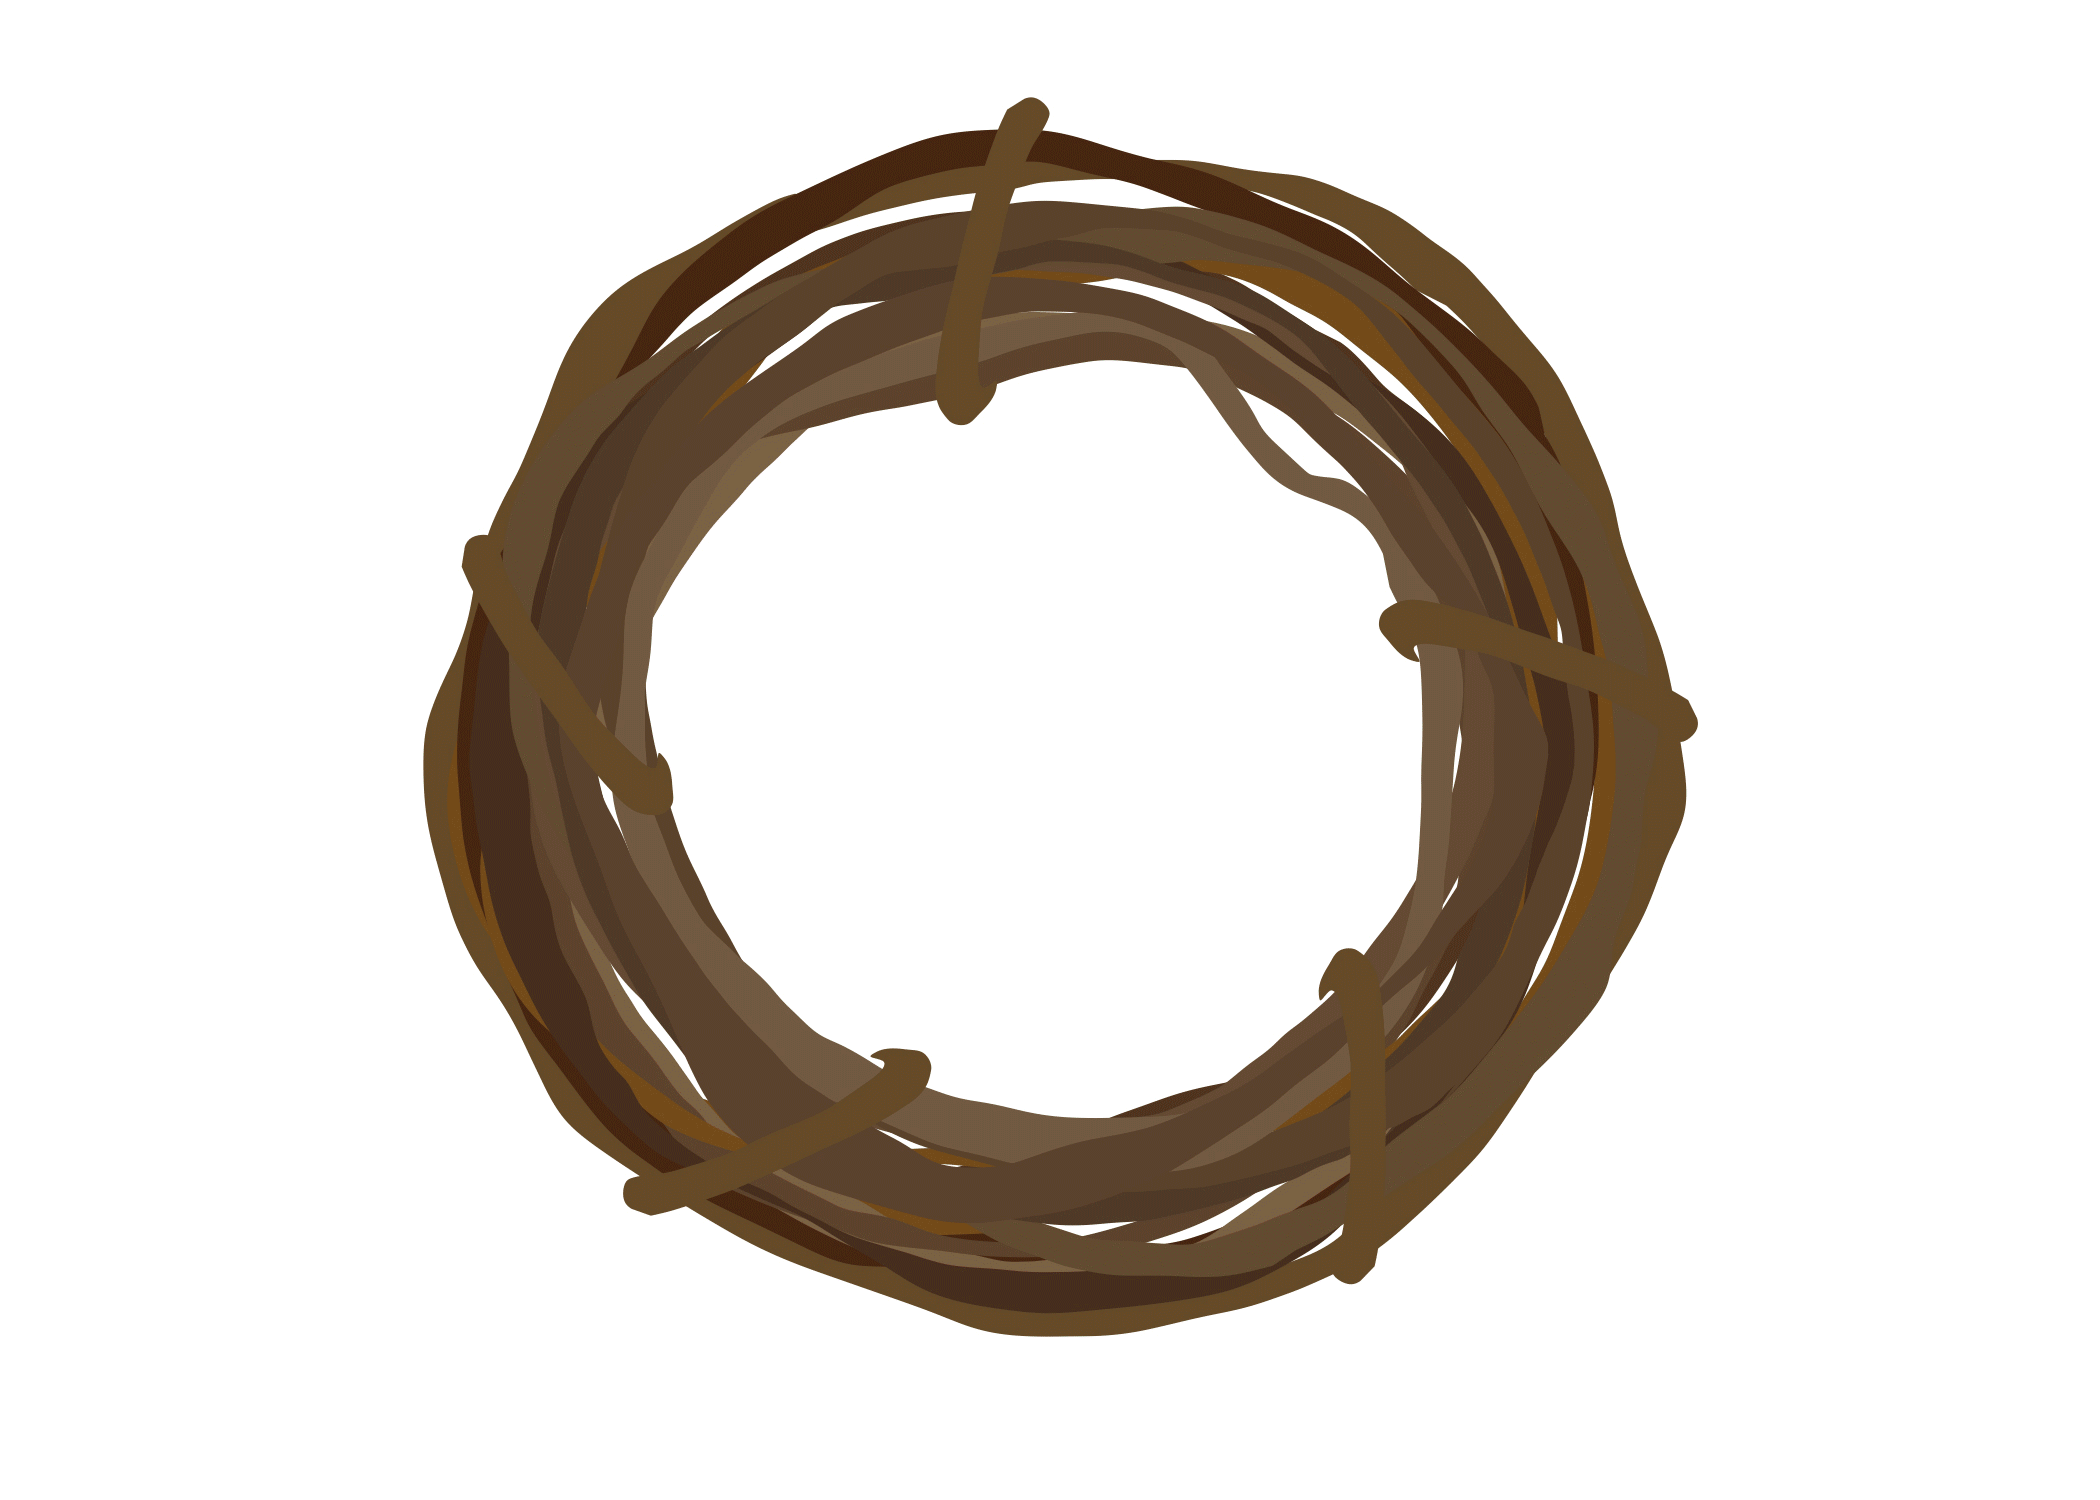
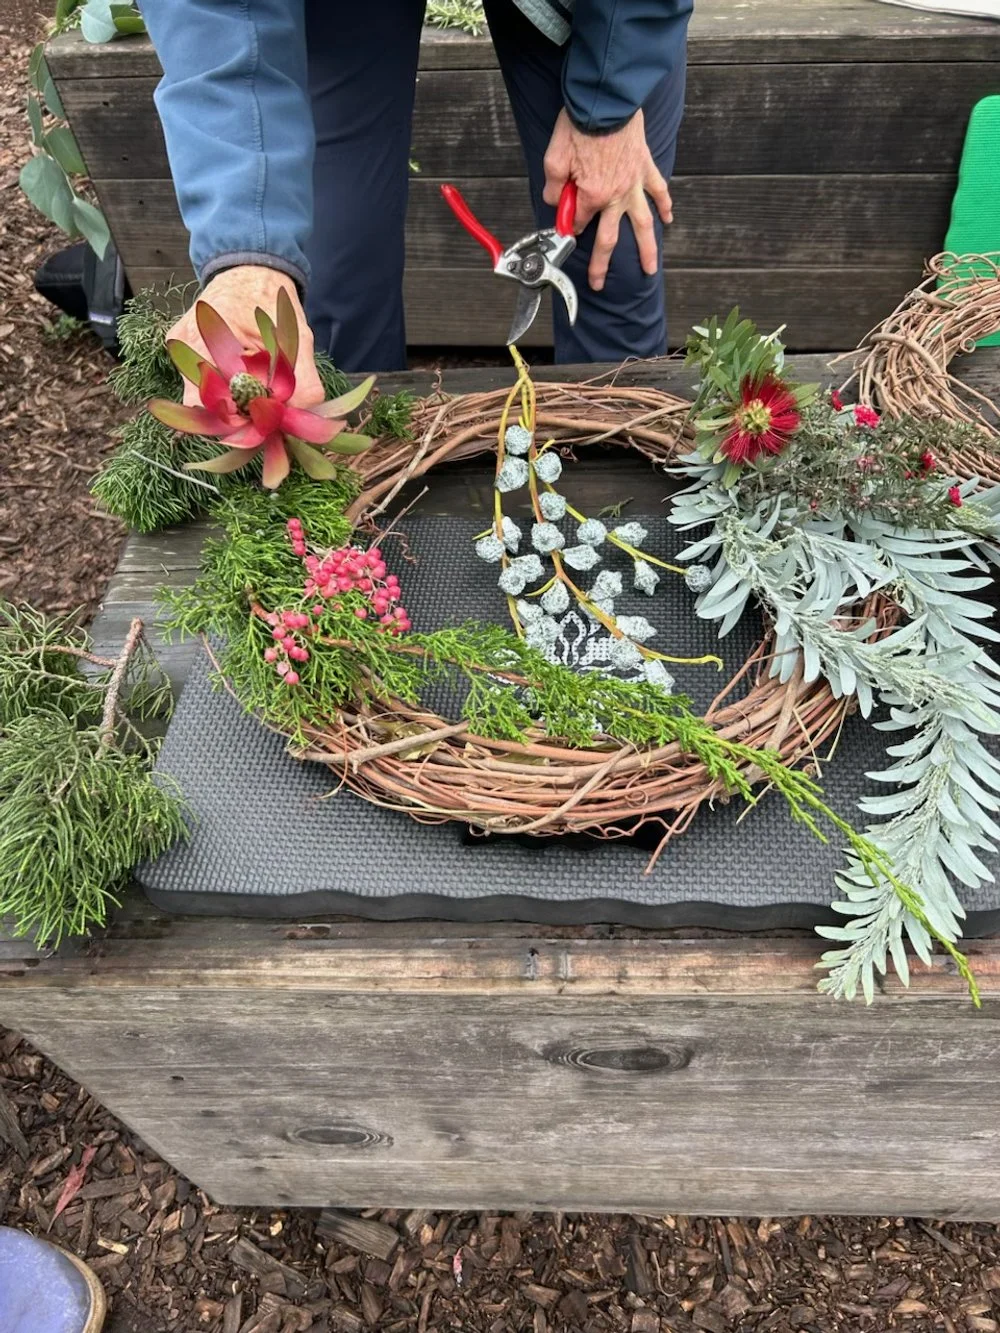
••• wreath base
grapevine and wire bases are common, but you could even try a stick!
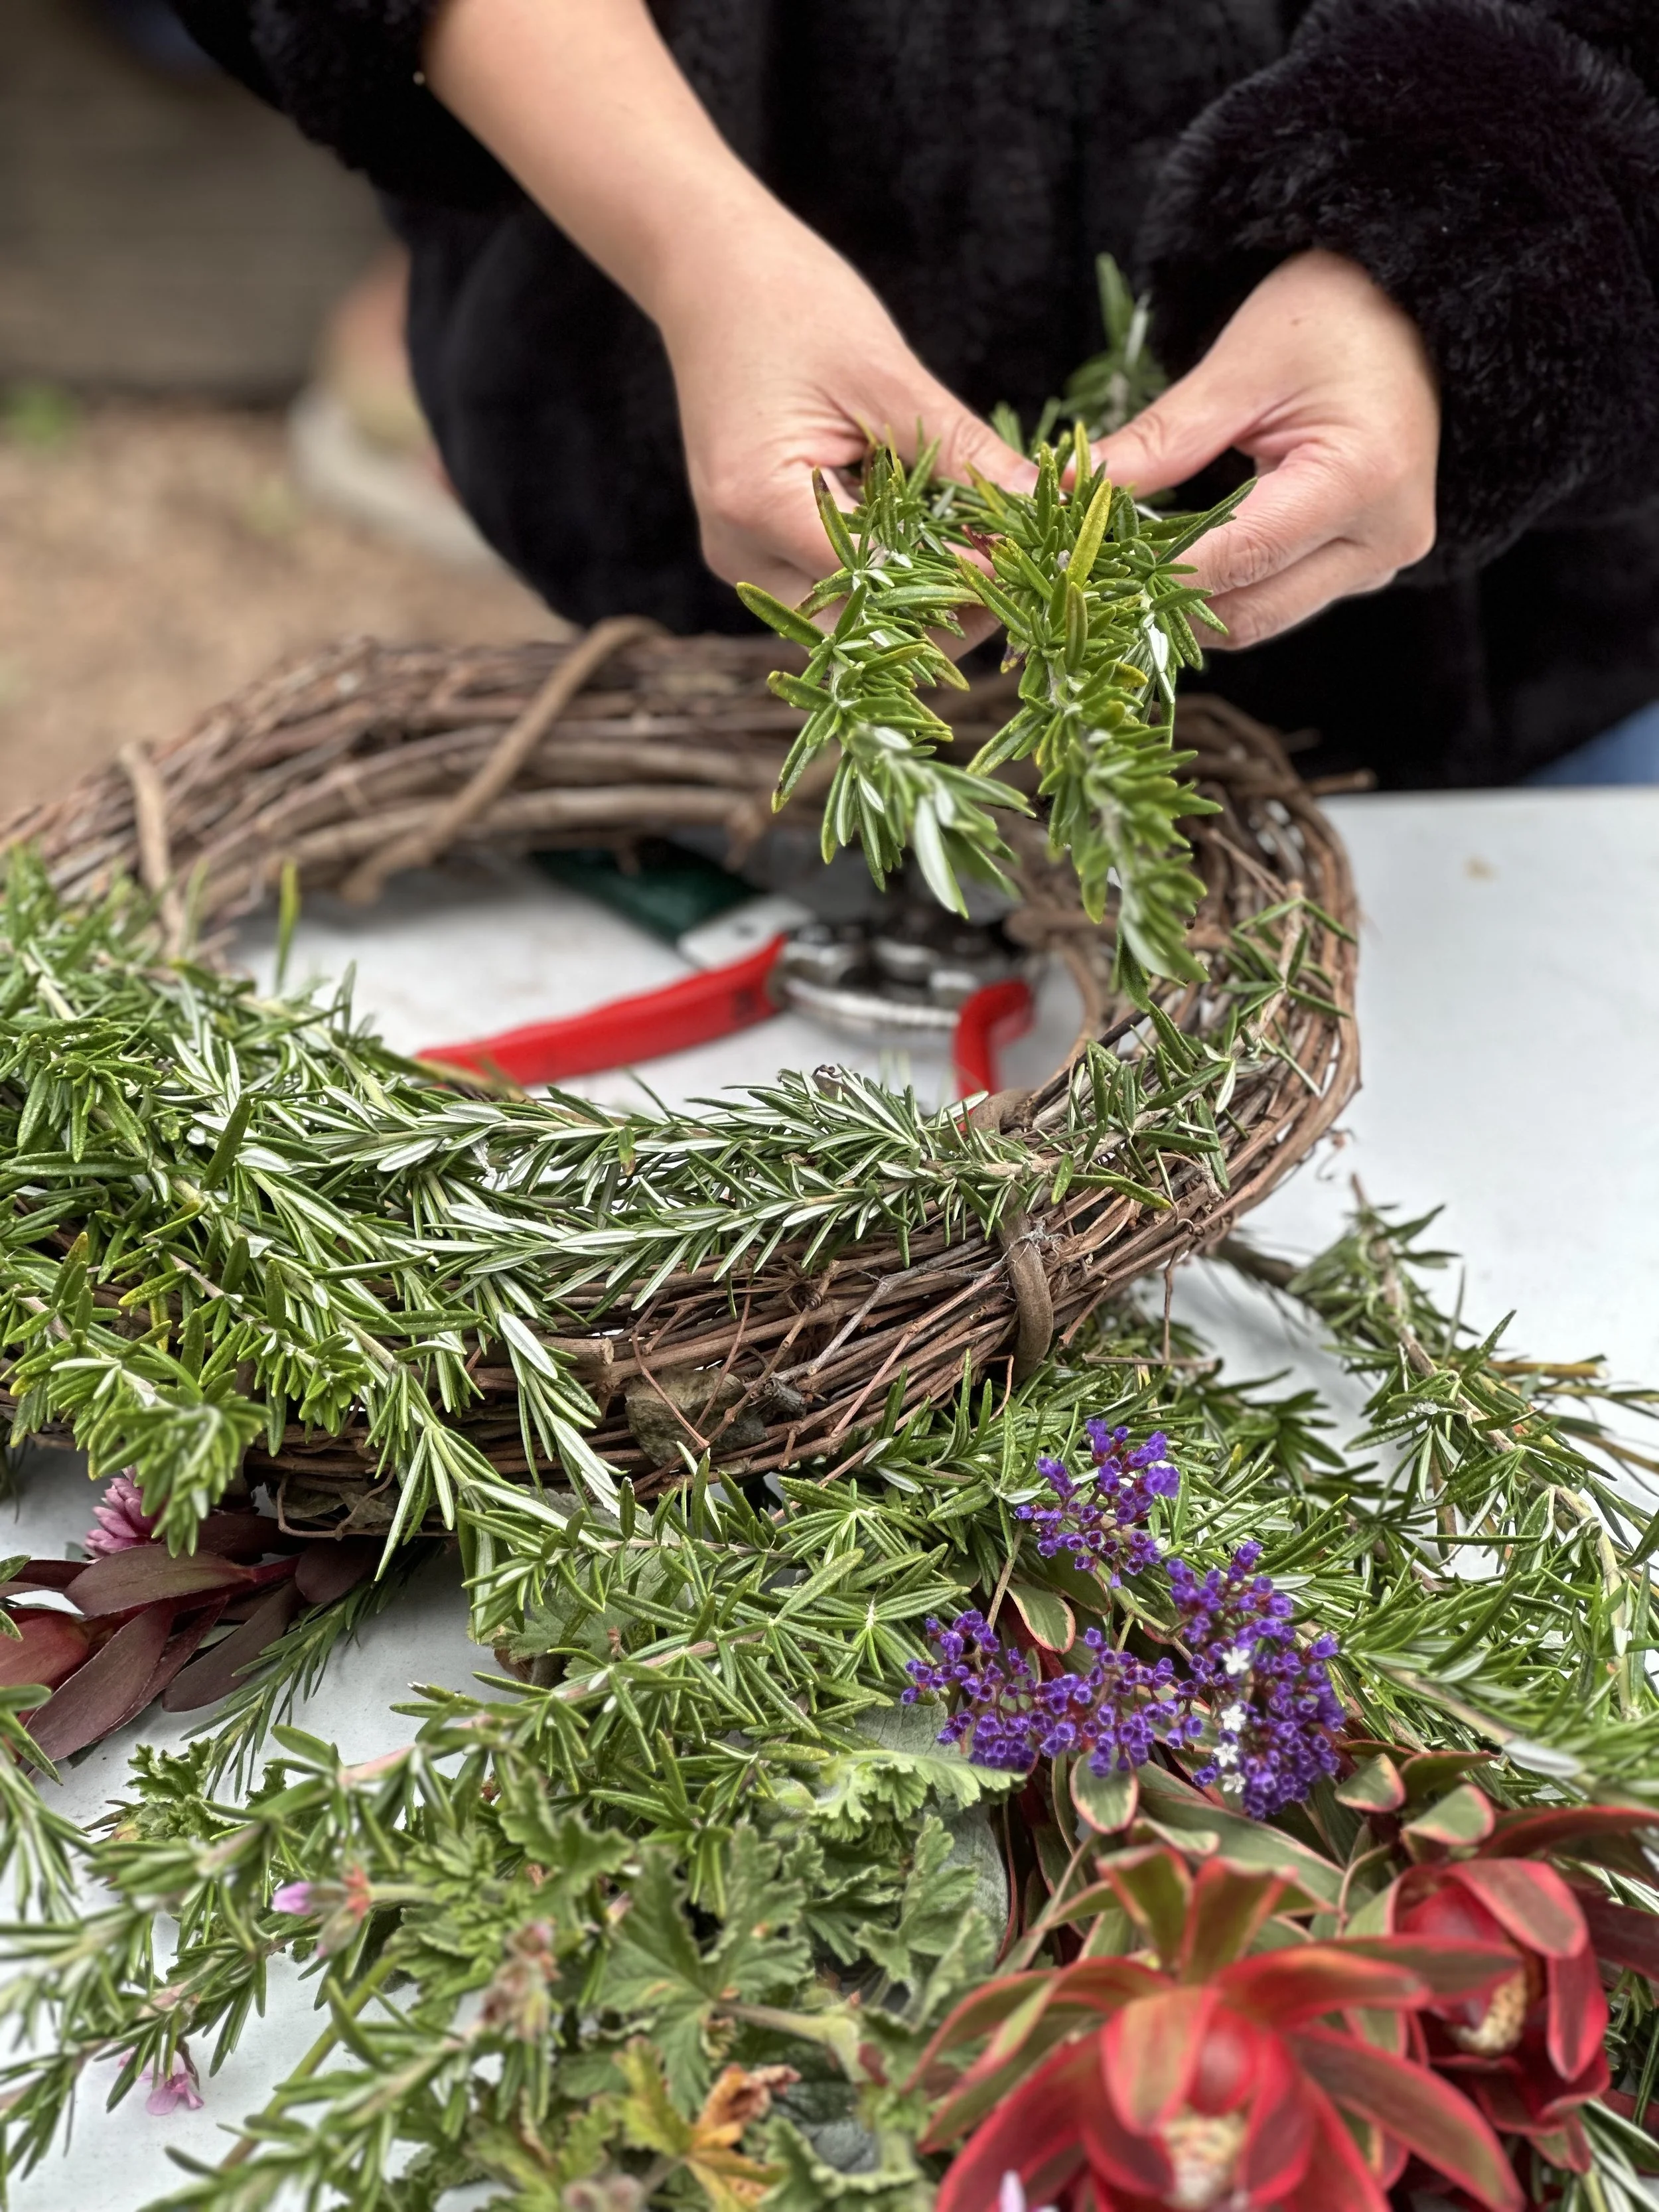
Gather a bundle!*
* Bundles will give you a consistent look — if that’s not your thing, use your tools and materials with abandon!

1
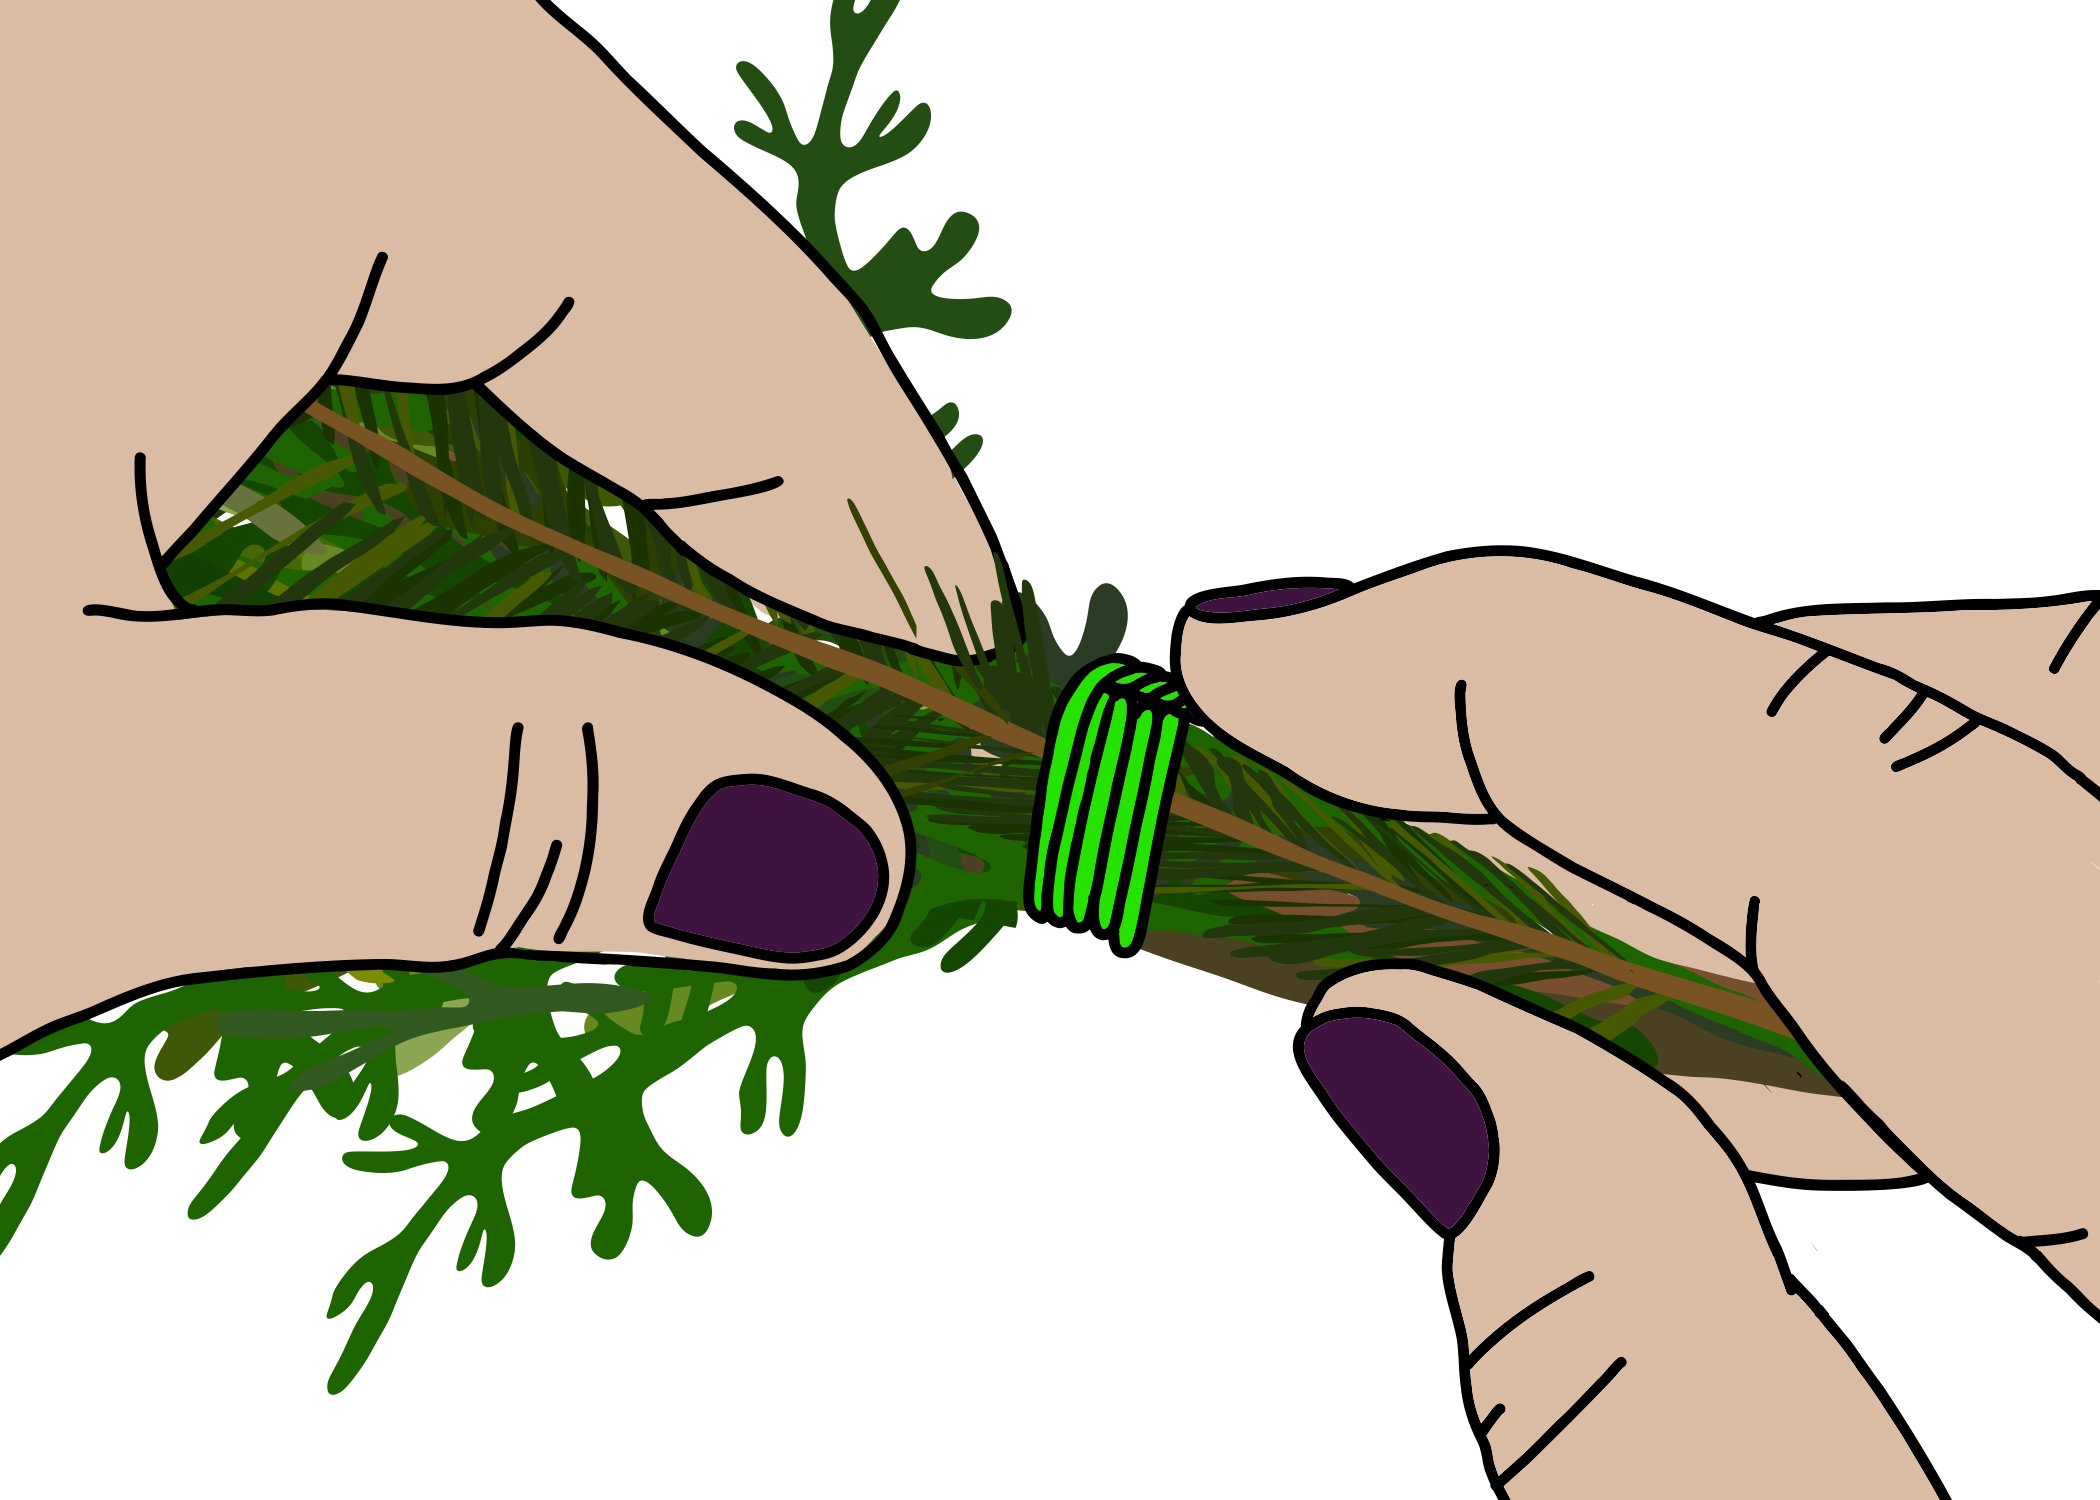
1. Gather a small bouquet (base greens, accents, whatever works!) — this is your bundle!
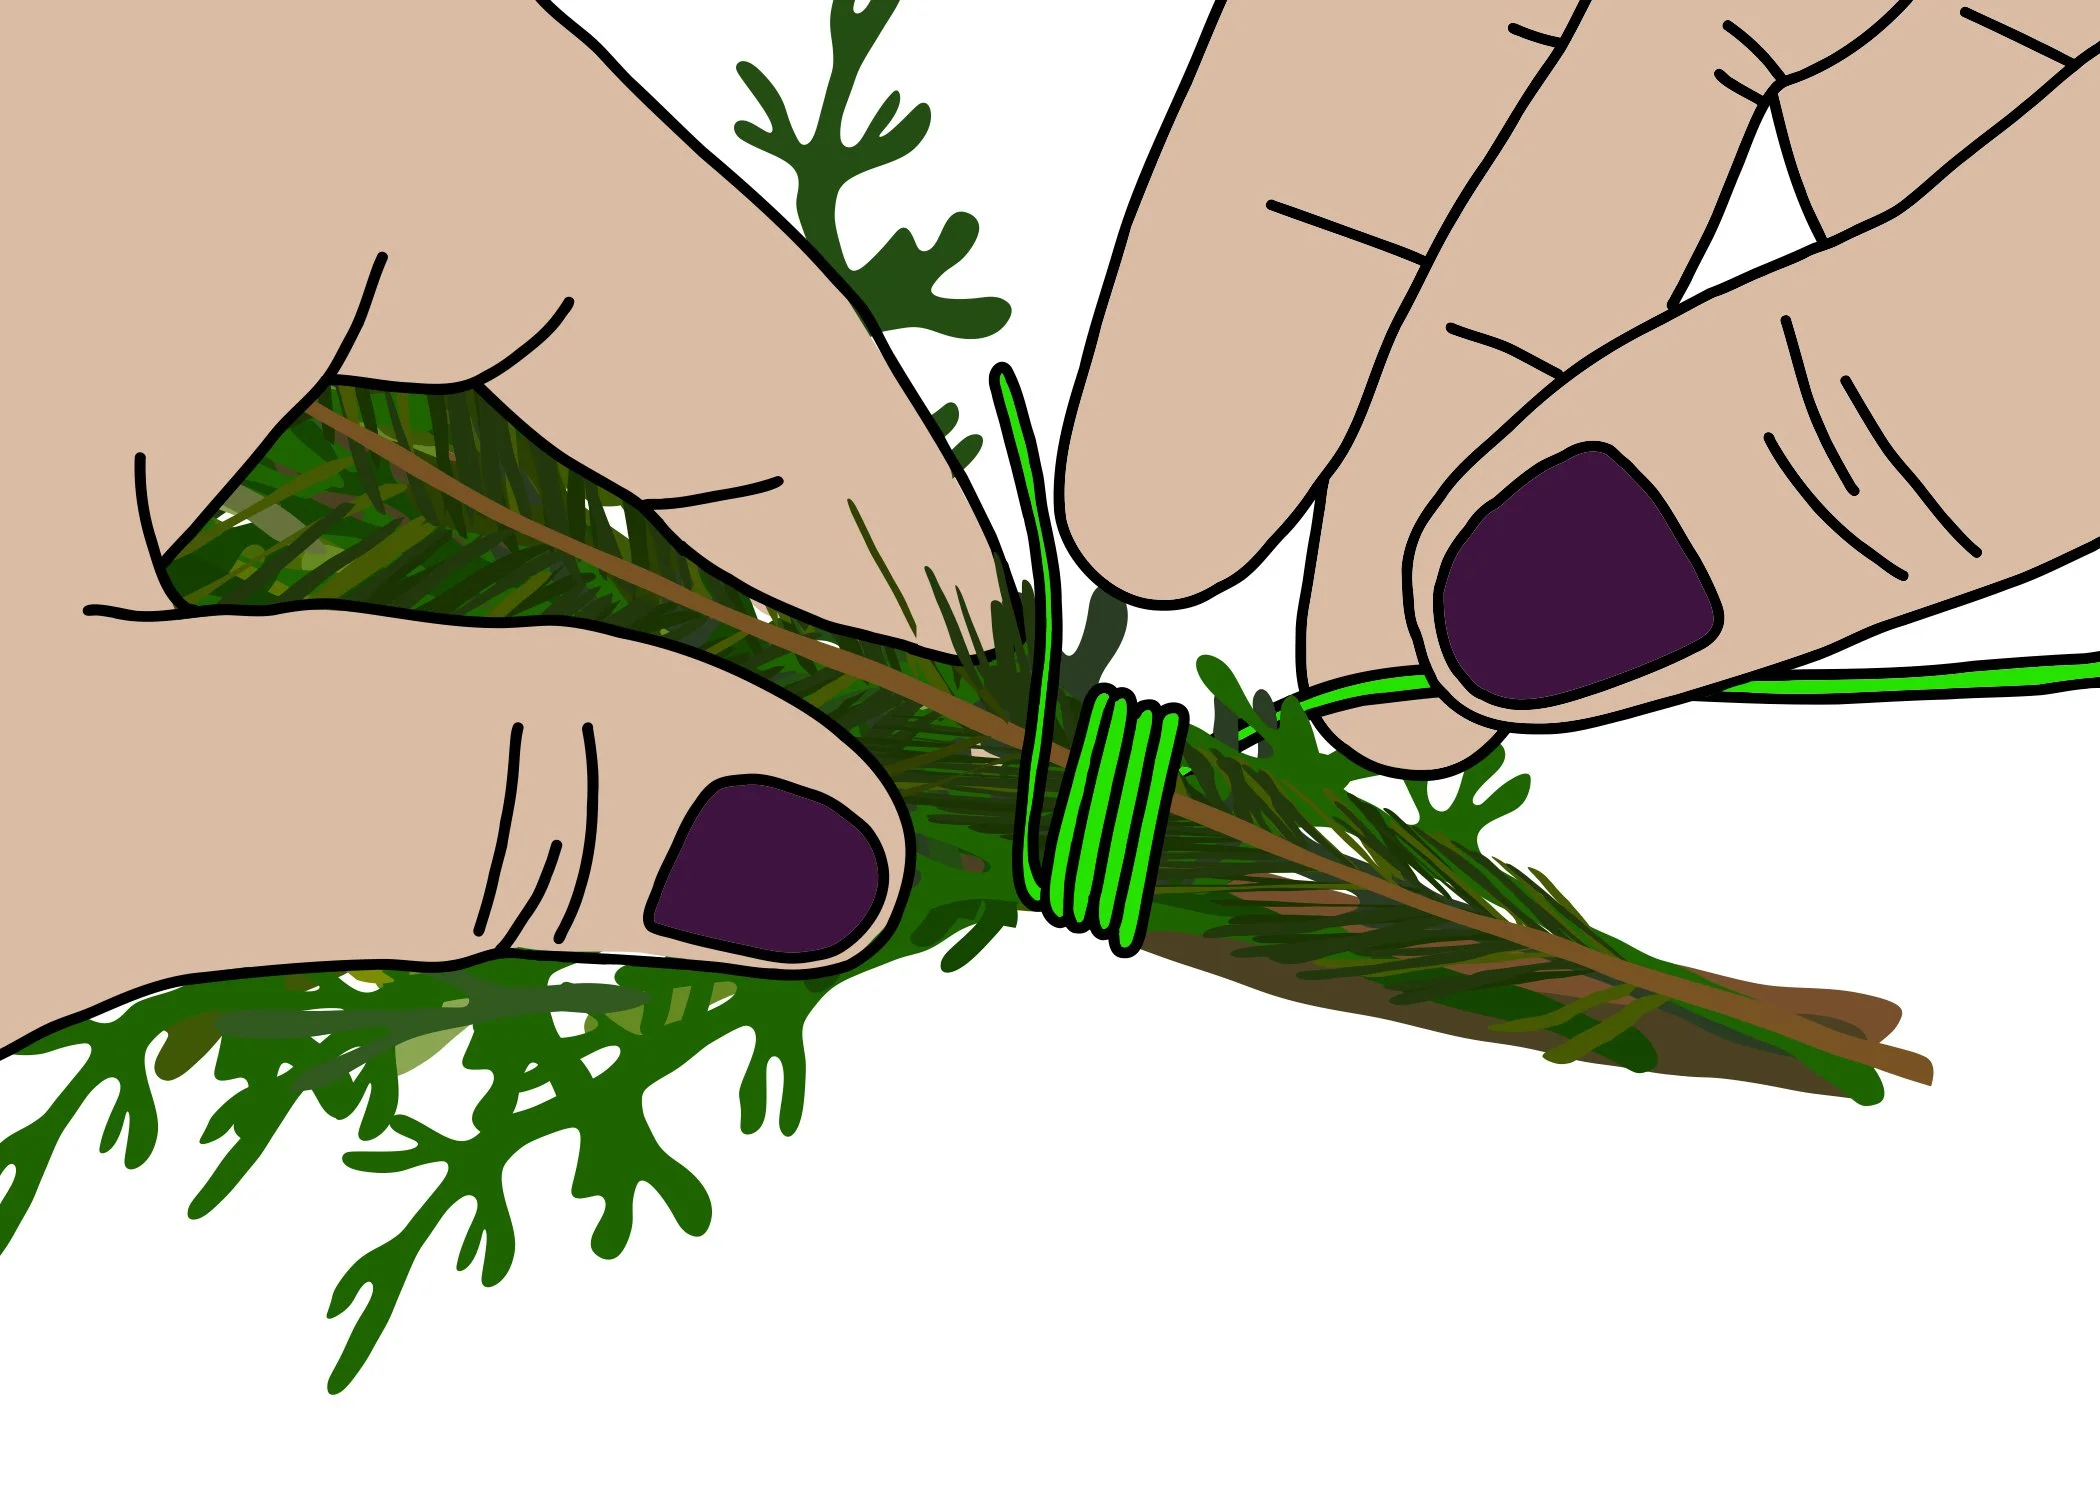
2
2. Leave about an inch of extra wire before you start, then wrap the long end around the stems four to five times (or until they feel secure);

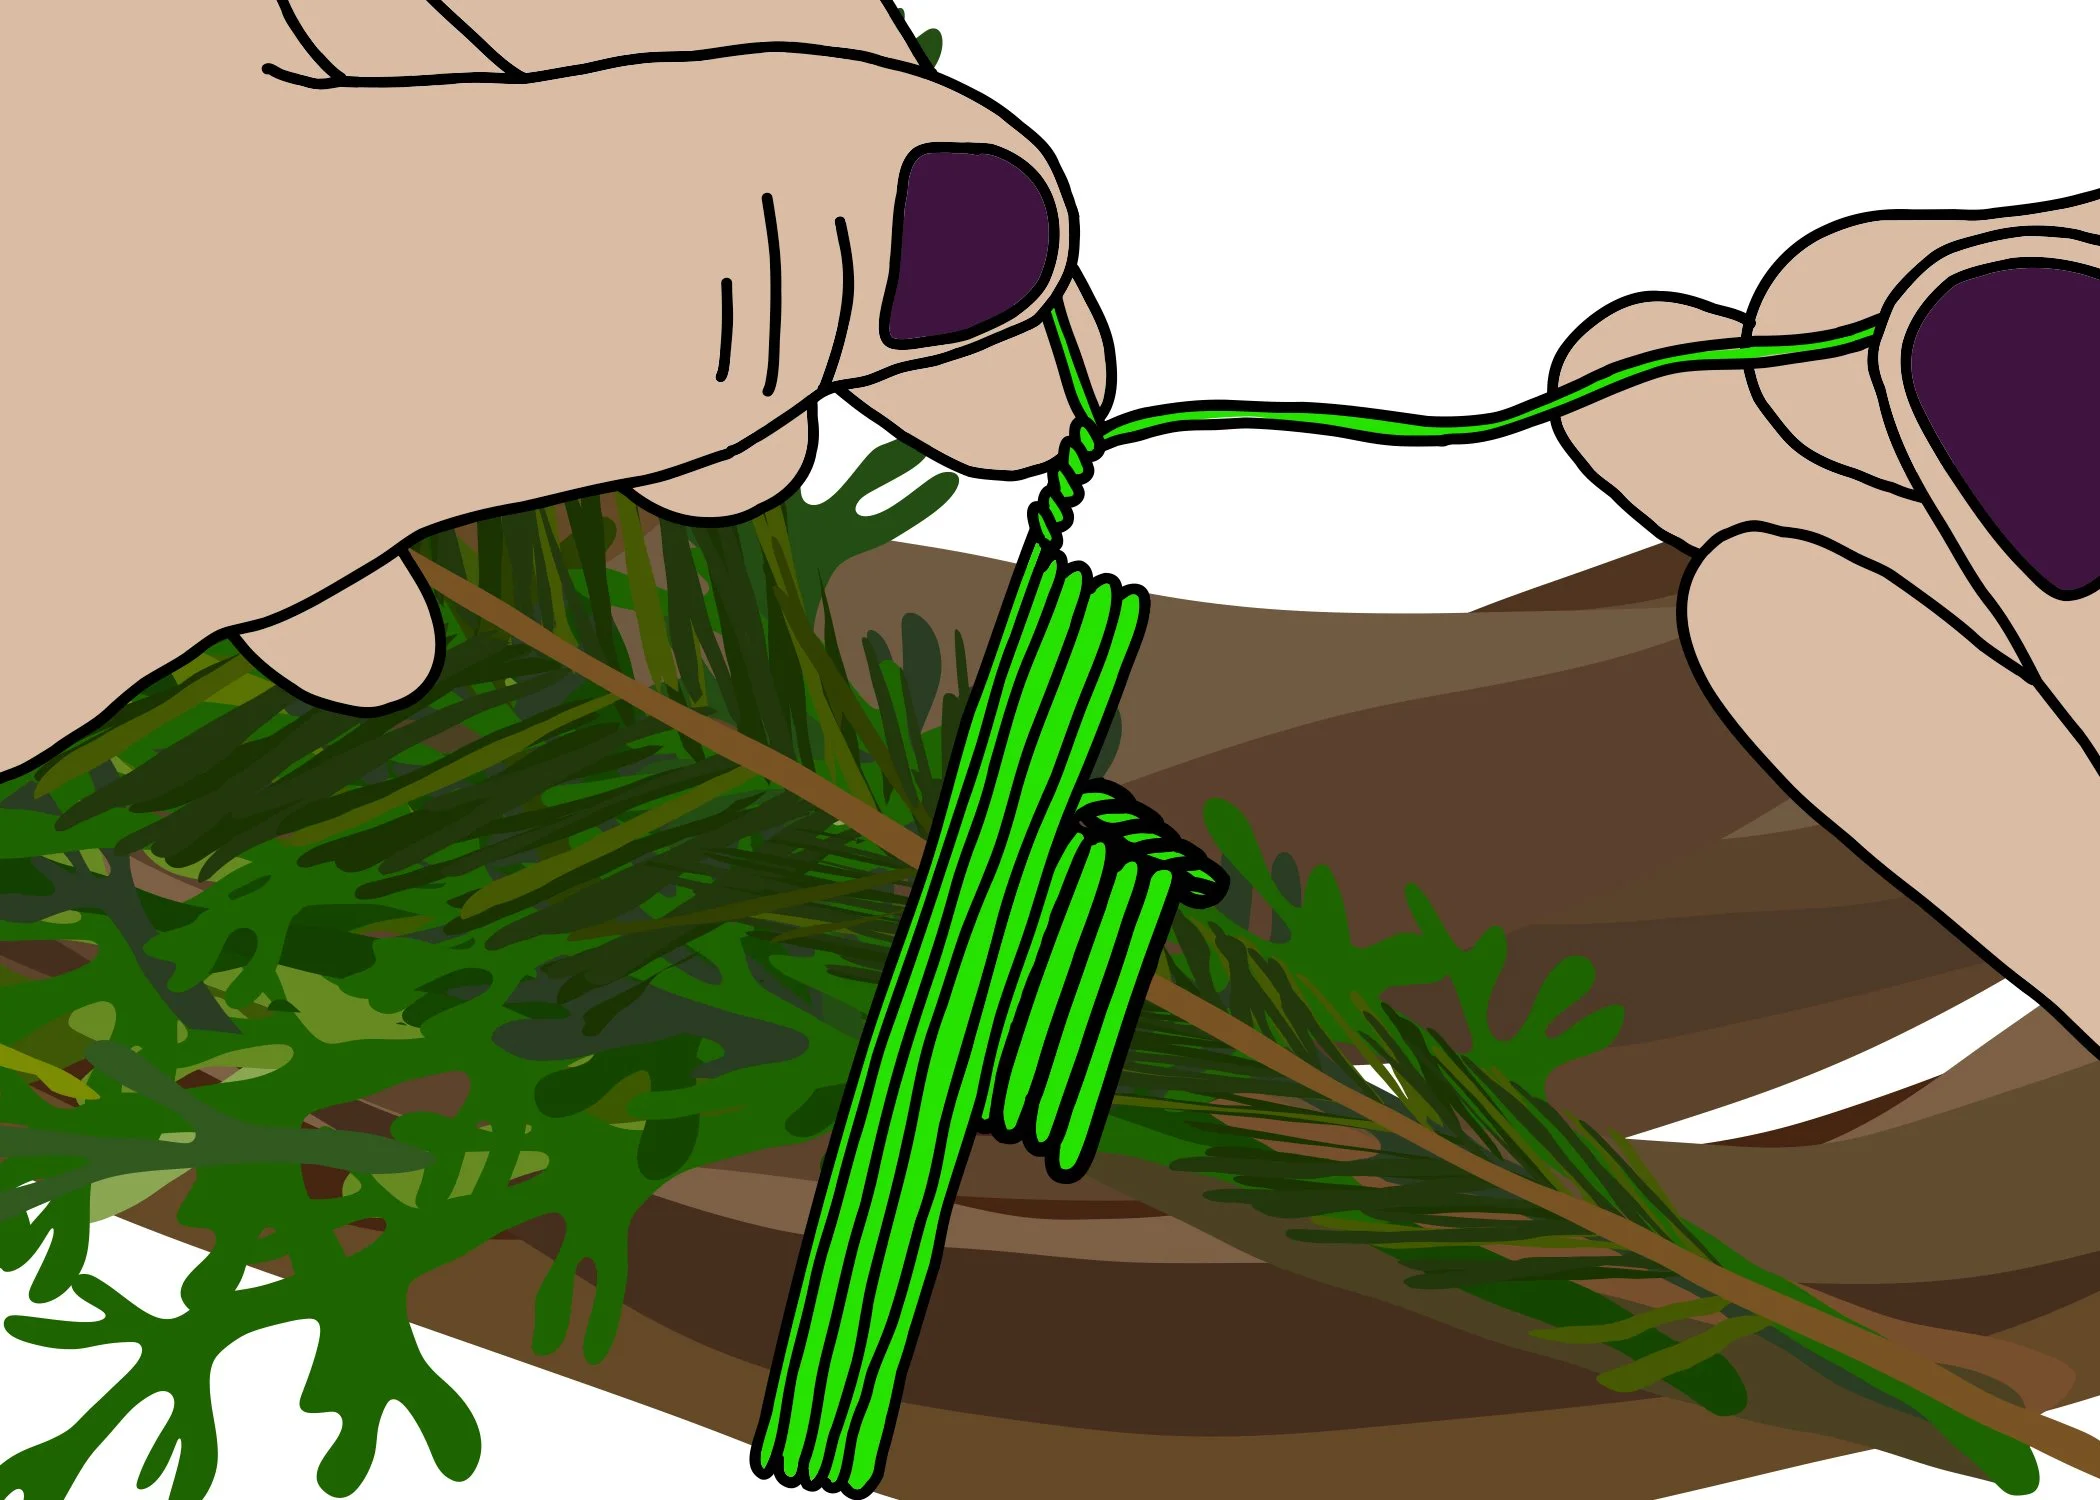
3
3. twist the ends of the wire together three to four times (or until they feel secure);
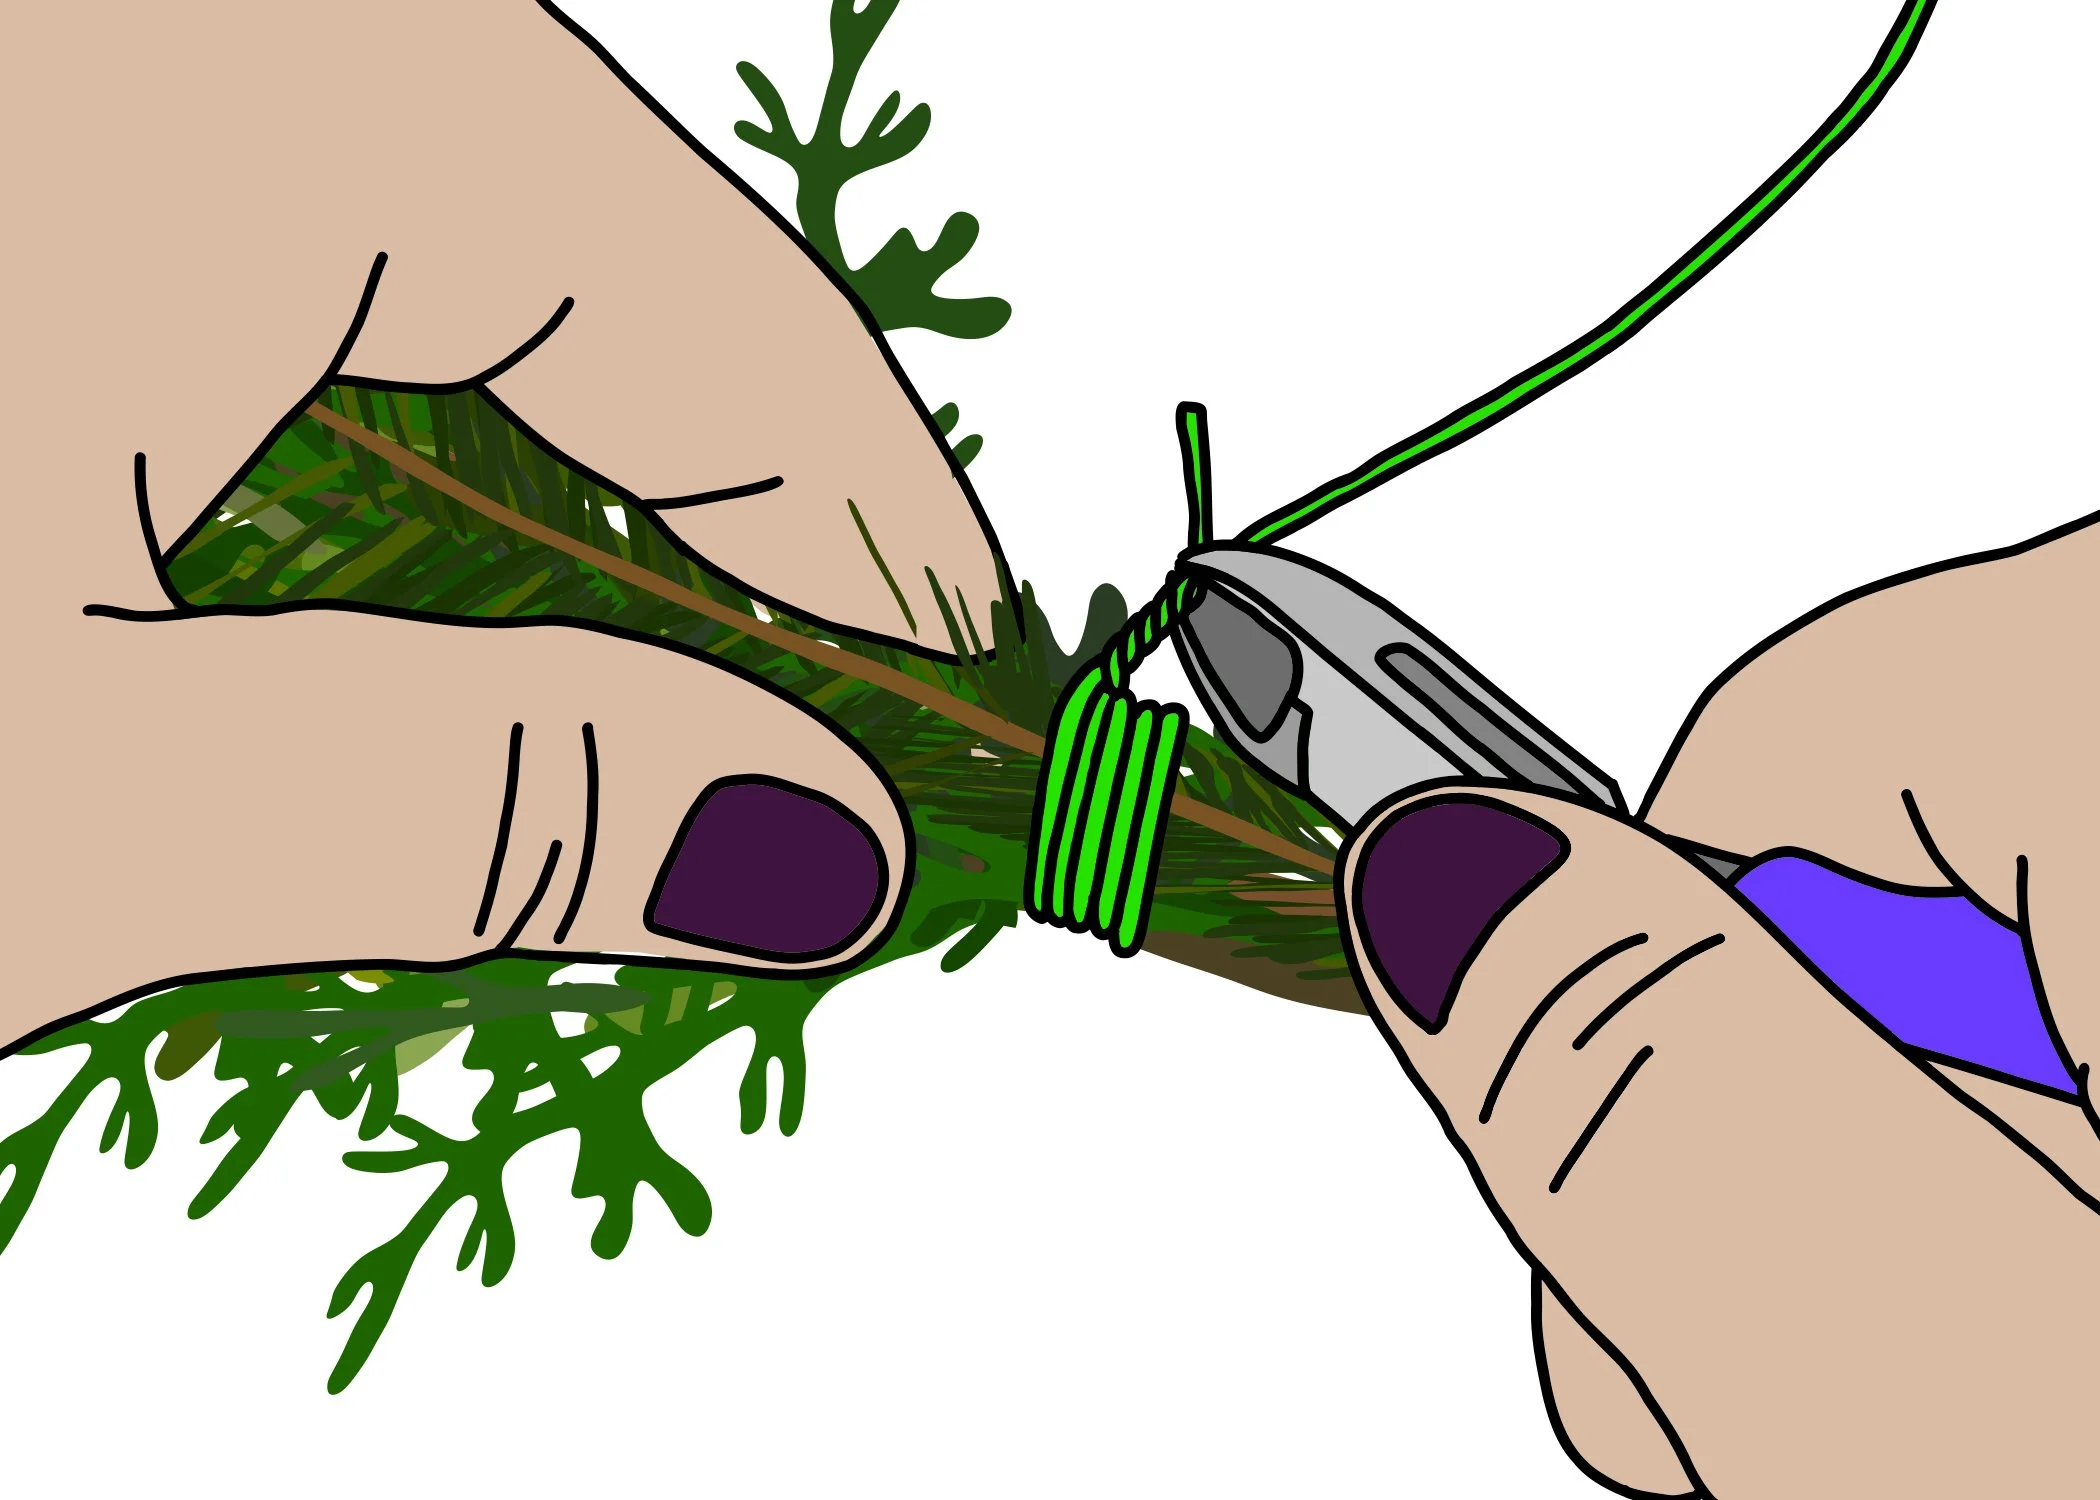
4
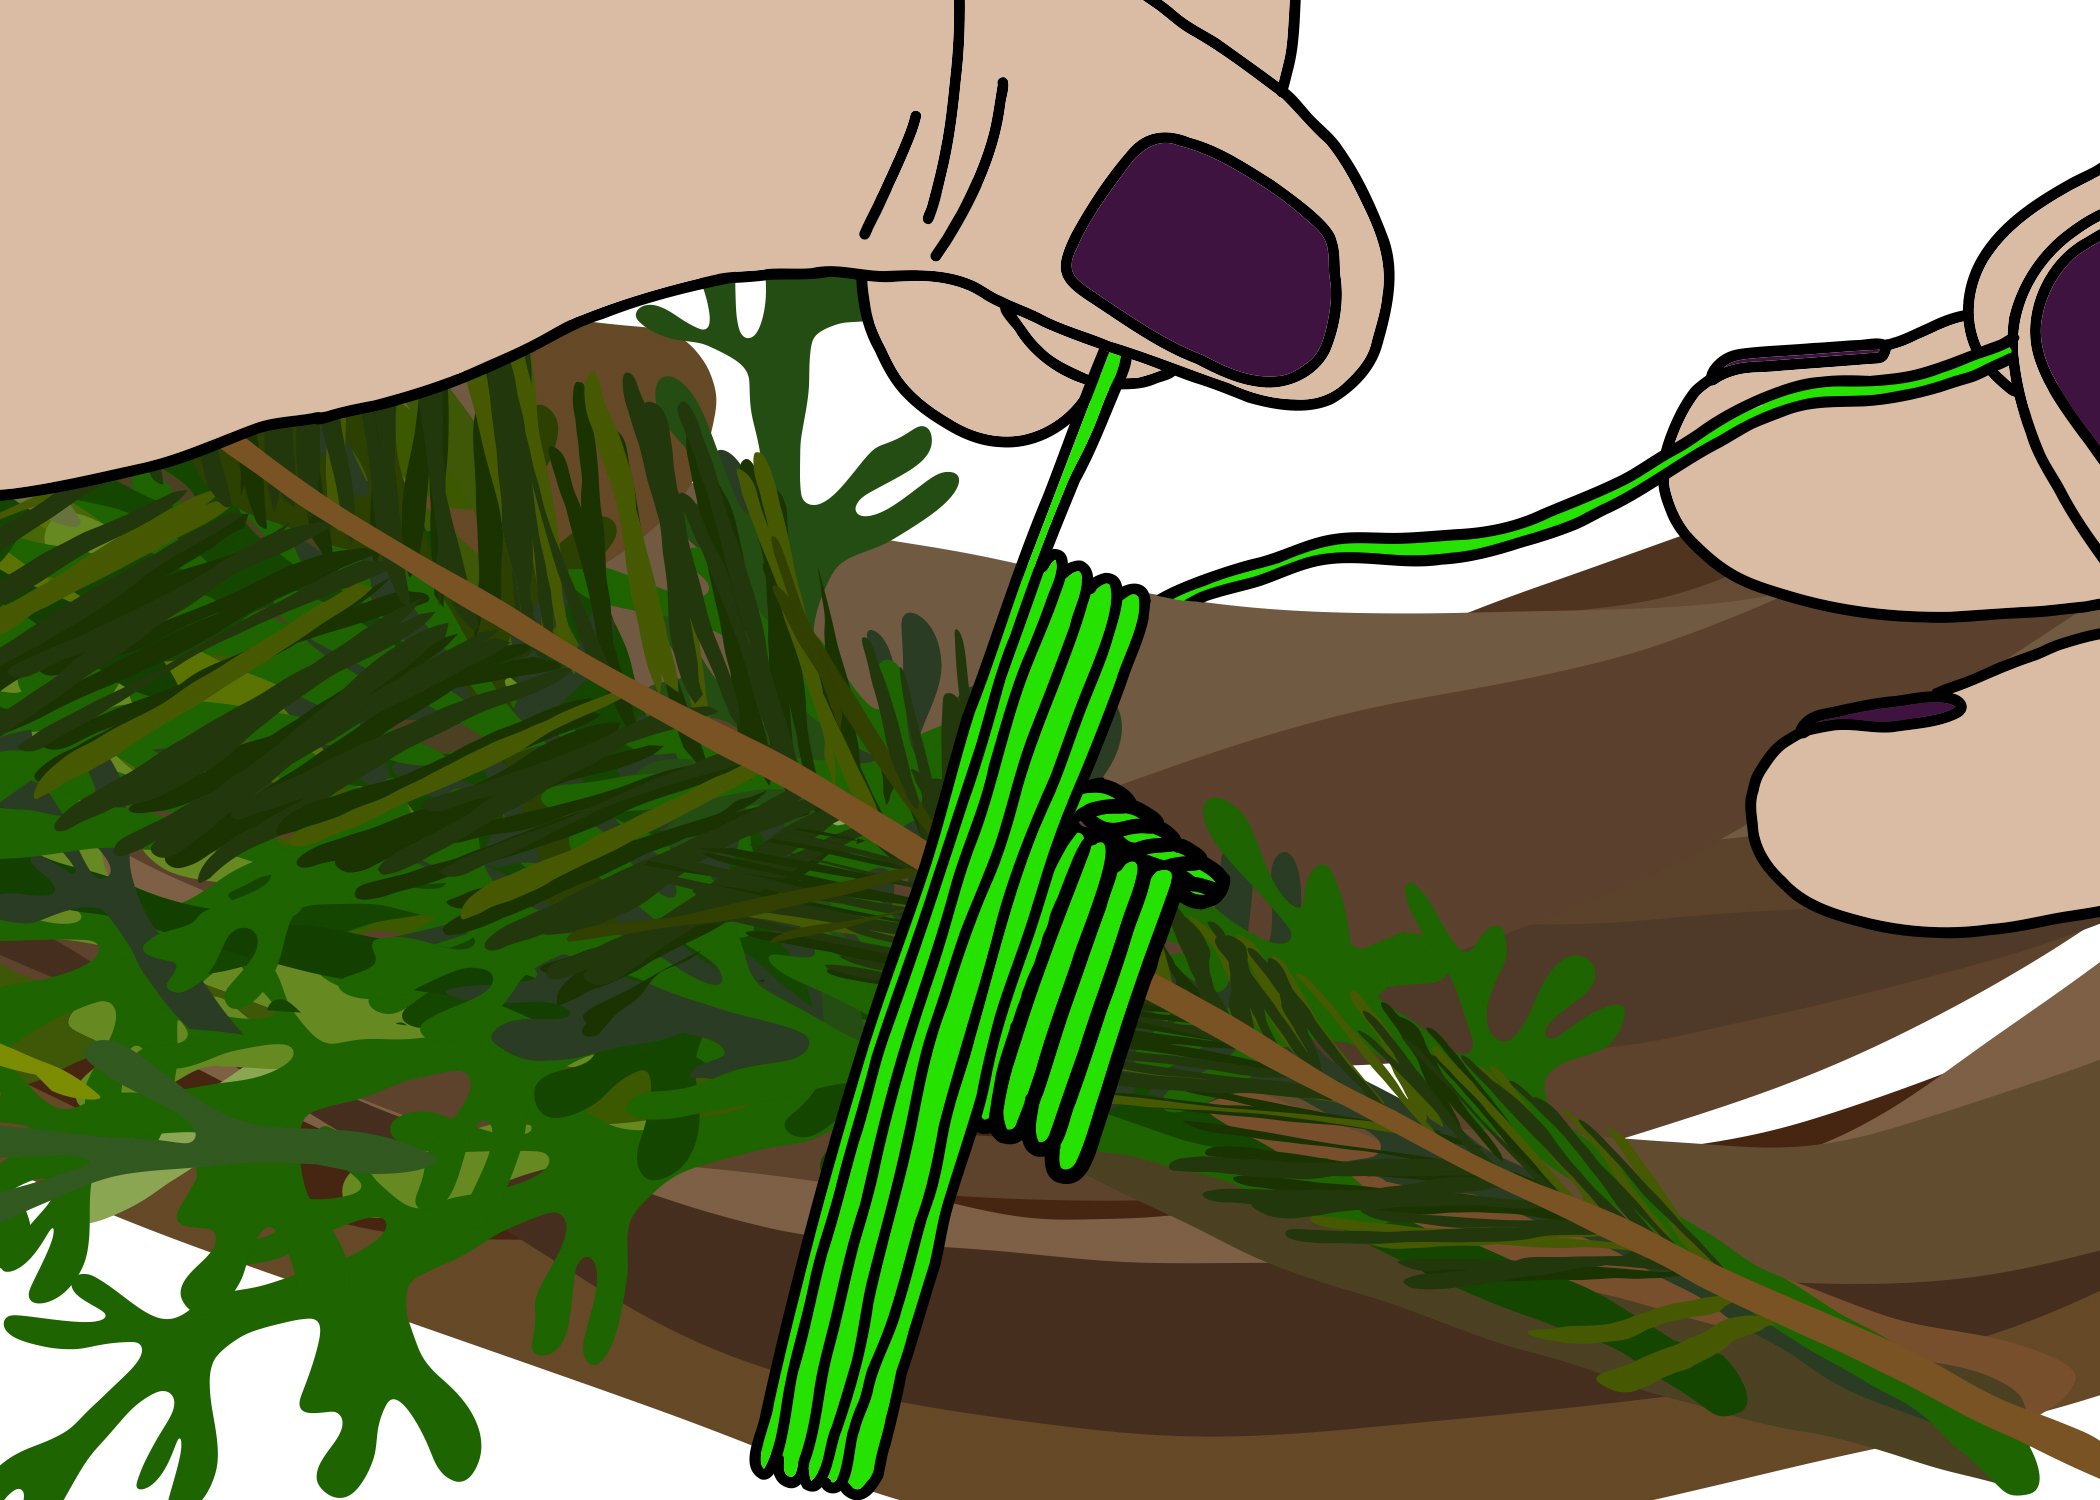
4. snip the wires;
5
5. then gently bend / tuck the ends into the bundle (so you don’t get poked).
Attach Your Bundle to your Wreath Base!
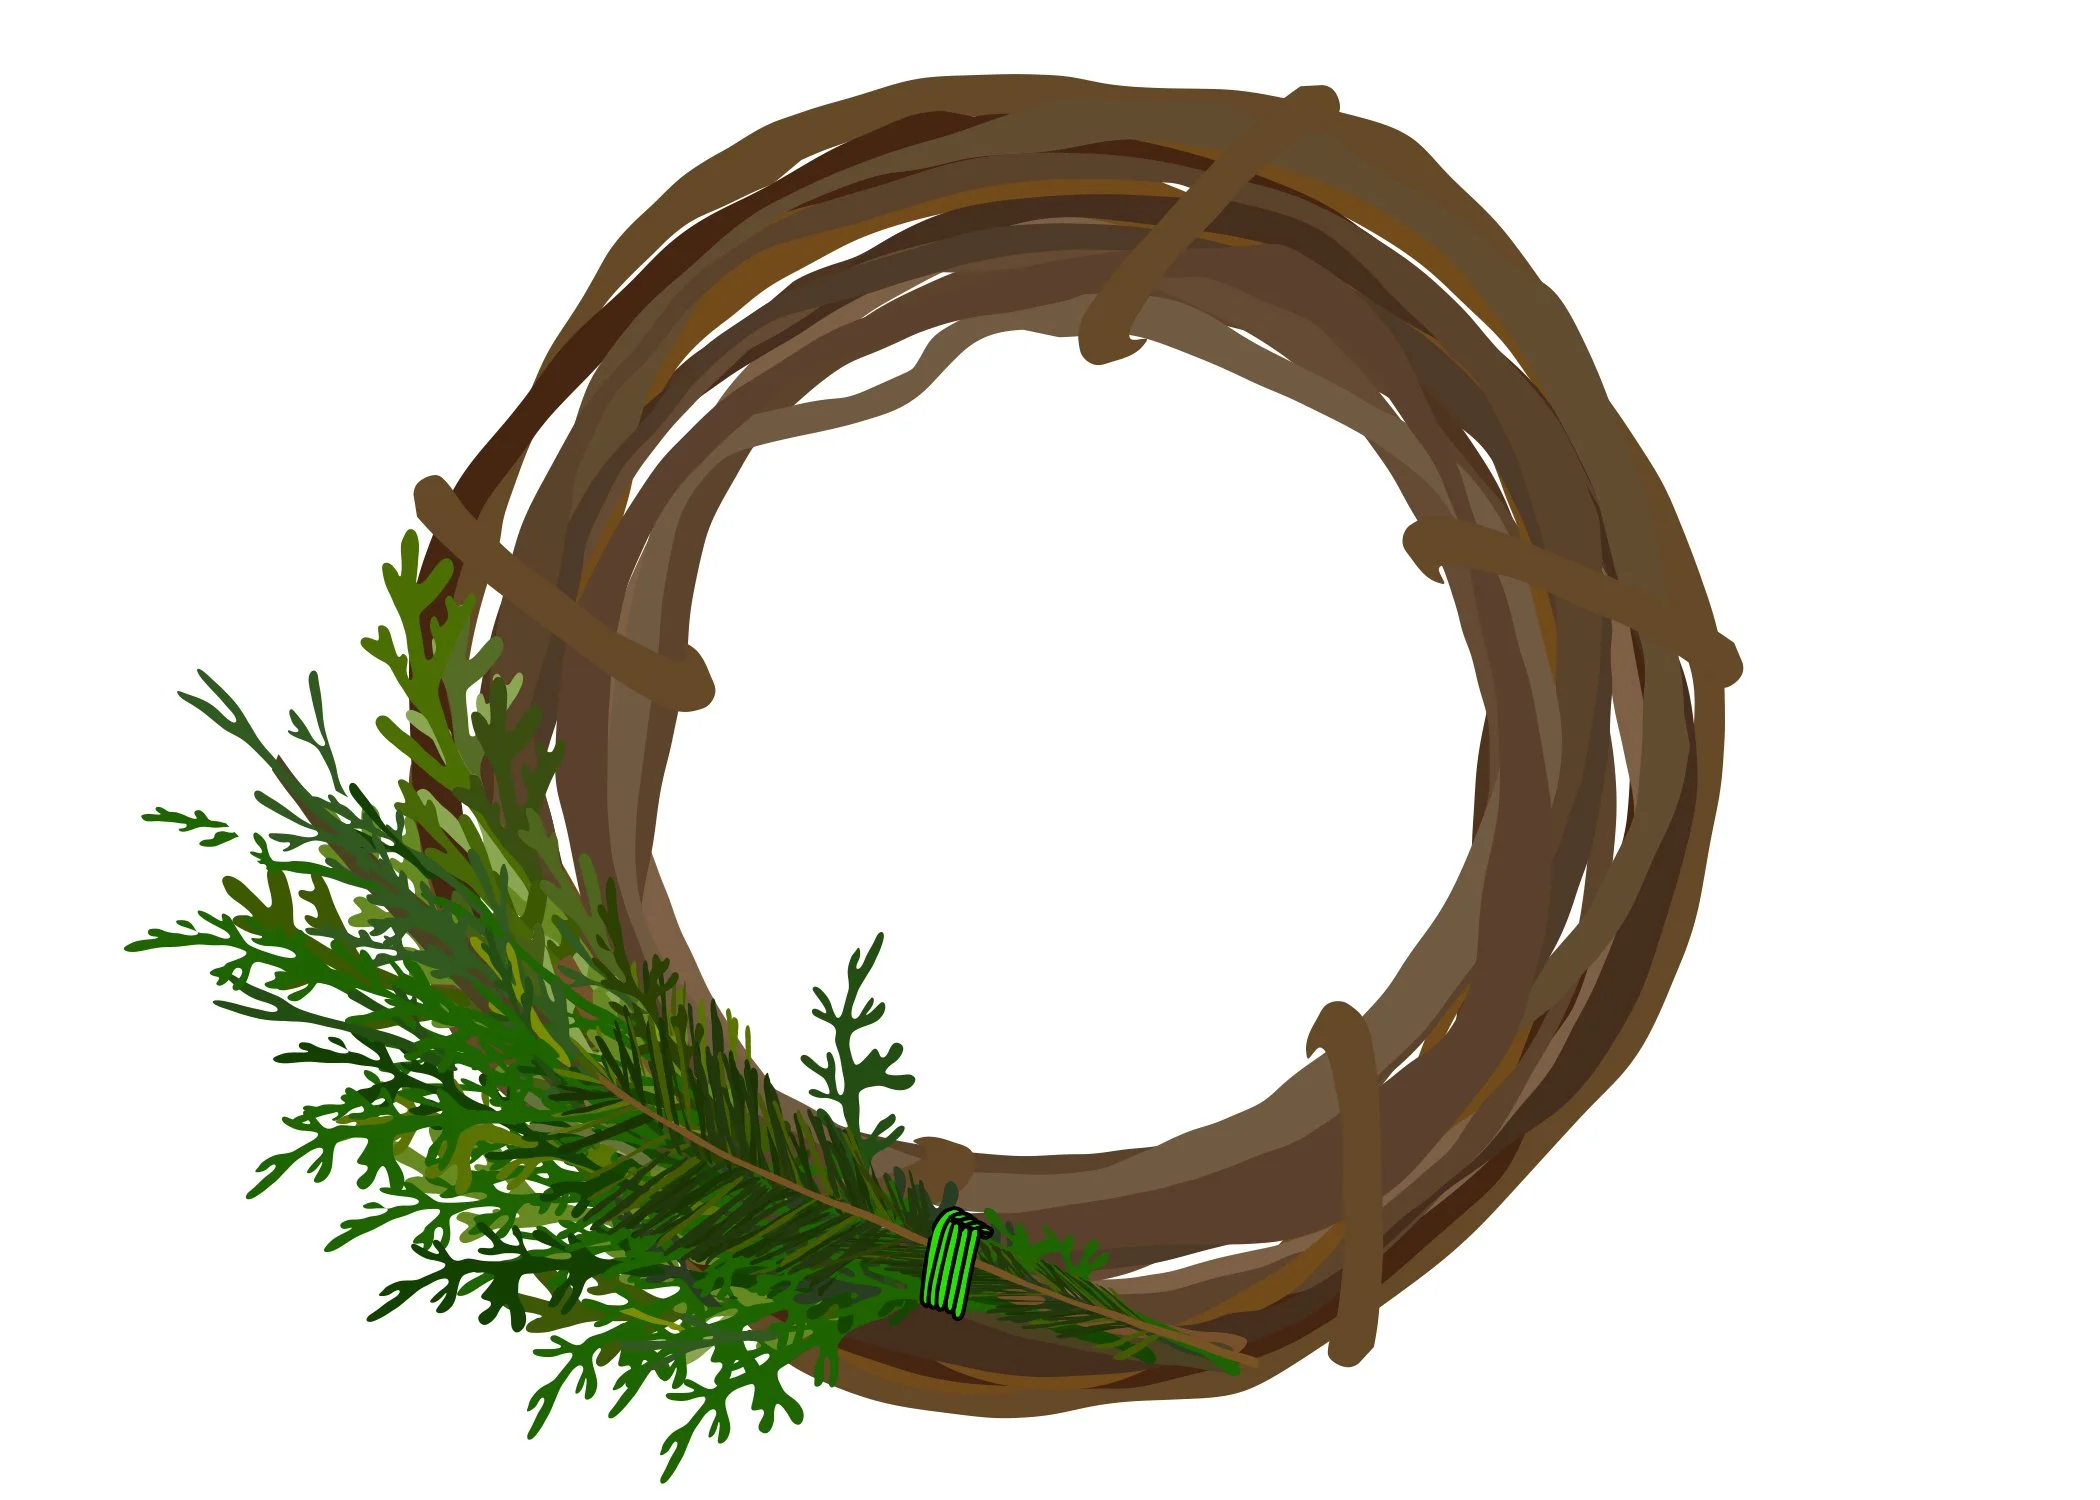
6
6. Lay your bundle on your wreath base;
7
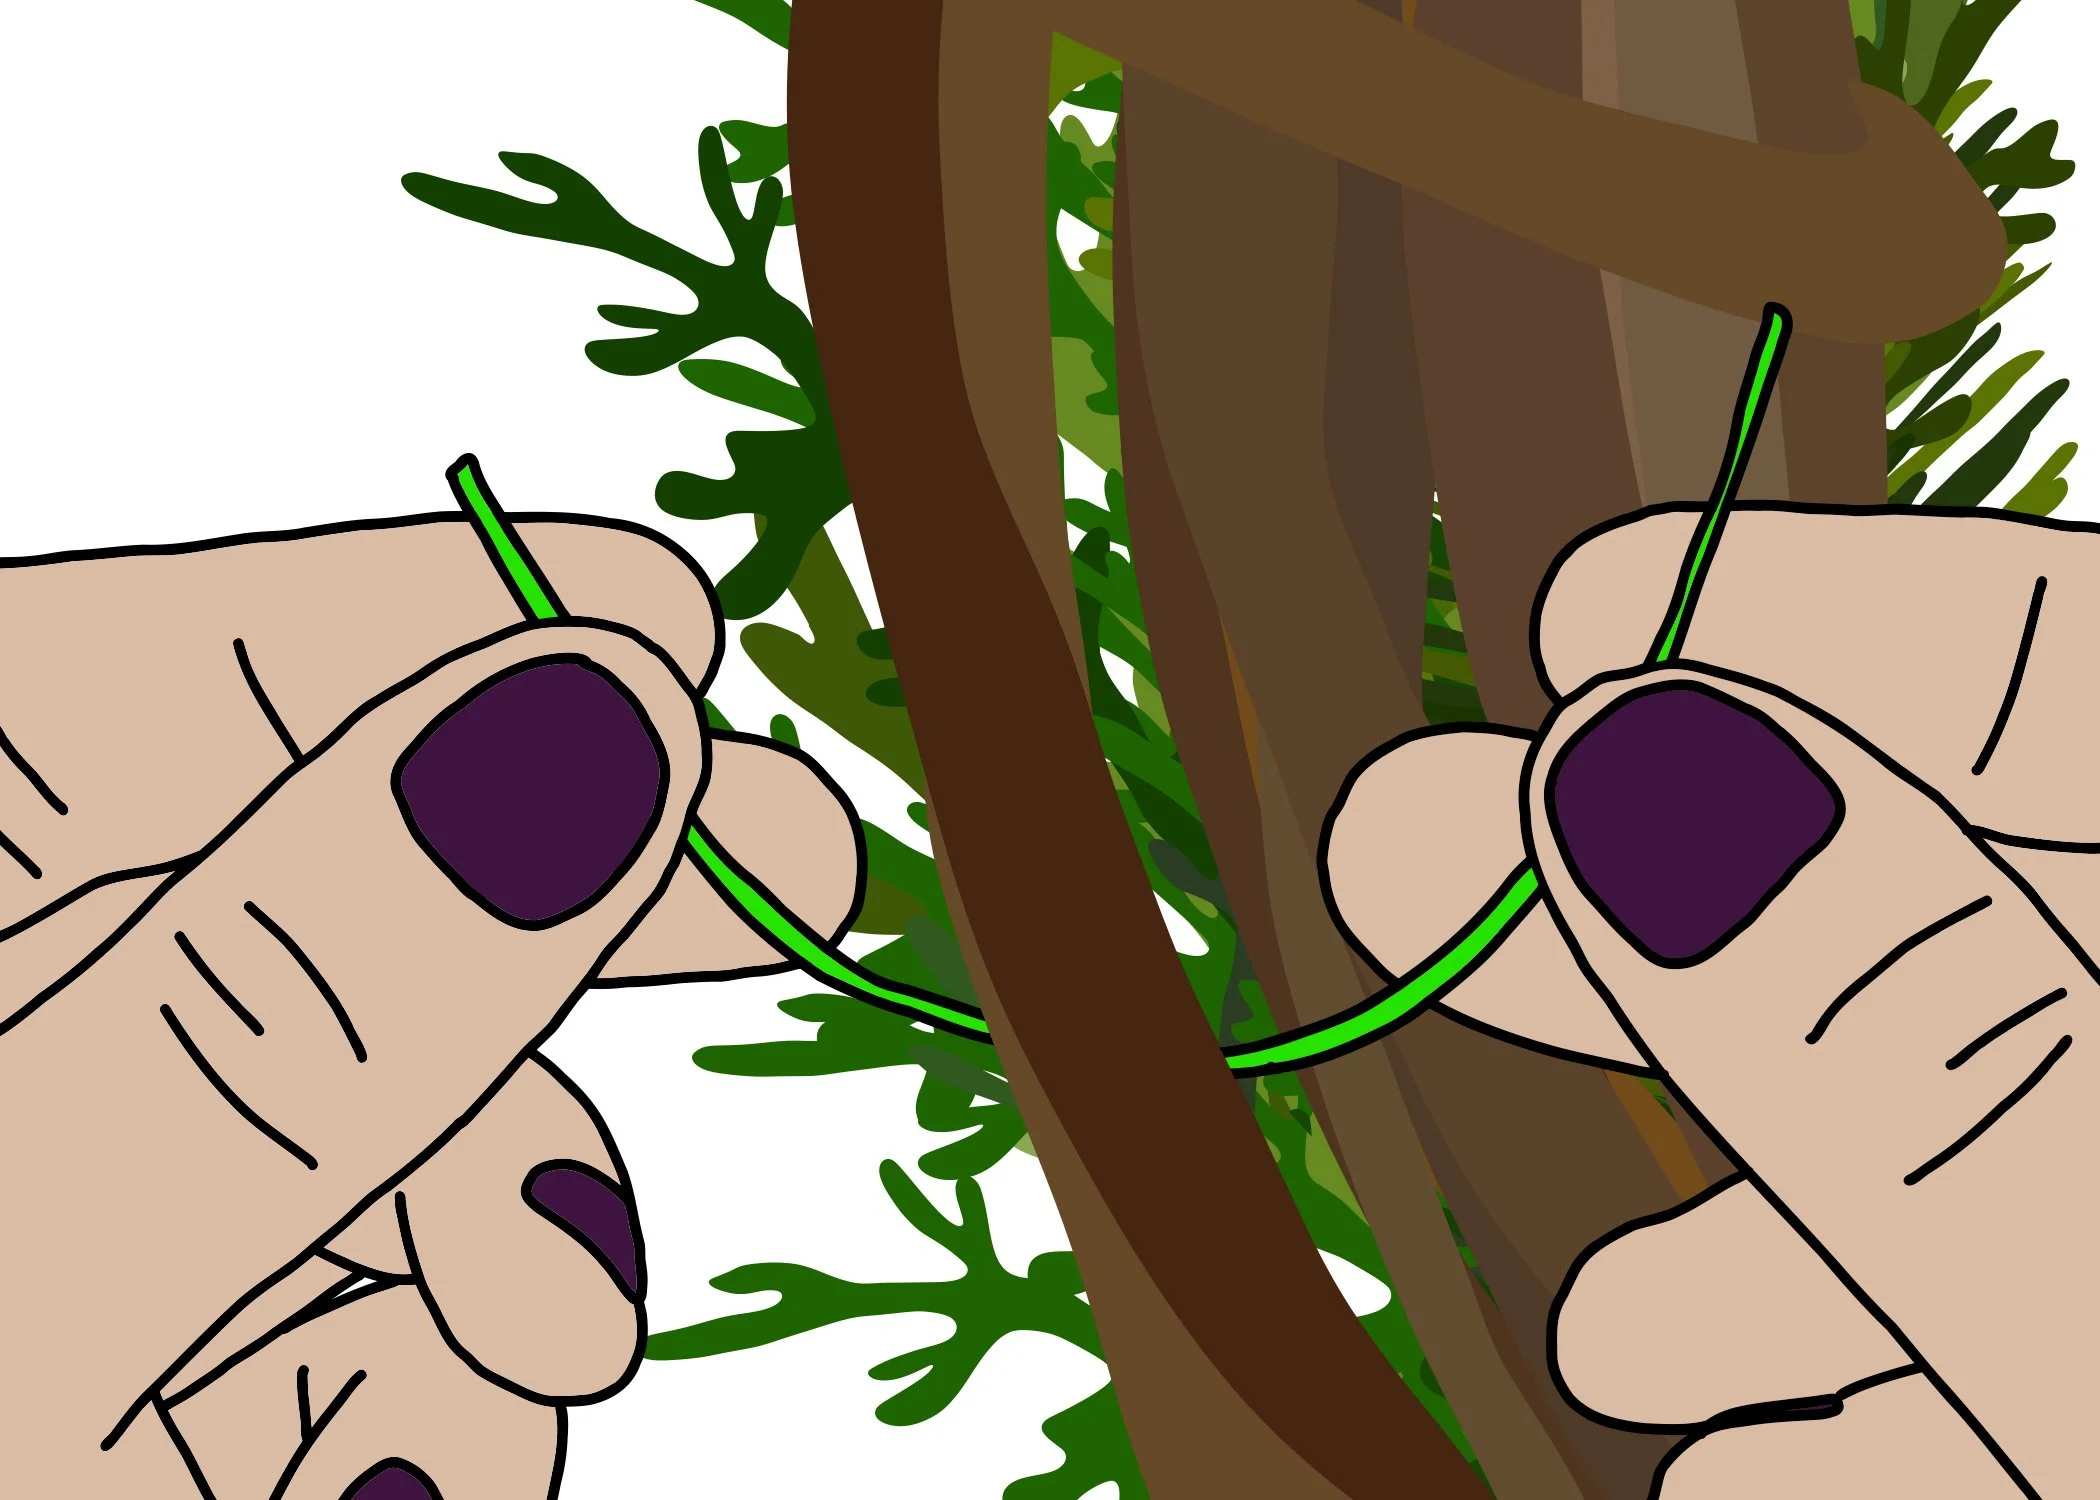
7. Leave about an inch of extra wire before you start, then wrap the long end around both bundle and base four to five times (or until they feel secure — larger bundles might require more wraps);
8
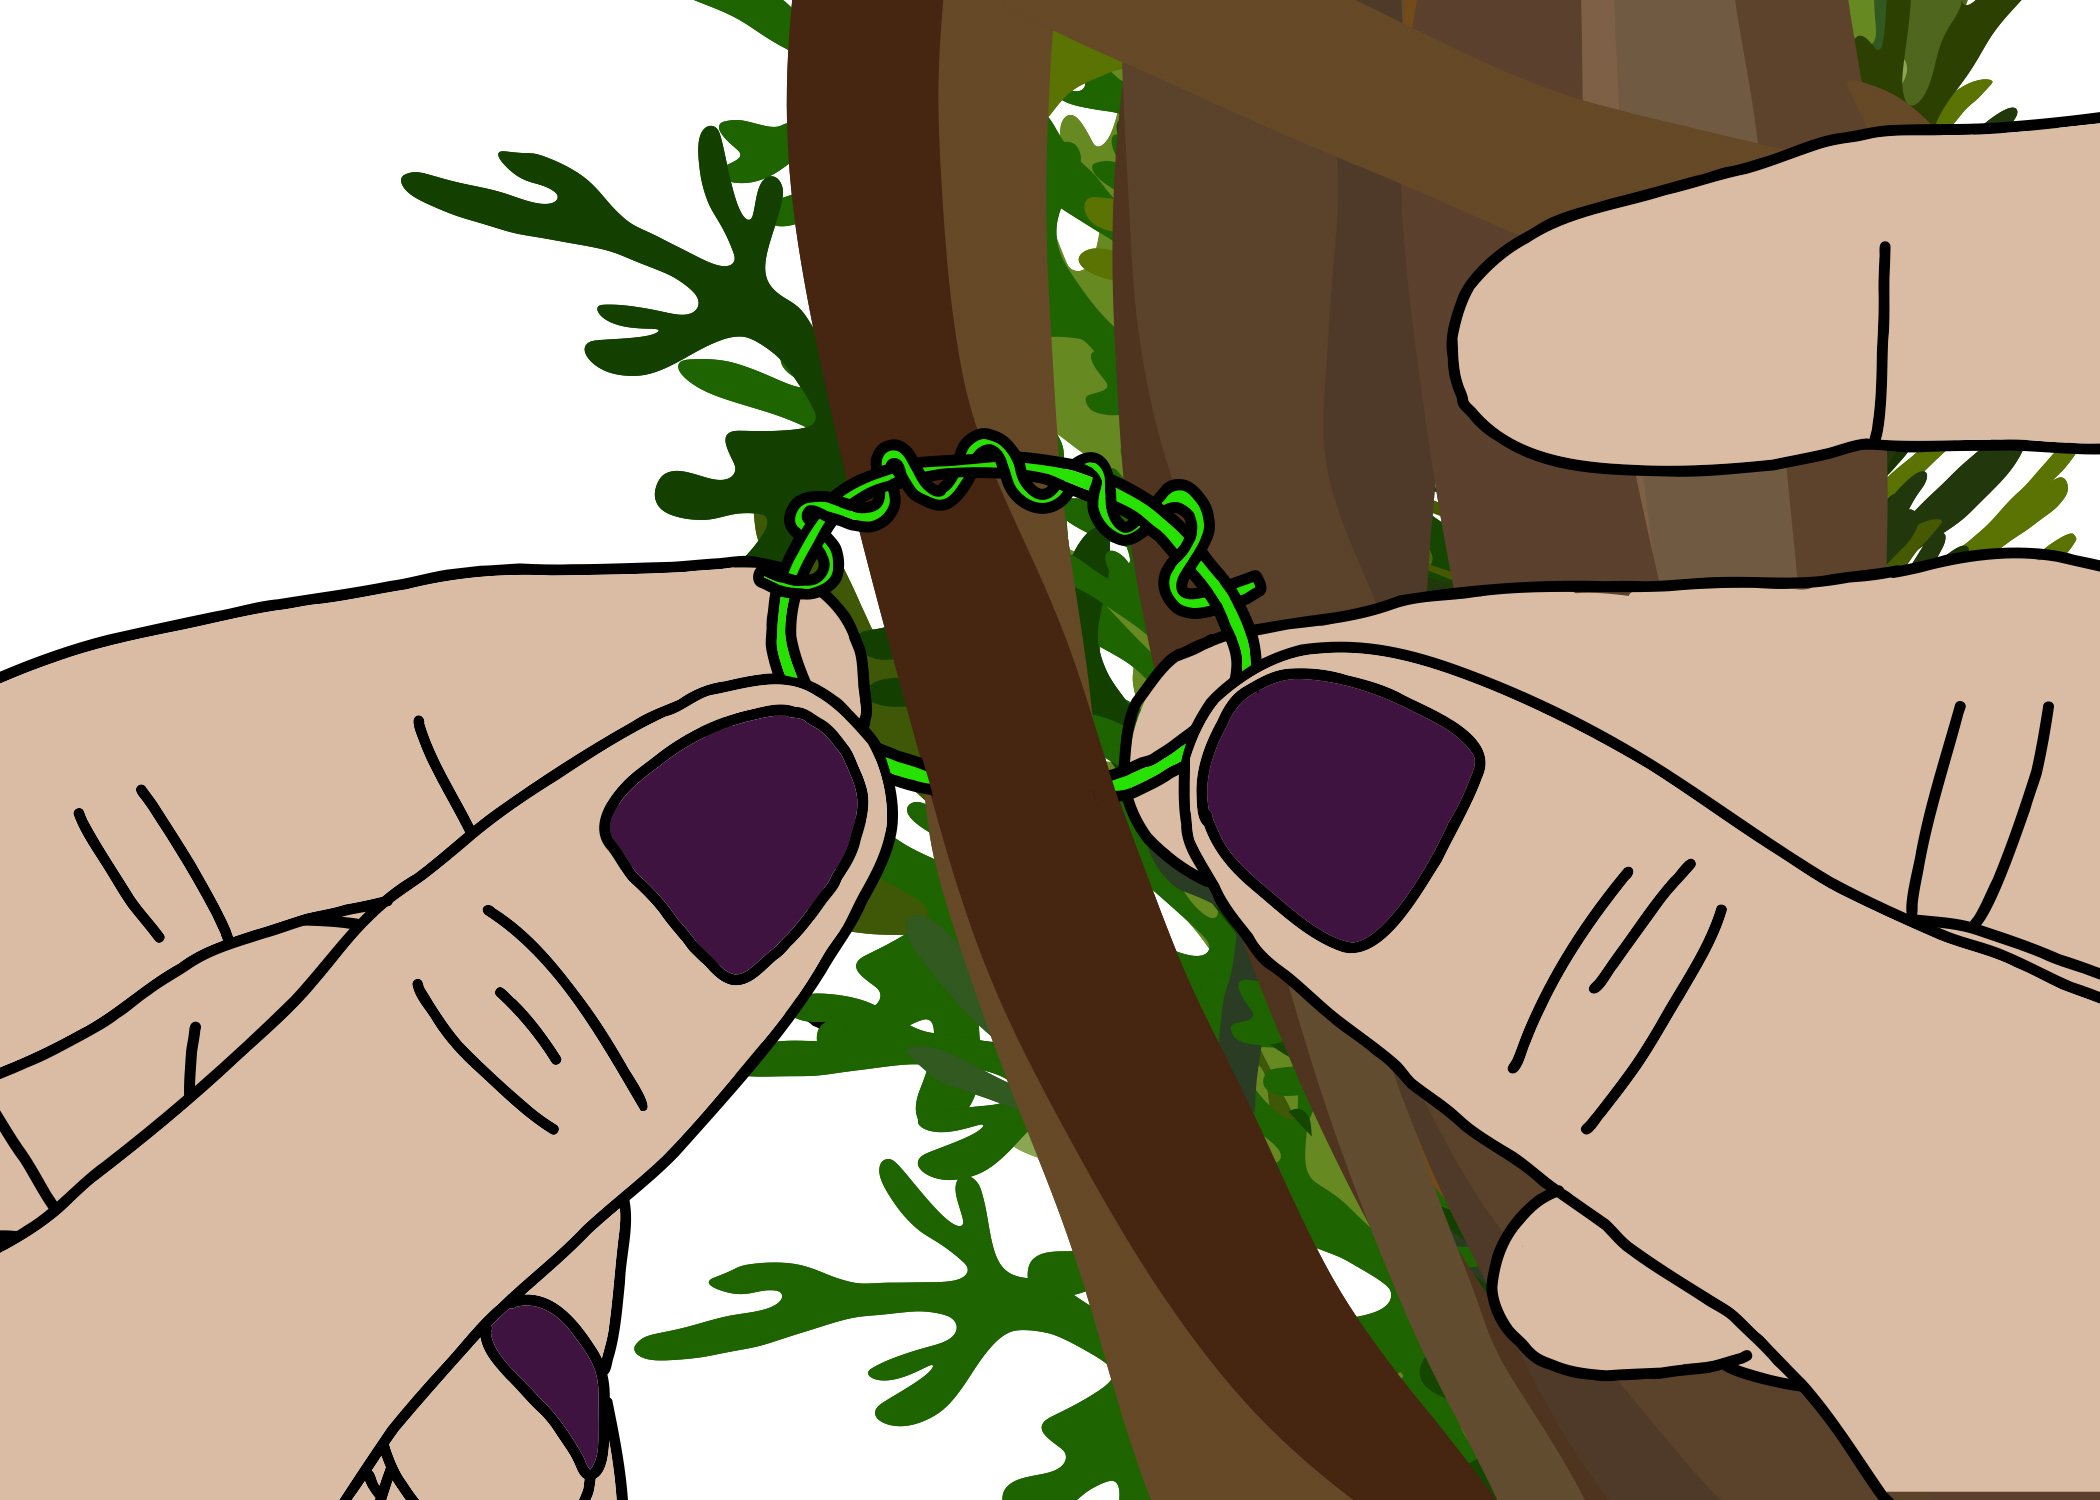
8. twist the ends of the wire together three to four times (or until they feel secure);

9
9. snip the wires;

10
10. then gently bend / tuck the ends into the bundle (so you don’t get poked).

11
11. Hold your wreath up after attaching each bundle to see how everything looks when it hangs: foliage may drape gracefully, fall floppy, or stay perfectly in place. Adjust as needed as you go!
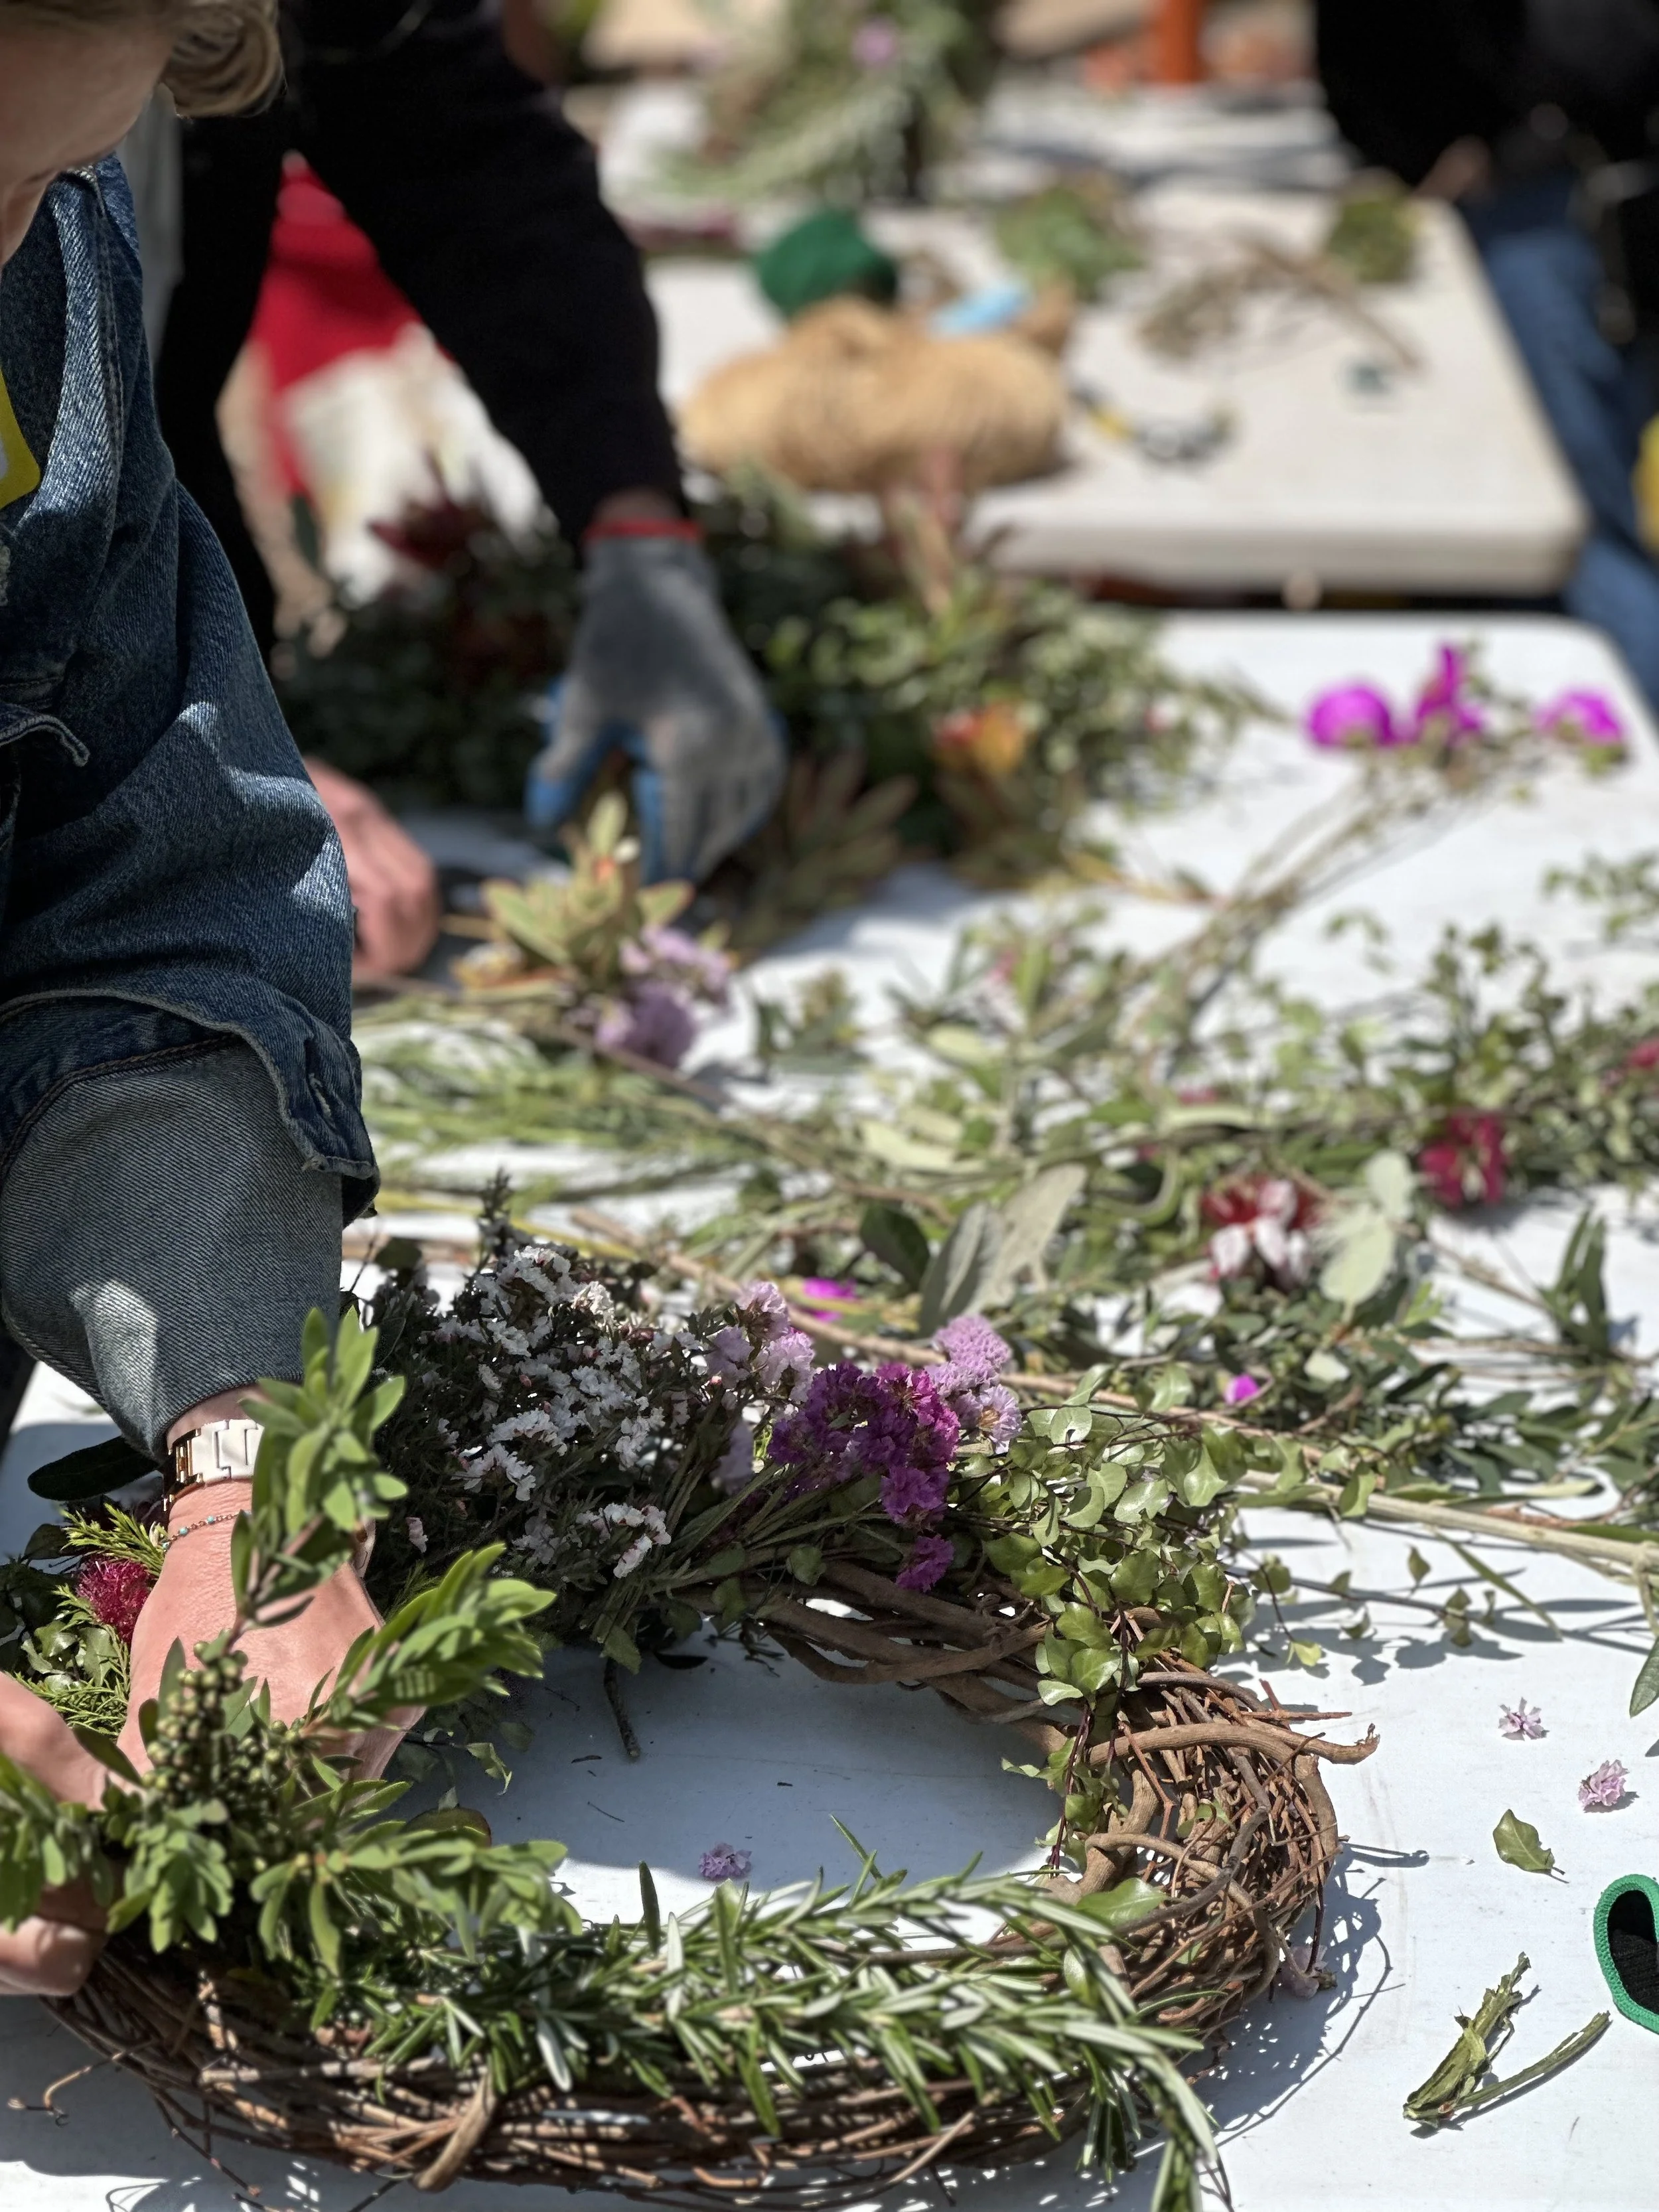
Repeat: Gather bundles + Attach to base
12
12. Wire each subsequent bundle over the bottom of the one you just attached, and continue until your wreath is full.
Depending on your plants, base, and bundle size, you’ll need about eight to 12 bundles.
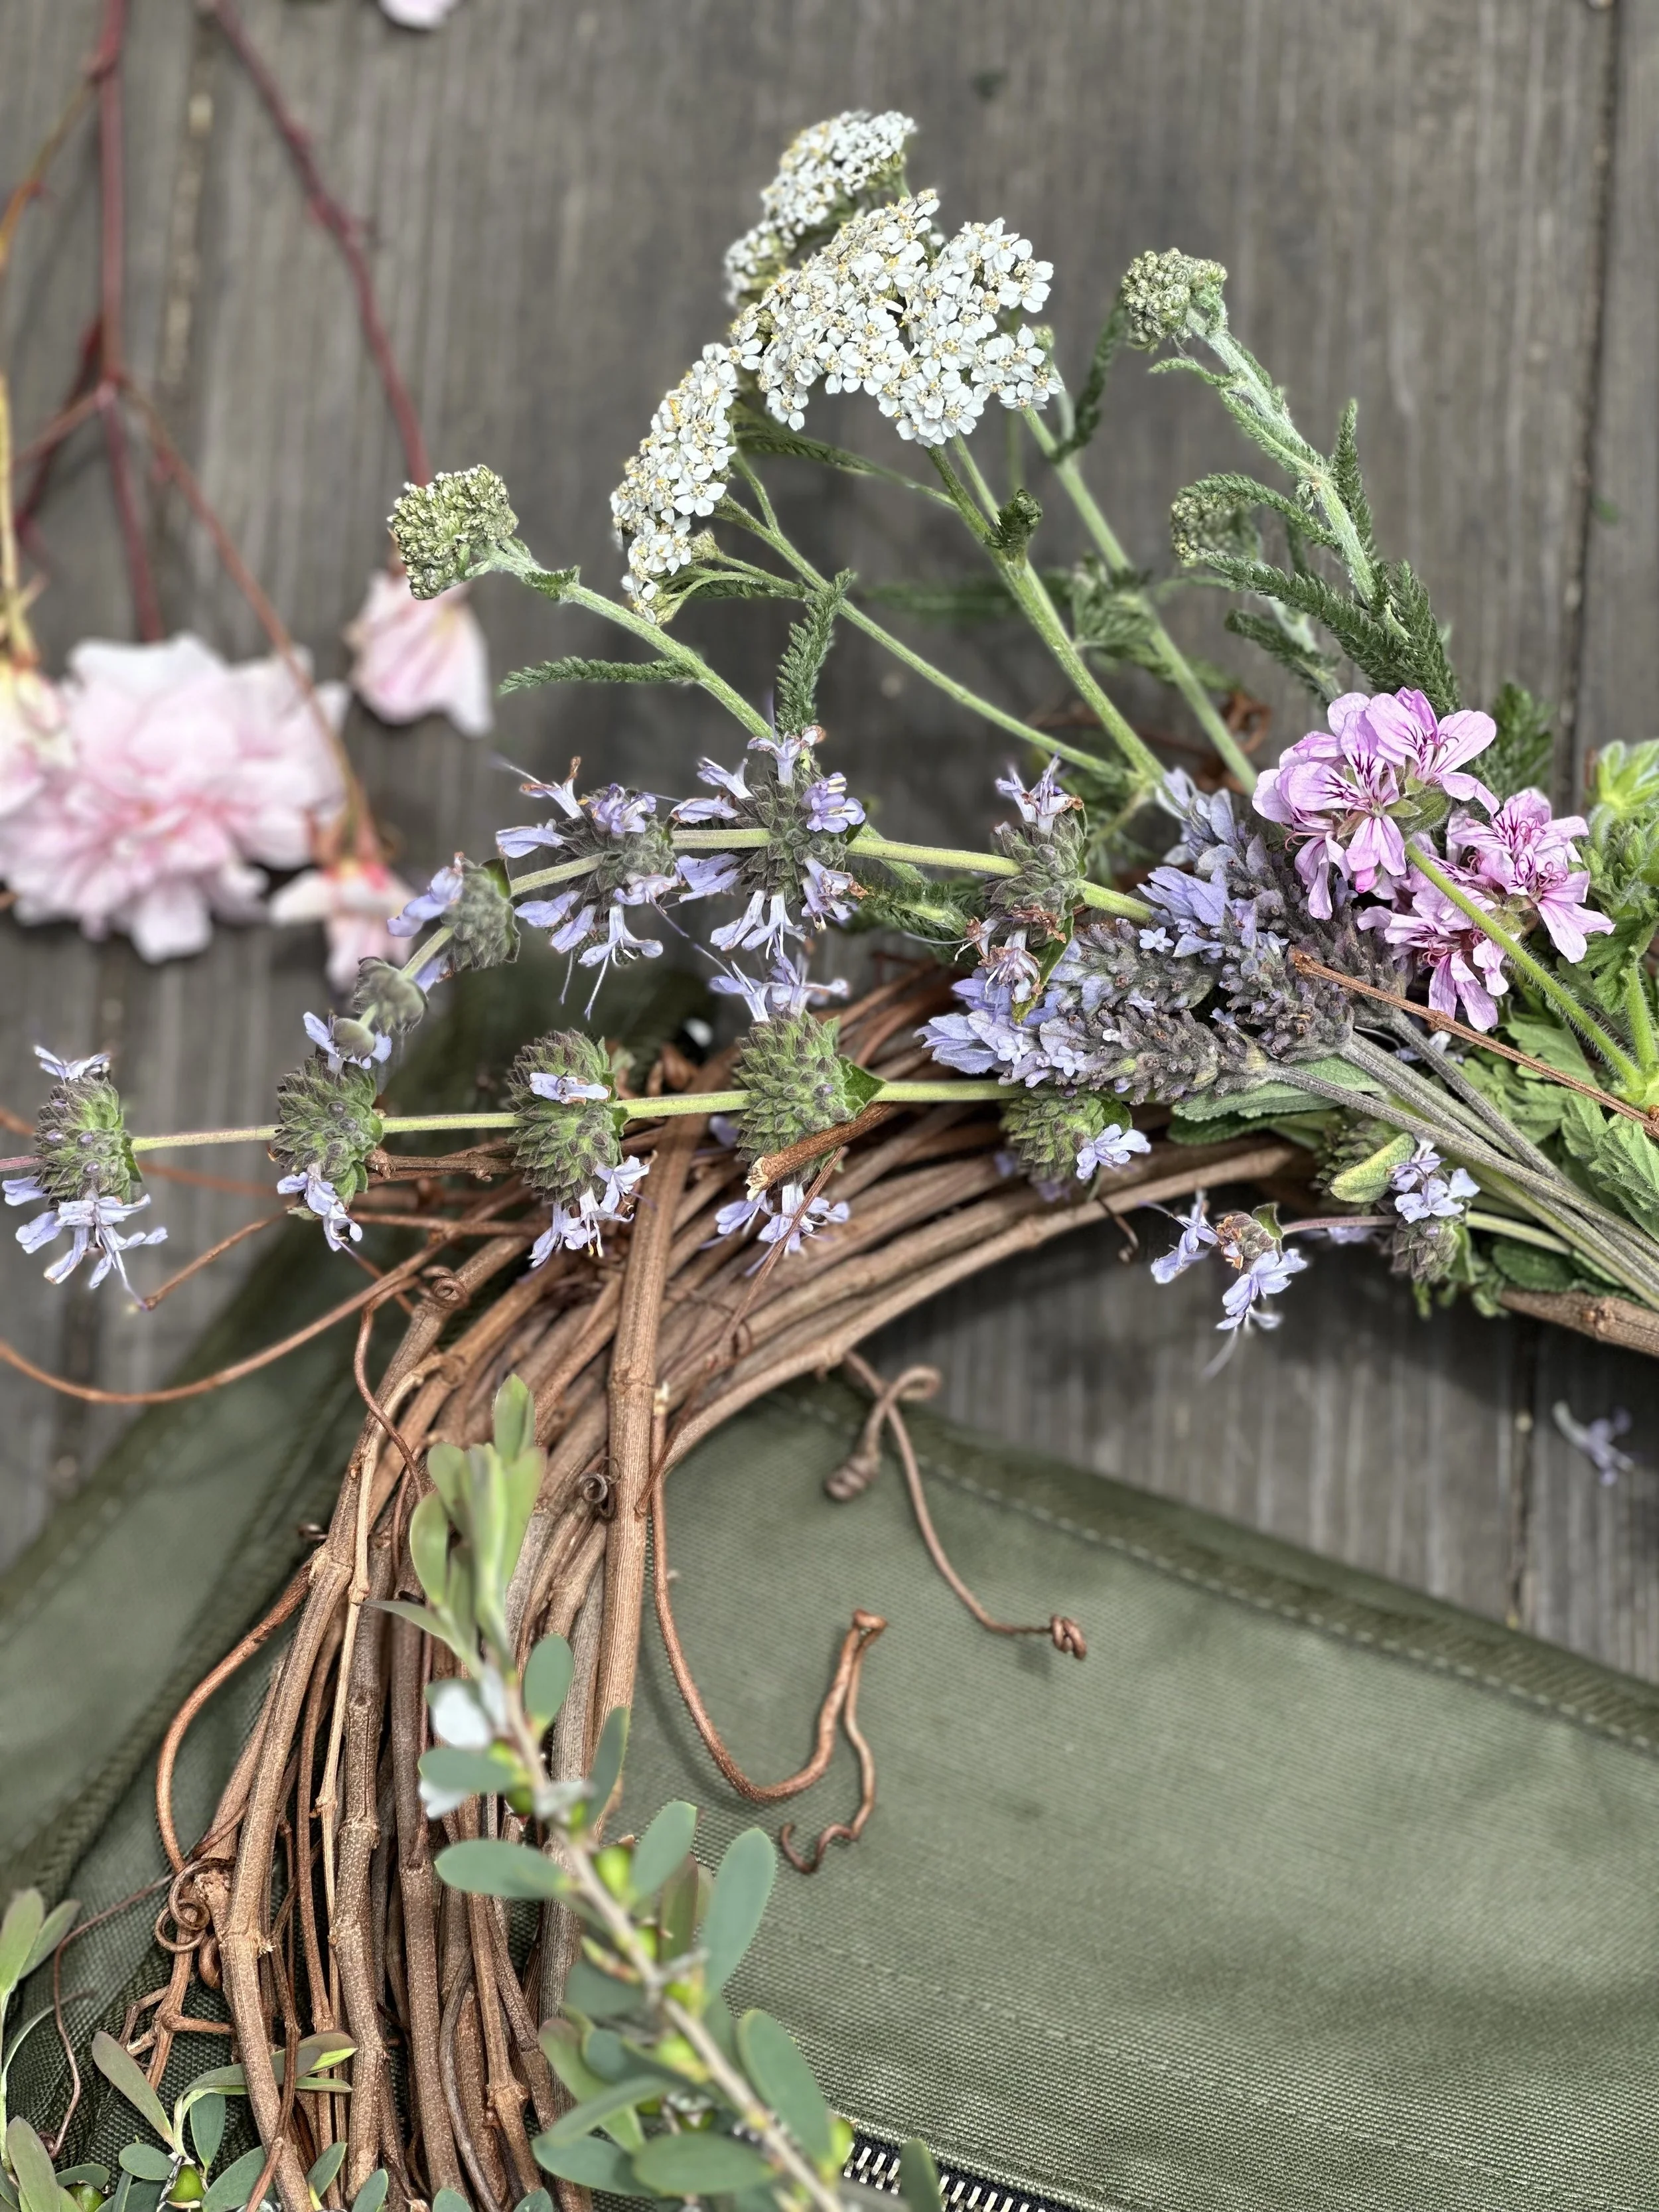
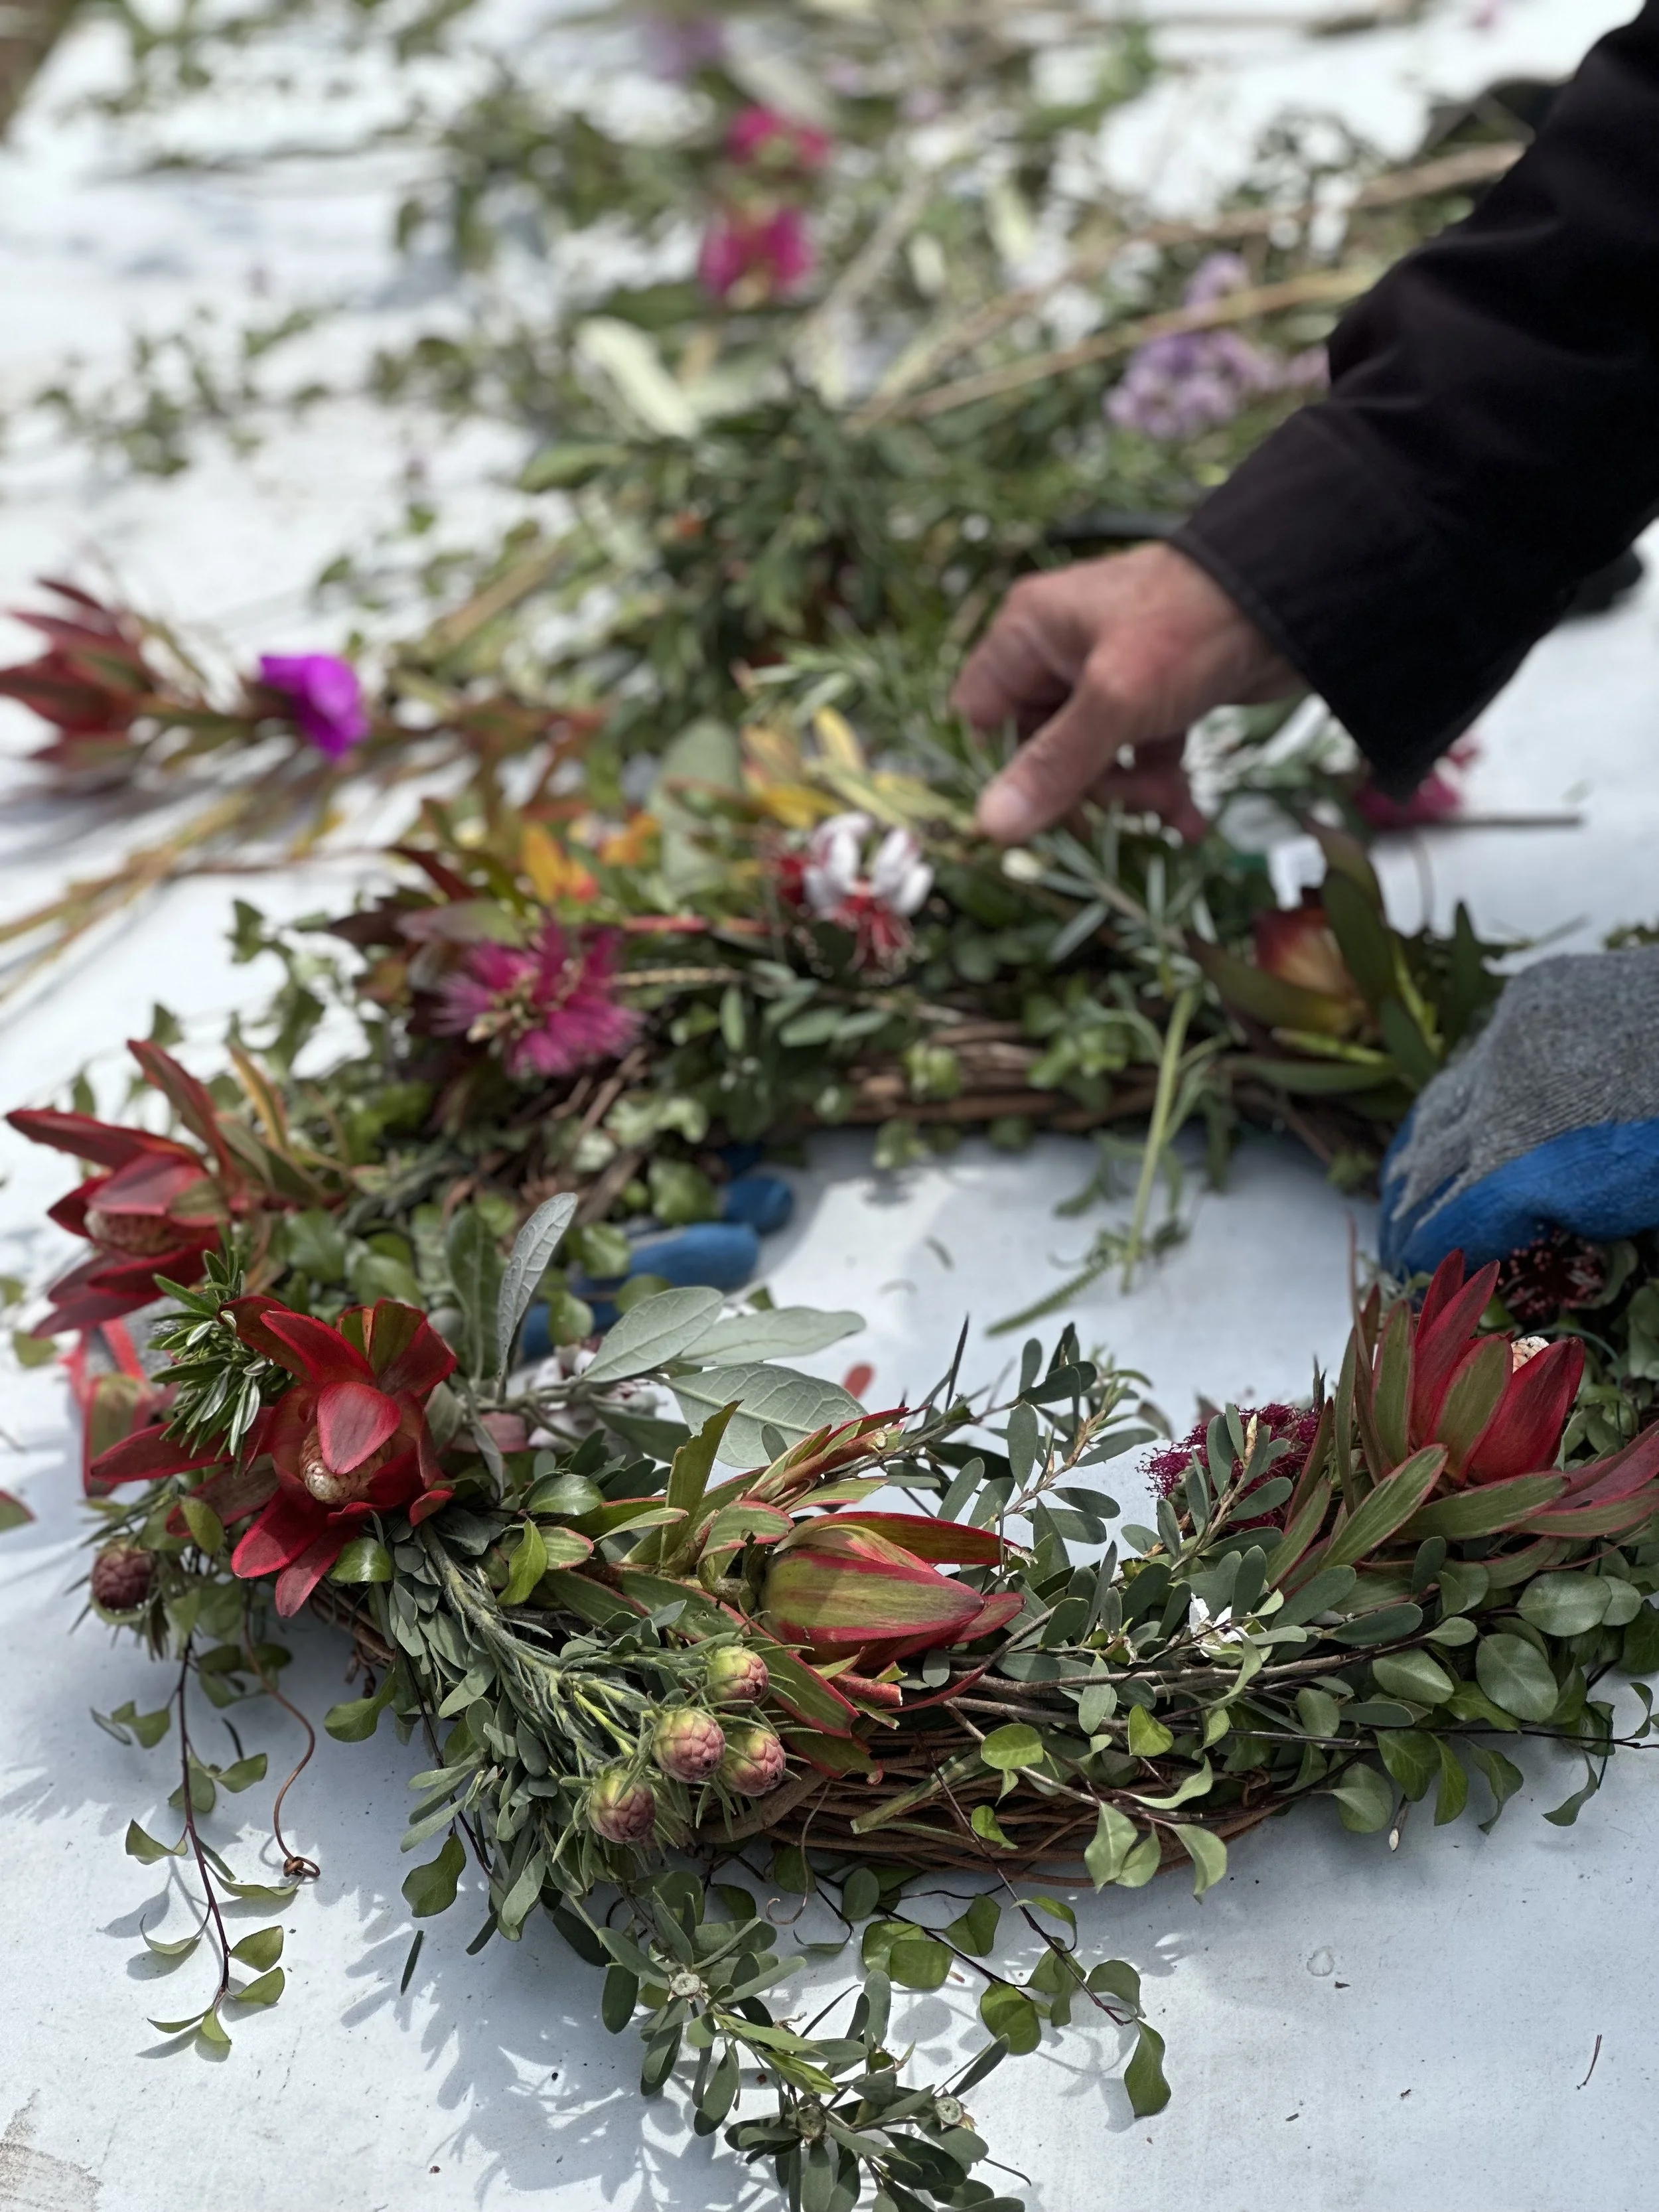
Zhuzh and Decorate!
13
13. So so so so many different ways to make a wreath your own. Zhuzh and decorate with accents, bows and ribbons, tchotchkes — whatever feels right. Have fun!
Make a loop to hang your wreath
14
14. Cut approximately four inches of wire, and stick it through the top of your base, somewhere on the back where it will be hidden.

15
15. Bring the ends up together in a cross;
16
16. and wind the ends around the loop to create a small circle. Ta da!
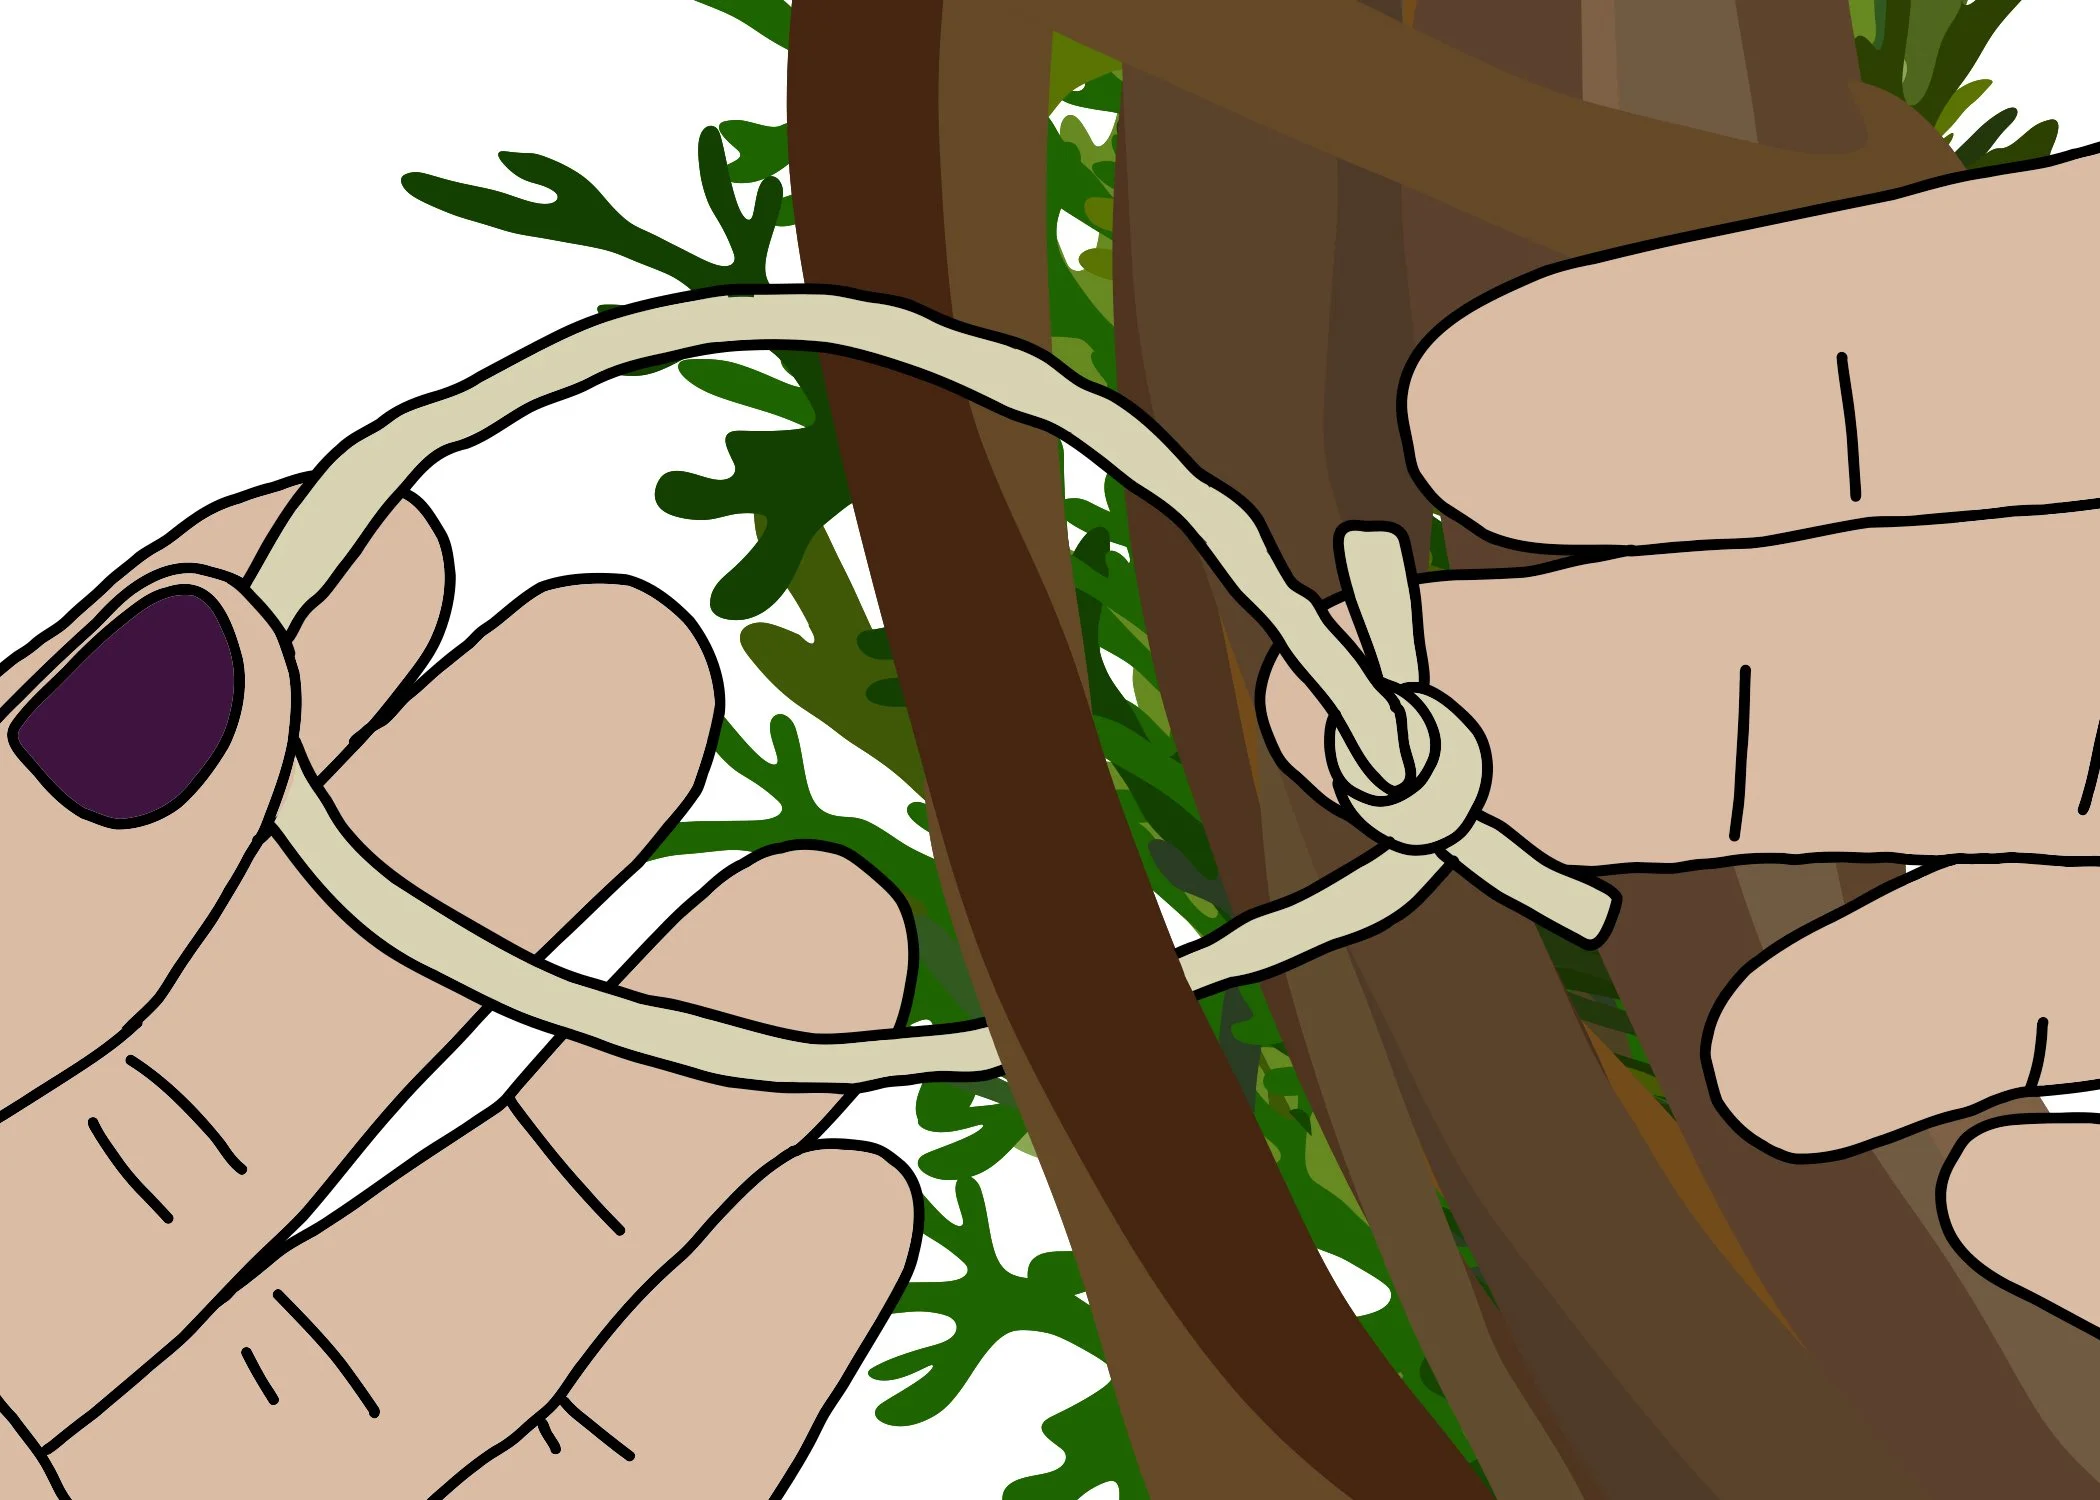
17
17. OR! Use twine, ribbon, or anything else to create a hidden loop, or visible one that’s part of your design.
SHARE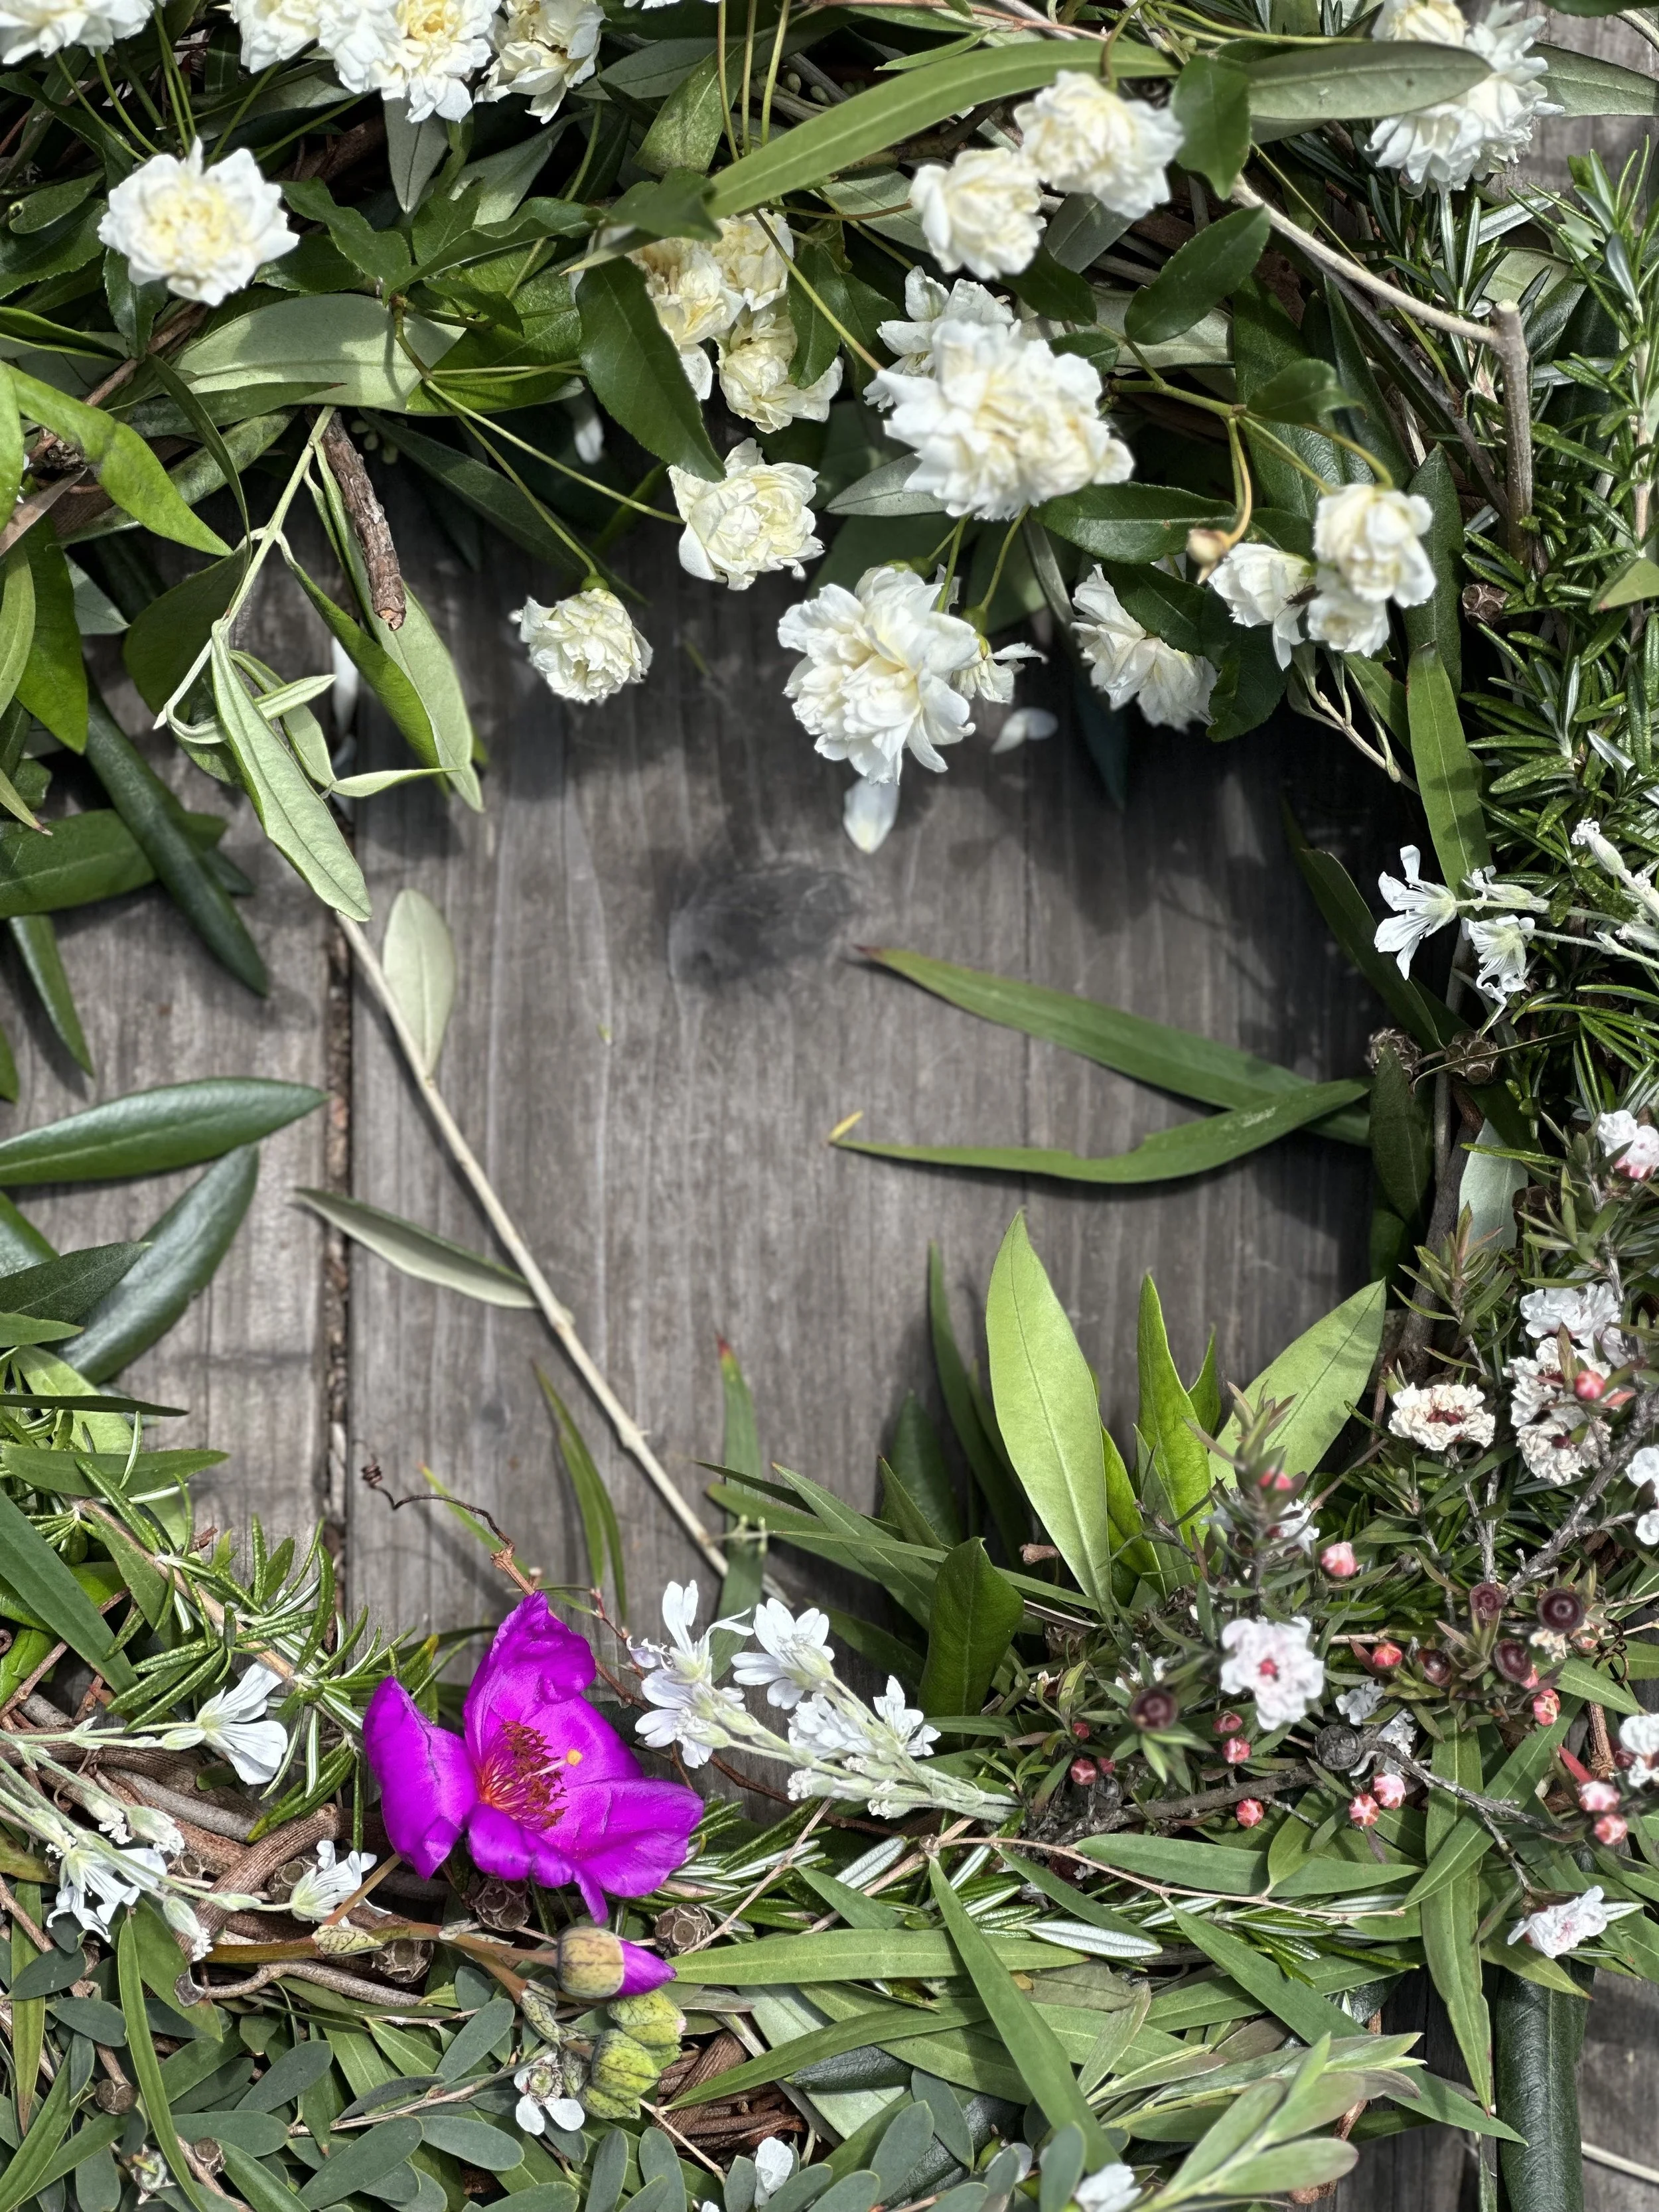


Big huge thank you to my lovely pal and gardening mentor Carey Craddock for teaching me how to make a wreath, and helping to put together this DIY!
